
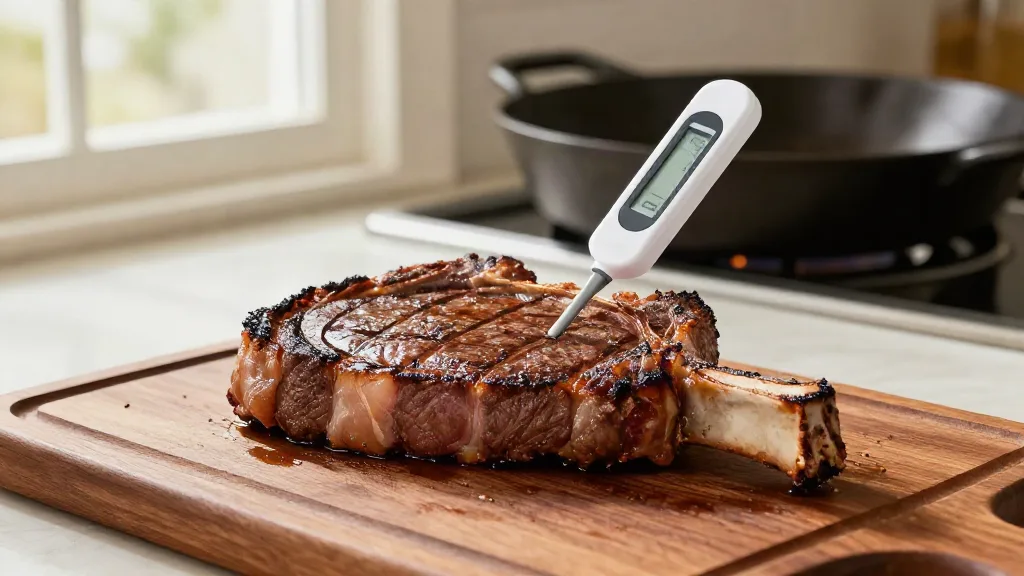
Meat Internal Temperature Chart: The Complete Guide to Cooking Every Cut Right
The night I stopped trusting my eyes was the night everything about my cooking changed. I had pulled a rib roast that looked perfect, with a deep brown crust and juices running clear, and carved into a gray, overcooked center. The crust had lied to me, and the only thing that would have told me the truth was a thermometer sitting in a drawer.
I’m not the only one who cooks by guesswork. In a five-year USDA Food Safety and Inspection Service study of home cooks, only half of participants used a thermometer to check sausage patties, and only half of those checked every patty. Meanwhile, the CDC estimates that about 48 million Americans get sick from foodborne illness every year.
Before I learned to cook by temperature, I wasted more expensive cuts than I like to admit: steaks that went from rare to medium-well in the time it took to plate the sides, chicken breasts that were safe but chewy as cardboard, and that roast. Every one of those failures had the same cause. I was guessing.
If you’ve been poking steaks with your finger, cutting chicken open to peek, or trusting the timing printed on a recipe card, you’re making the same mistake I did. Before you go further, it’s worth getting comfortable with how to use a meat thermometer the right way, because everything in this guide depends on it.
Here’s the truth that changed my kitchen: internal temperature is the single most important number in meat cookery. Color, firmness, cooking time and juices are all side effects of temperature, and every one of them can mislead you. Once you know the right number for each cut, when to pull it, and how long to rest it, you get the same result every time. This guide gives you every number you need, explains why each one matters, and shows you how to hit it on a normal home stove, oven or grill.
The Meat Internal Temperature Chart (Quick Reference)
Before the science, here are the numbers. Bookmark this section; it’s the part you’ll come back to most.
USDA Safe Minimum Internal Temperatures
These are the official food-safety minimums from the USDA FSIS Safe Minimum Internal Temperature Chart, confirmed against FoodSafety.gov.
| Food | Safe minimum internal temperature | Rest time |
|---|---|---|
| Beef, veal and lamb steaks, roasts and chops | 145°F (63°C) | 3 minutes |
| Pork steaks, roasts and chops | 145°F (63°C) | 3 minutes |
| Ground beef, ground pork and sausage | 160°F (71°C) | None |
| Chicken and turkey (whole, parts, ground) | 165°F (74°C) | None |
| Stuffing cooked inside poultry | 165°F (74°C) | None |
| Fresh (raw) ham | 145°F (63°C) | 3 minutes |
| Precooked ham, reheated | 140°F (60°C) if USDA-inspected packaging; otherwise 165°F (74°C) | None |
| Leftovers and casseroles | 165°F (74°C) | None |
Beef and Steak Doneness Temperatures
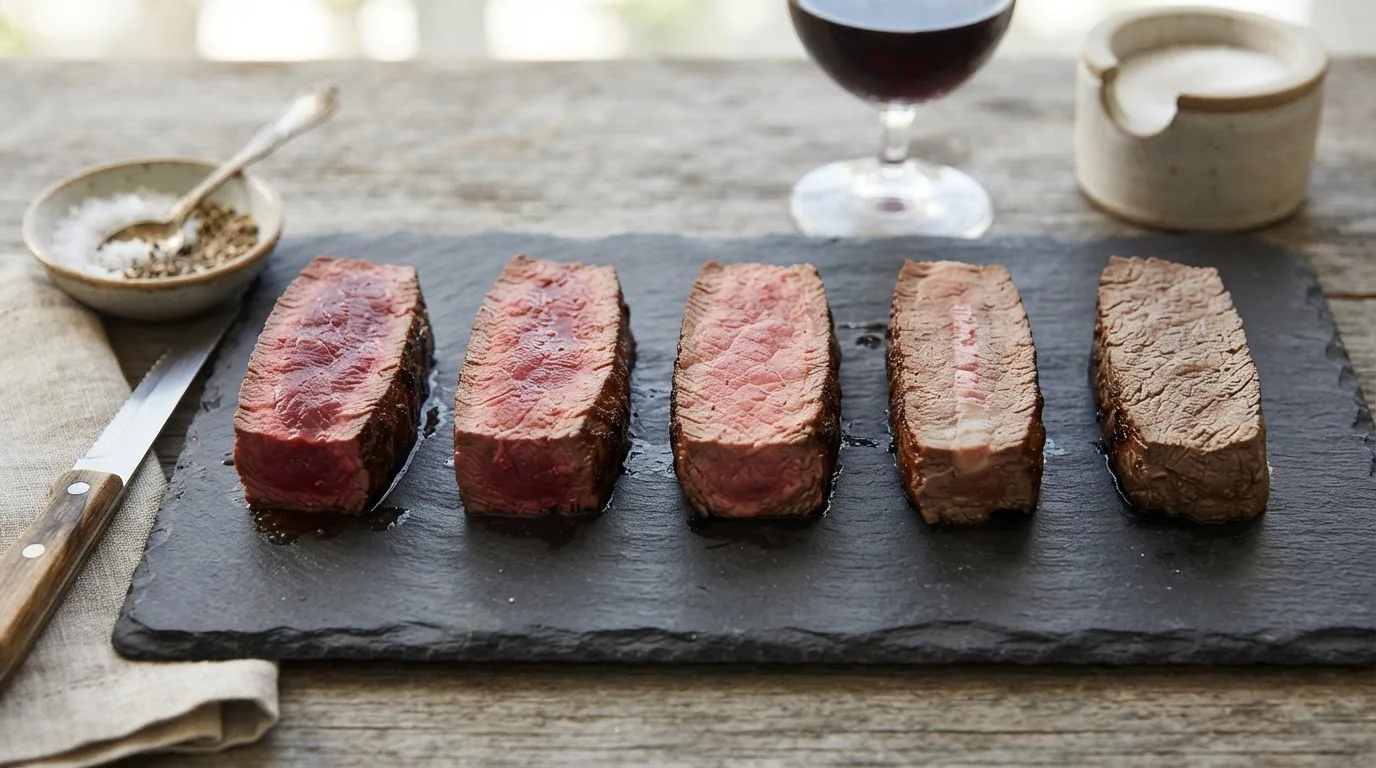
USDA’s 145°F minimum lands at medium. Many cooks choose lower temperatures for steaks and roasts for texture and flavor. That’s a personal choice, and the table below gives you both the final target and the point to take the meat off the heat. These ranges follow the pull-early approach taught by America’s Test Kitchen’s steak doneness chart; different references vary by a few degrees.
| Doneness | Pull from heat | Final temperature after resting | What it looks like |
|---|---|---|---|
| Rare | 115–120°F | 120–125°F | Deep red, cool center |
| Medium-rare | 120–125°F | 125–130°F | Warm red-pink center |
| Medium | 130–135°F | 135–140°F | Pink center, firmer bite |
| Medium-well | 140–145°F | 145–150°F | Thin band of pink |
| Well-done | 150–155°F | 155–160°F | Gray-brown throughout |
SAFETY NOTE: Steaks and roasts served below 145°F are below the USDA minimum. Ground beef is different: it must reach 160°F, because grinding spreads surface bacteria all the way through the meat. Never serve a rare burger to young children, older adults, pregnant guests or anyone with a weakened immune system.
Poultry Temperatures at a Glance
| Cut | Safe minimum | Where to probe |
|---|---|---|
| Whole chicken or turkey | 165°F | Innermost thigh, innermost wing and thickest part of the breast, away from bone |
| Chicken or turkey breast | 165°F | Thickest part, inserted from the side |
| Thighs, drumsticks, wings | 165°F (many cooks prefer 175–185°F for texture) | Thickest part, away from bone |
| Ground chicken or turkey | 165°F | Center of the patty or loaf |
Why Internal Temperature Matters More Than Time or Color
Every recipe gives you a cooking time, and almost every recipe is wrong for your kitchen. Here’s why.
The Problem With Cooking by Time
A recipe that says “roast for 20 minutes per pound” assumes your oven runs true, your roast is the same shape as the recipe developer’s, and the meat started at the same temperature. None of those things are reliably true. Ovens drift. A long, thin roast cooks faster than a short, thick one of the same weight. A steak straight from the fridge needs noticeably longer than one that sat on the counter for half an hour.
Time is a planning tool, not a finishing tool. Use it to know when to start checking. Use temperature to decide when you’re done.
Why Color Lies
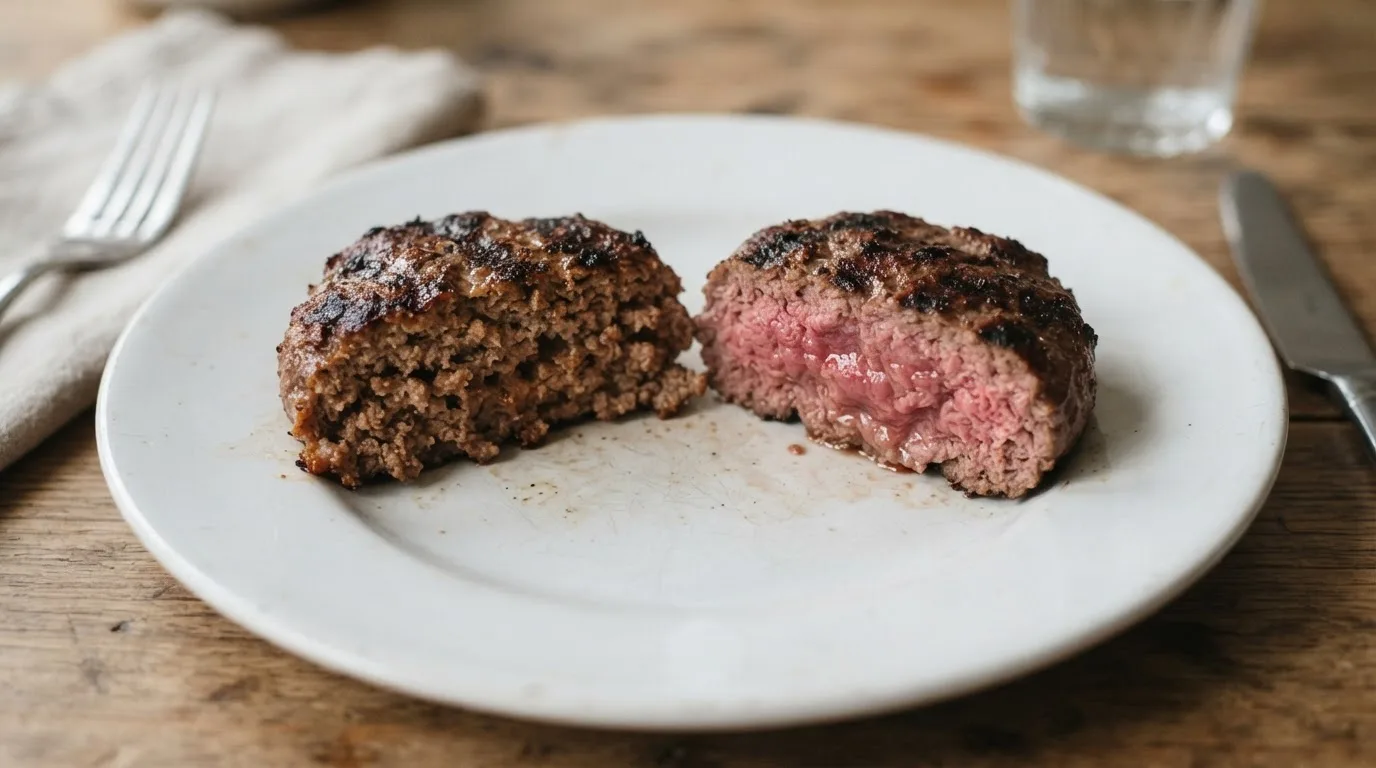
Color feels like the obvious test, and it’s one of the least reliable. The USDA’s guidance on the color of cooked ground beef explains that patties can turn brown inside before they reach a safe temperature. This “premature browning” happens when the meat’s pigment has already oxidized, for example after long thawing or storage. In that USDA research, more than a quarter of fresh patties browned early, and some looked well-done at just 131°F.
A Kansas State University study by Hunt, Killinger and Campbell found premature browning in about 47% of retail ground beef patties overall, and the researchers concluded that cooked color is too unreliable to judge doneness. The reverse also happens: some patties stay pink even after passing 160°F, especially lean meat or meat with a higher pH.
Poultry plays the same trick. Smoked or grilled chicken can stay pink near the surface even when it’s fully cooked, while a pale chicken breast can still be under temperature in the center.
The Food-Safety Stakes
Temperature isn’t only about texture. According to the CDC, about 1 in 25 packages of chicken at the grocery store is contaminated with Salmonella. Ground beef carries a risk of Shiga toxin-producing E. coli, which can cause serious kidney complications. Heat is what makes these foods safe, and only a thermometer tells you whether enough heat reached the center.
The USDA’s kitchen thermometer guidance puts it plainly: the only way to know food has reached a safe internal temperature is to use a food thermometer. In the same guidance, the USDA notes that in one of its studies, 21% of participants relied on color and grill marks to decide if hamburger patties were done.
METHOD TIP: Stop cutting meat open to check it. Every cut lets juice escape, and the color you see doesn’t tell you the temperature anyway. One quick probe tells you more than any cut ever will.
How Safe Temperatures Actually Work: Time and Heat Together
Here’s the part most charts never explain, and it’s the key to understanding why the numbers are what they are.
Bacteria Die From Time at Temperature
Food safety doesn’t happen at a single magic number. Harmful bacteria are destroyed by a combination of temperature and time. The hotter the meat, the faster it happens.
The USDA’s time-temperature tables for poultry, summarized in this RiverStone Health chart adapted from USDA FSIS data, show exactly how this works for chicken. To reach the same level of Salmonella reduction:
- At 165°F, it happens in under 10 seconds.
- At 160°F, it takes about 14 to 16 seconds.
- At 155°F, it takes about 45 to 52 seconds.
- At 150°F, it takes about 2.7 to 3.5 minutes.
- At 145°F, it takes about 8.6 to 11 minutes.
The exact time depends on fat content, and turkey needs a little longer than chicken at each step.
Why the USDA Uses 165°F for Poultry
So why does the USDA recommend 165°F for all poultry? Because at 165°F the job is done almost instantly, and home cooks rarely have a way to hold chicken at exactly 150°F for exactly 3 minutes. The 165°F number builds in a safety margin that works with ordinary equipment.
That’s the number I follow, and it’s the number you should follow unless you’re using precise equipment like a sous vide circulator and following a validated time-temperature table.
Why Whole Beef Cuts Get a Rest Time
In 2011, the USDA lowered the recommended temperature for whole cuts of pork from 160°F to 145°F and added a 3-minute rest. As LSU AgCenter explained at the time, the meat’s temperature stays steady or keeps rising during those 3 minutes off the heat, and that extra time finishes the job of destroying harmful microorganisms. Whole cuts of beef, veal and lamb follow the same 145°F-plus-rest rule.
Ground meat doesn’t get this allowance. When meat is ground, bacteria from the surface get mixed into the center, so the whole thing needs to reach 160°F.
AVOID THIS: Don’t apply the “time at temperature” logic to ground meat or poultry with a cheap or uncalibrated thermometer. A thermometer that reads 4 degrees high turns a “safe” 150°F into an unsafe 146°F. If you’re not sure your thermometer is accurate, stick to the standard 160°F and 165°F targets.
Choosing and Using a Meat Thermometer
The best chart in the world is useless without a tool that reads accurately. The good news: you don’t need anything expensive.
Types of Meat Thermometers
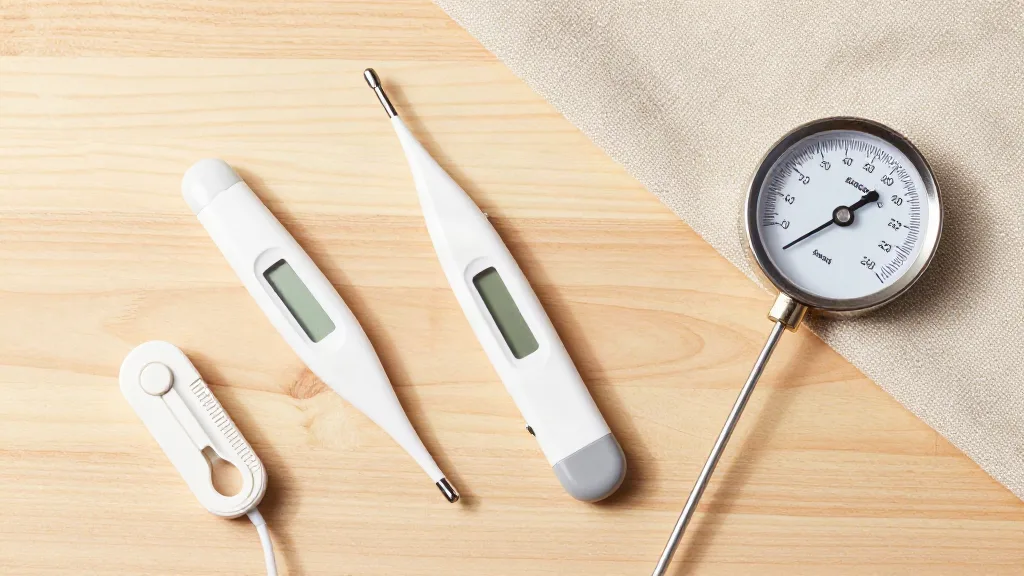
The USDA’s kitchen thermometer guide covers the main types. For home cooks, these are the ones worth knowing:
- Instant-read digital (thermocouple or thermistor): Reads in about 2 to 10 seconds. This is the one tool I’d buy if I could only buy one. It works for thin steaks, chicken breasts, burgers and roasts.
- Leave-in probe (oven cord or wireless): A probe stays in the meat while it cooks, with a display outside the oven. Ideal for roasts, whole birds and the reverse sear, because you can watch the temperature climb without opening the door.
- Oven-safe dial: Stays in a roast while it cooks but takes 1 to 2 minutes to read and isn’t suitable for thin cuts.
- Instant-read dial: Takes 15 to 20 seconds and needs about 2 inches of insertion, so it’s poor for thin foods.
- Pop-up timers: The plastic buttons in some turkeys. The USDA says they’re reliable within 1 to 2°F when placed correctly, but still recommends checking with a real thermometer.
How to Calibrate Your Thermometer
A thermometer that reads wrong is worse than no thermometer, because it gives you false confidence. Check yours before every big cook and every few weeks in between.
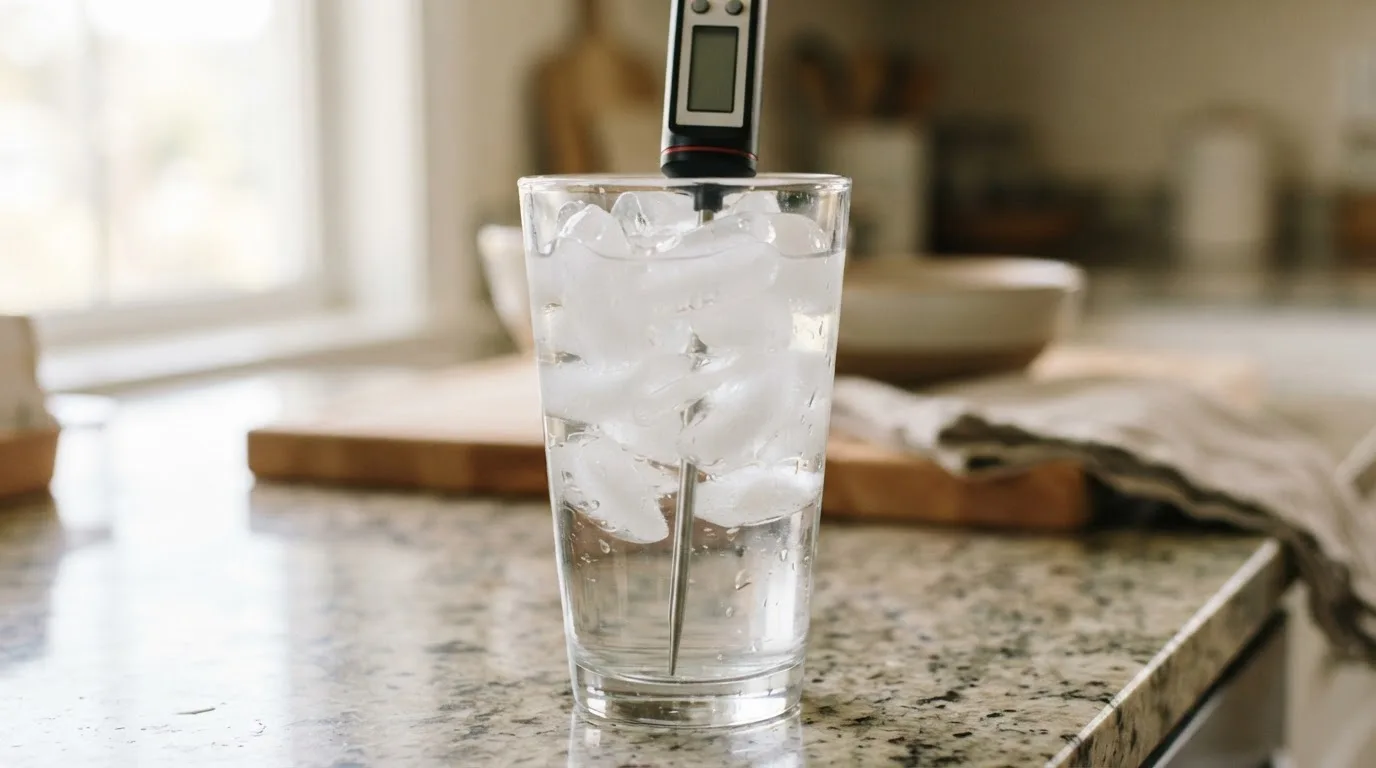
The ice water method (the most reliable):
- Fill a tall glass to the top with ice, then add water to fill the gaps. You want more ice than water.
- Stir and wait a minute or two.
- Insert the probe at least 2 inches into the center, without touching the sides or bottom of the glass.
- Wait for the reading to settle. It should read 32°F (0°C).
- If it doesn’t, adjust it using the reset button or calibration nut, if your model has one.
The boiling water method: The probe should read 212°F (100°C) at sea level. Boiling point drops as altitude rises, so this method is less reliable if you live at elevation.
As Elizabeth Andress, a food safety specialist at the University of Georgia, put it in UGA’s calibration guidance, a thermometer that hasn’t been calibrated gives readings that don’t mean anything. The same article gives a practical workaround: if your thermometer reads 2 degrees high and can’t be adjusted, add 2 degrees to every target. If it’s off by more than a few degrees, replace it.
METHOD TIP: Note your thermometer’s error on a piece of tape on the case, like “+1°F.” You’ll never have to remember it, and you’ll never forget to account for it.
Where to Put the Probe
Placement matters as much as the thermometer itself. The goal is always the same: find the coldest point in the meat, which is almost always the thickest part, away from bone, fat and gristle.
- Steaks and chops: Insert from the side, horizontally, into the center of the thickest part.
- Burgers and thin chicken breasts: Insert through the side so the tip sits in the middle of the patty or breast. Going in from the top on a thin cut often pushes the tip right through to the hot pan.
- Roasts: Probe the thickest part. For large or irregular roasts, check a few spots and trust the lowest reading.
- Whole chicken or turkey: Check three places: the innermost part of the thigh, the innermost part of the wing, and the thickest part of the breast. Avoid touching bone, which conducts heat and gives a falsely high reading.
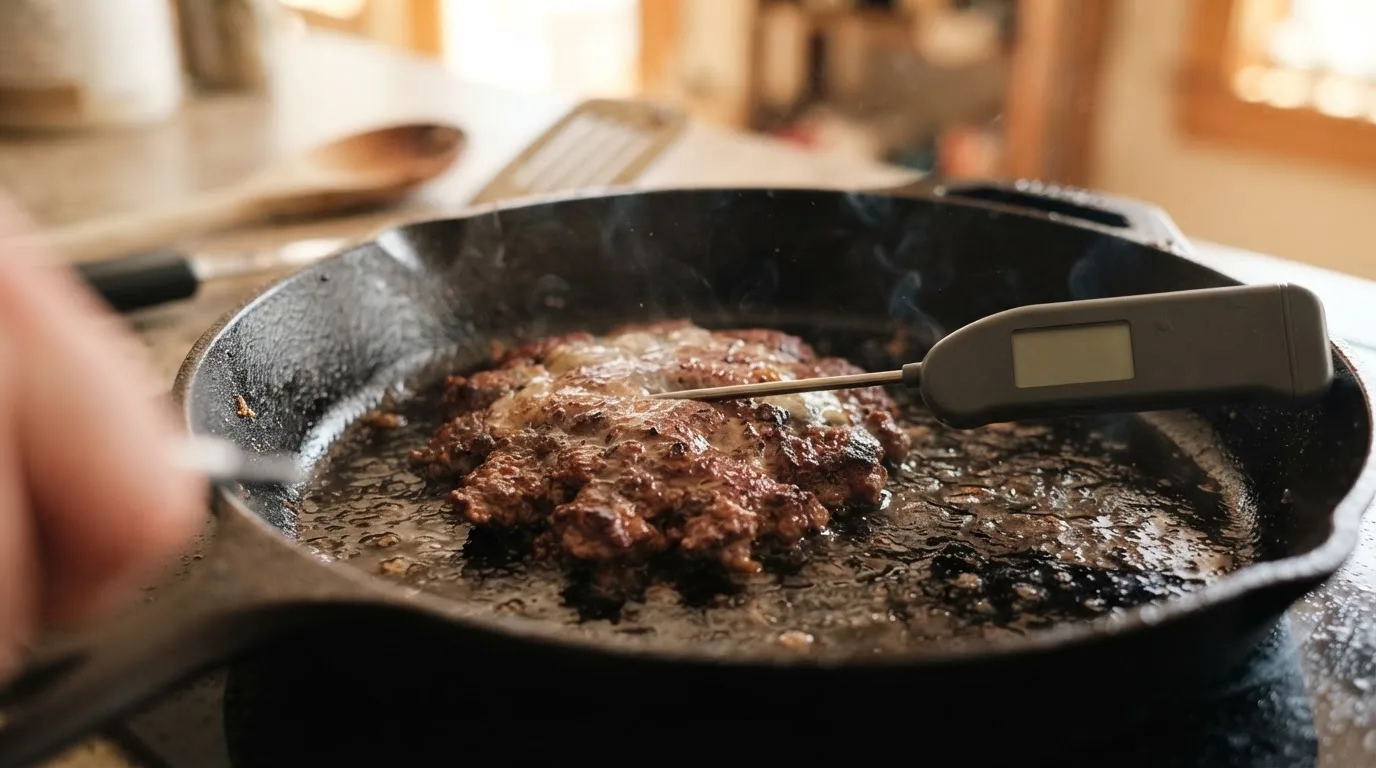
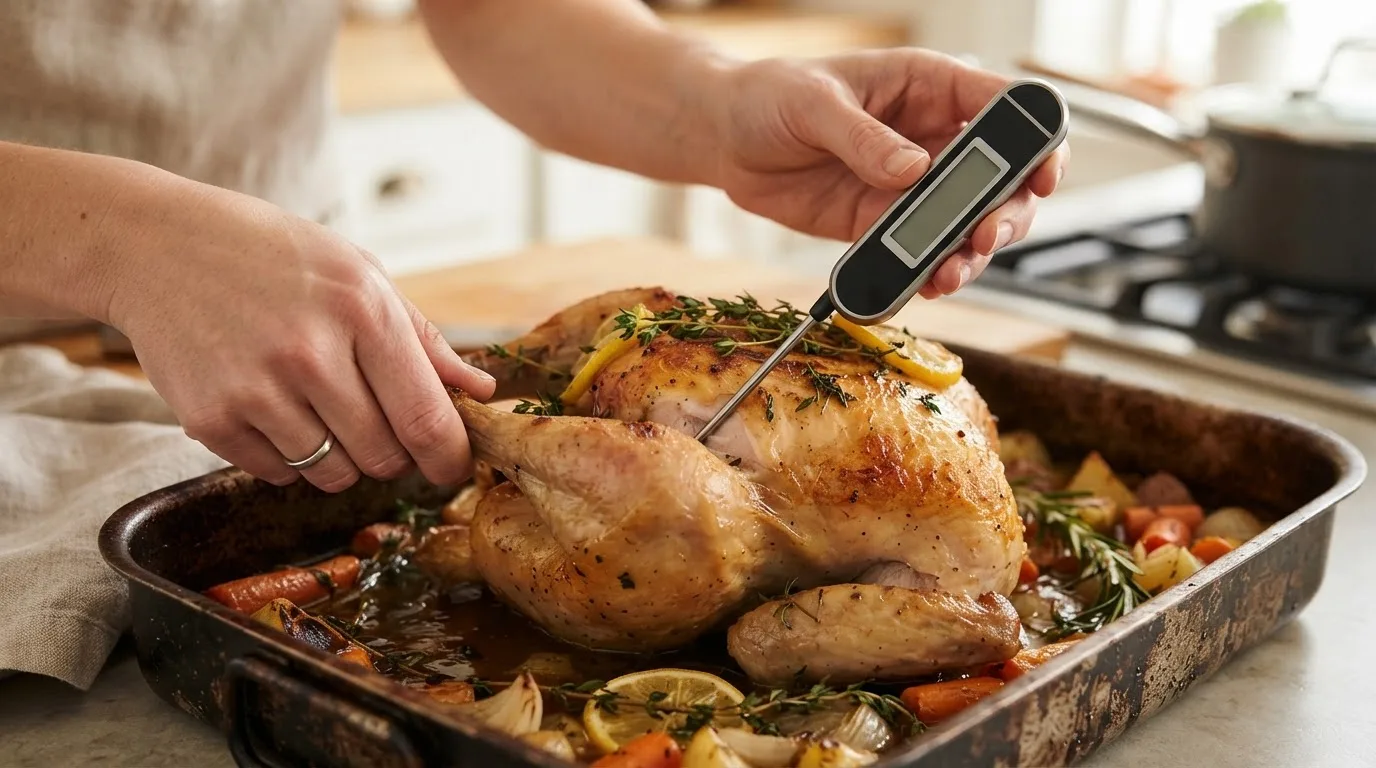
AVOID THIS: Don’t let the probe touch the pan, the bone or a pocket of fat. All three can throw your reading off by 10 degrees or more.
Carryover Cooking: Why You Pull Meat Before It’s Done
If there’s one idea in this guide that separates good results from great ones, it’s this: meat keeps cooking after you take it off the heat.
What Carryover Cooking Is
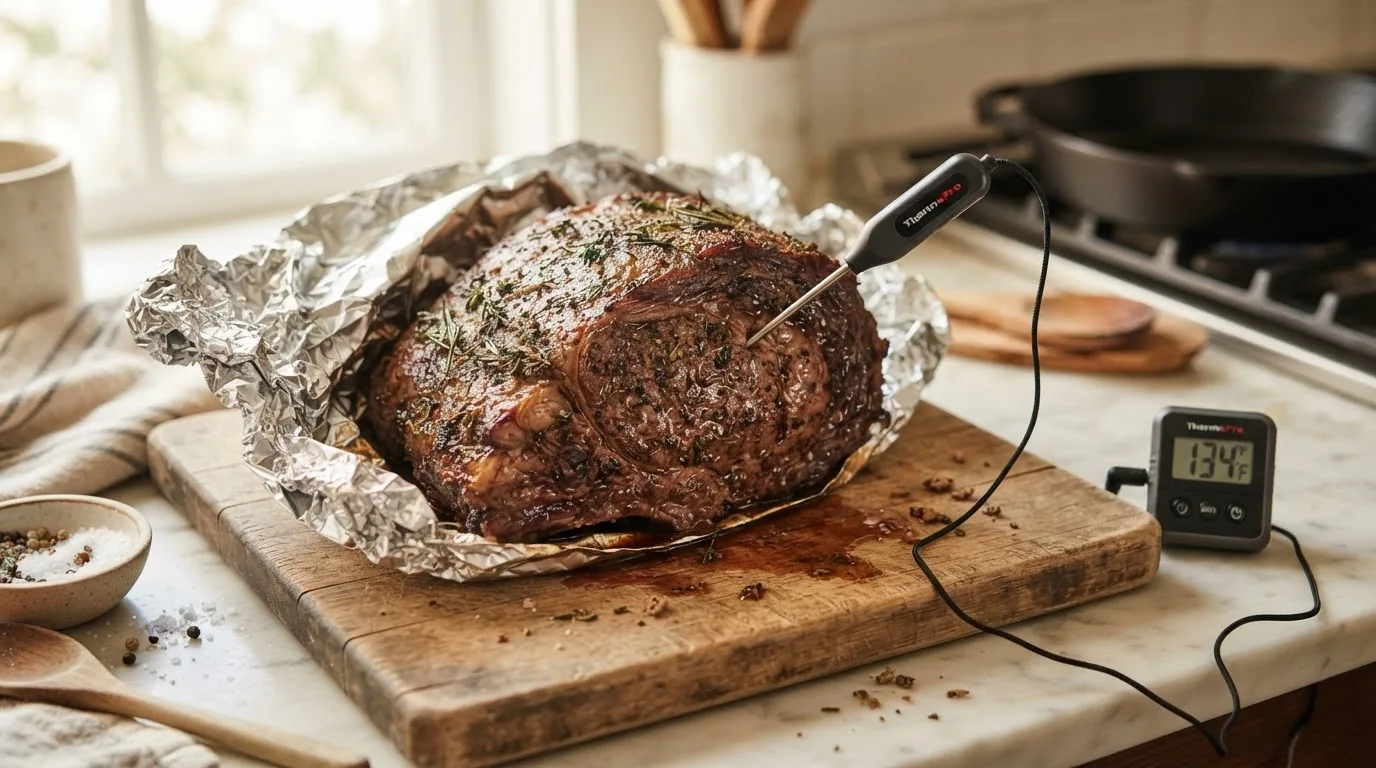
When you sear a steak or roast a chicken, the outside of the meat gets much hotter than the center. Once you take it off the heat, that stored heat keeps moving inward. The center temperature keeps climbing for several minutes, sometimes for 15 minutes or more on a large roast.
According to America’s Test Kitchen’s guide to carryover cooking, the rule of thumb for roasts is to pull the meat when the center is within about 10 degrees of your target. Two things increase carryover:
- Bigger cuts. A thick roast holds far more heat than a thin steak.
- Hotter cooking. A roast from a 450°F oven has a much hotter outer layer than one cooked at 250°F, so it keeps rising longer.
How Much to Pull Early
These are the ranges I use. Treat them as starting points, then adjust based on what your own thermometer shows you.
| What you’re cooking | Pull this many degrees below your target |
|---|---|
| Thin steak or chop (under 1 inch), high heat | 3–5°F |
| Thick steak (1½ inches or more), high heat | 5–7°F |
| Reverse-seared steak | 2–3°F (most carryover happens during the sear) |
| Roast cooked in a low oven (250–300°F) | 5–8°F |
| Roast cooked in a hot oven (400°F+) | 8–12°F |
| Whole chicken or turkey | Use carryover for juiciness only, never for safety (see below) |
The Poultry Exception
Carryover happens with poultry too, but I don’t count on it for food safety, and neither does America’s Test Kitchen in its guidance. My rule: poultry should read 165°F in every spot I check before it leaves the oven. Carryover then pushes it a few degrees higher, and a proper rest keeps it juicy.
METHOD TIP: Leave a probe in the meat while it rests and watch the number. After a few cooks, you’ll know exactly how much your oven and your favorite cuts carry over. That knowledge is worth more than any chart.
Resting Meat: How Long and Why
Resting is the second half of carryover cooking. It’s also when the meat finishes its texture.
What Happens During a Rest
As meat cooks, its muscle fibers tighten and push moisture toward the center. Give it a few minutes off the heat and the temperature evens out from edge to center. The meat also firms up slightly, so it slices cleanly and holds onto more of its juice instead of flooding the cutting board.
For whole cuts of beef, veal, lamb and pork, the 3-minute rest is also part of the USDA food-safety recommendation, as covered above.
Resting Times by Cut
| Cut | Rest time |
|---|---|
| Burgers | 2–3 minutes |
| Steaks and chops | 5–10 minutes |
| Chicken breasts and thighs | 5 minutes |
| Whole chicken | 10–15 minutes |
| Beef or lamb roast | 15–20 minutes |
| Whole turkey | 20–30 minutes |
The Minnesota Department of Health’s turkey guidance recommends resting a whole turkey for 20 minutes before carving.
To Tent or Not to Tent
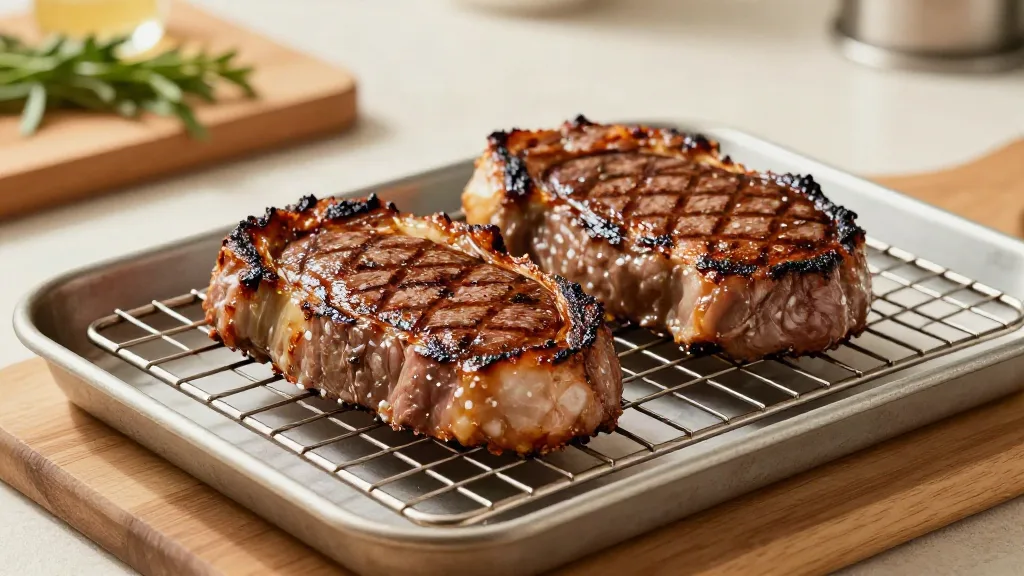
I rest steaks uncovered on a wire rack. Covering them traps steam and softens the crust I worked to build. For large roasts and whole birds, a loose foil tent helps hold heat during a longer rest. Keep it loose, though. A tight wrap turns crisp skin soggy.
AVOID THIS: Don’t rest a steak on a flat plate. The juice pools underneath and steams the bottom crust. A wire rack over a sheet pan keeps it crisp on all sides.
Beef and Steak: Hitting Your Doneness Every Time
Beef is where temperature precision pays off most, because the difference between medium-rare and medium is only about 10 degrees, and the price of a good steak makes every mistake hurt.
Steaks
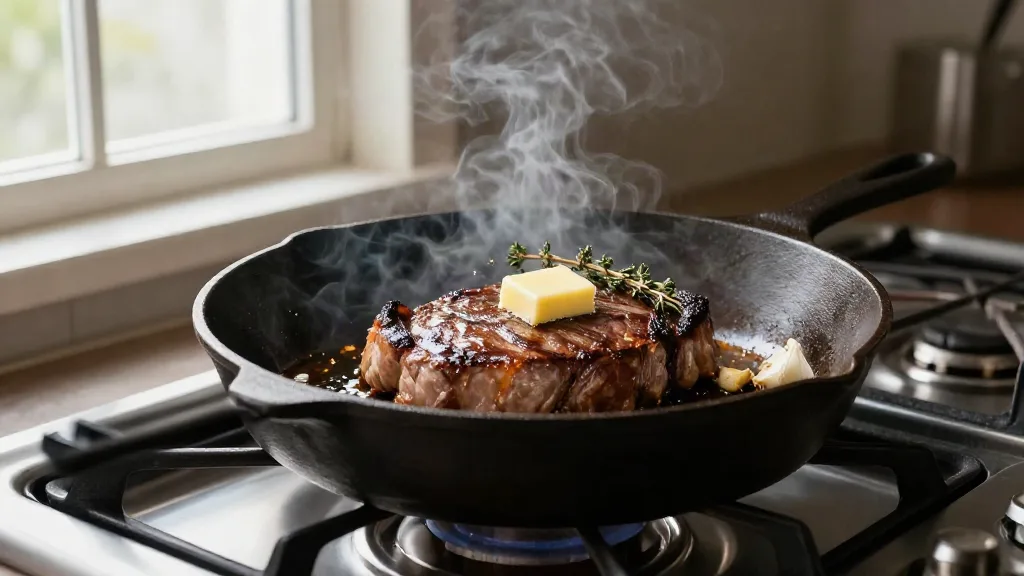
For a thick steak, my default target is medium-rare: pull at 120–125°F and let it rest up to 125–130°F. For the full method, from choosing the cut to the sear, see the complete guide on how to cook steak.
Three things make the biggest difference:
- Dry the surface. Pat the steak dry, or salt it a day ahead and leave it uncovered in the fridge. A dry surface browns instead of steaming.
- Check early and often. On a hot pan, a 1-inch steak can rise 10 degrees in a minute. Start checking well before you think it’s ready.
- Probe from the side. Insert the thermometer horizontally into the center of the thickest part.
The Reverse Sear for Thick Cuts
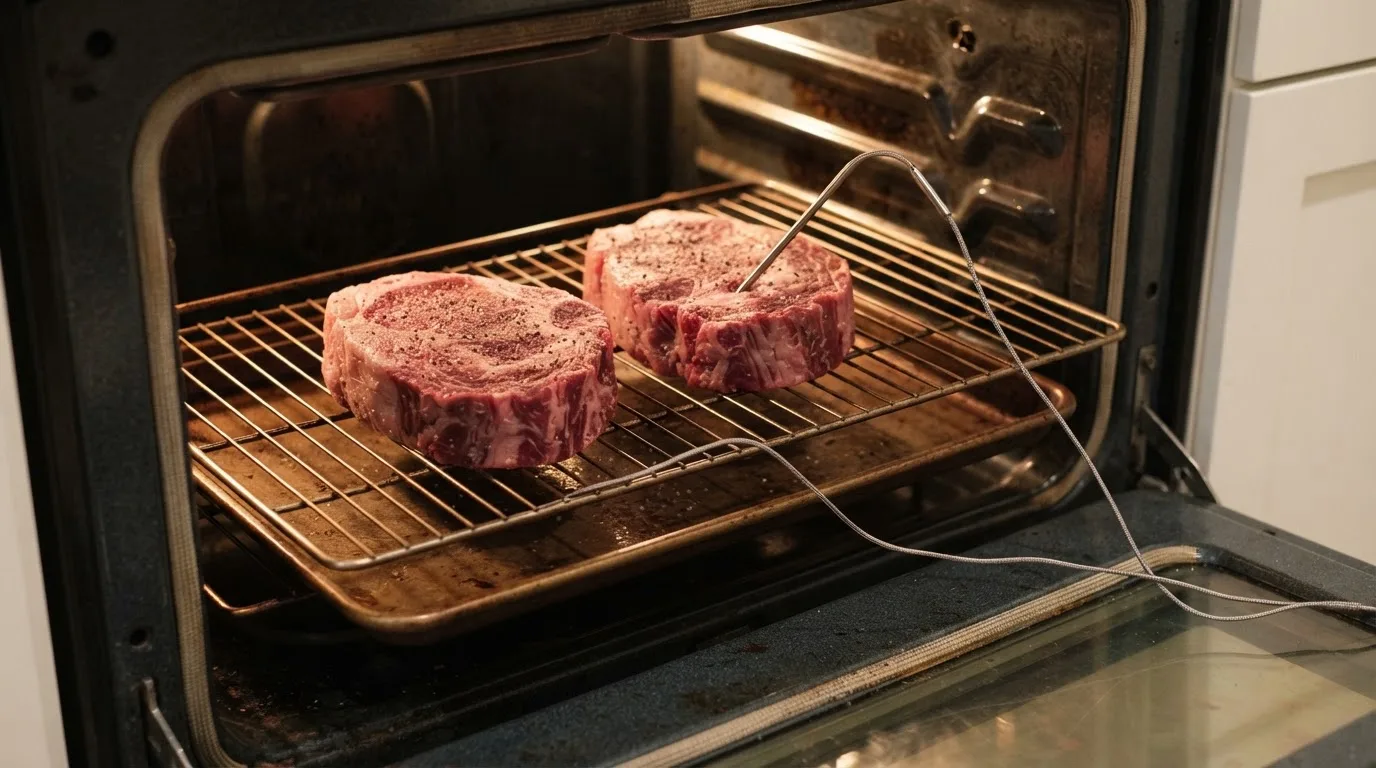
For steaks 1½ inches or thicker, the reverse sear is the most reliable way to hit an exact temperature. You cook the steak in a low oven (around 250°F) until it’s about 10 to 15 degrees below your target, then sear it hard in a very hot pan for a minute or two per side.
Because the steak warms slowly and evenly, there’s almost no gray band under the crust, and very little carryover after the sear. I cover the full method in my reverse sear steak guide.
Roasts
Large beef roasts behave the same way, just slower. A leave-in probe is the best tool here, since you can set an alarm for your pull temperature and never open the oven door to check.
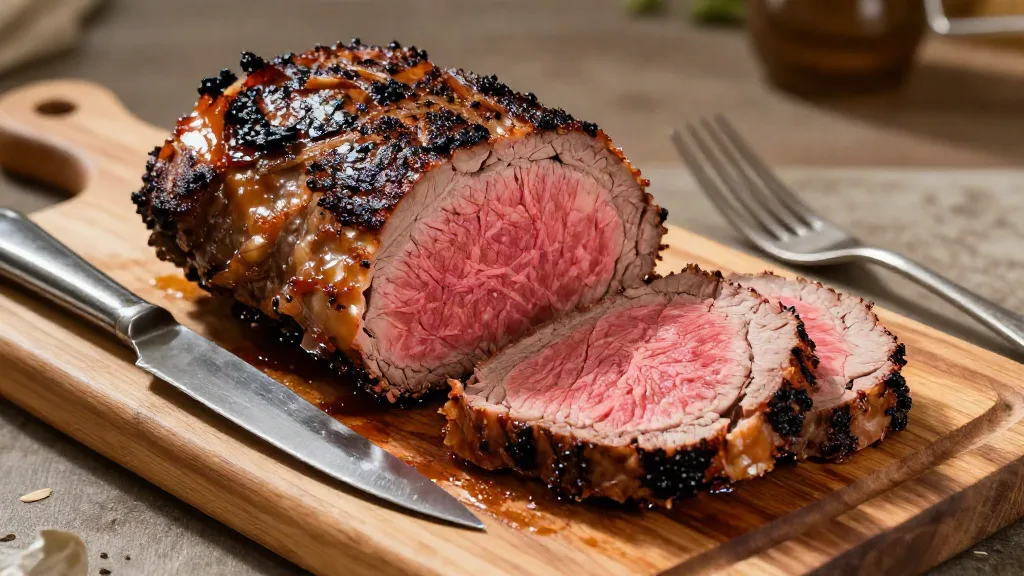
Which roast you choose also changes the right target. Tender cuts like rib roast and tenderloin are best at medium-rare to medium. Tough, hard-working cuts like chuck and brisket are a different story. They need to go far past “well-done,” often to 195–205°F, so their connective tissue breaks down into tender, pull-apart meat. That’s a matter of texture, not safety; they’re safe long before that point. My complete guide to beef cuts explains which cuts belong in which group.
💡 METHOD TIP: Tender cuts get a target temperature. Tough cuts get a target texture. For a braise or a smoked brisket, use temperature to tell you you’re in the right zone, then test for tenderness with a fork or probe that slides in with almost no resistance.
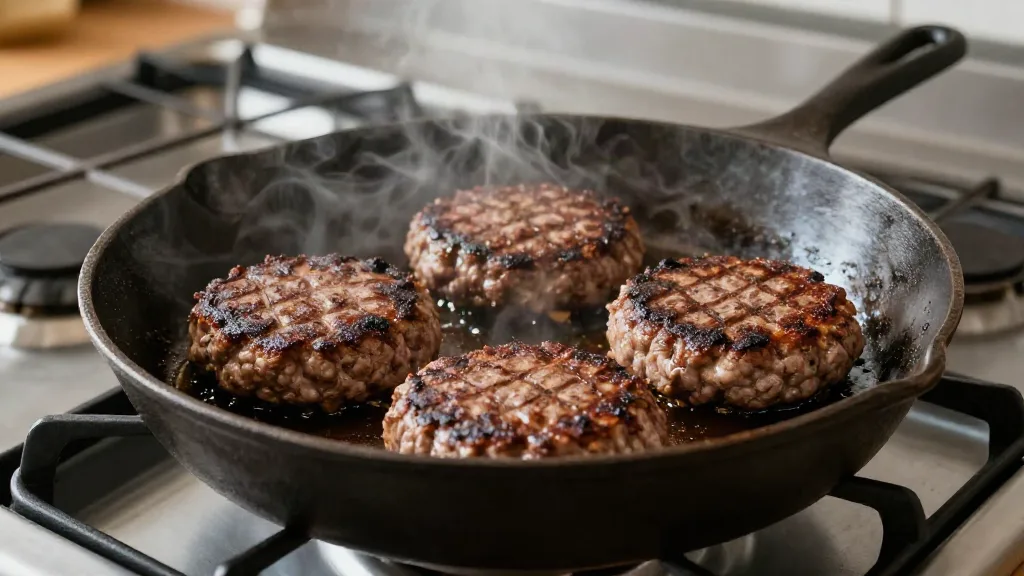
Ground Beef and Burgers: The 160°F Rule
Ground beef is the one beef product where I never cook to preference. It goes to 160°F every time.
Why Ground Beef Is Different
On a whole steak, bacteria live on the surface, and a hard sear kills them. When beef is ground, the surface gets mixed all the way through, so the center of a burger can carry the same bacteria as the outside of the original cut. That’s why the USDA sets 160°F for ground beef and doesn’t allow the 145°F-plus-rest approach used for whole cuts.
How to Check a Burger
Use an instant-read thermometer and insert it through the side of the patty so the tip sits right in the center. The USDA’s ground beef guidance recommends inserting it at least ½ inch into the thickest part, and taking a second reading if you’re unsure. As that guidance notes, a patty cooked to 160°F throughout can be safe and juicy, whatever its color.
Keeping Burgers Juicy at 160°F
- Choose an 80/20 blend. The fat keeps a well-done burger juicy.
- Don’t press the patty. Pressing it with a spatula squeezes out the juice.
- Make a shallow dimple in the center of each raw patty with your thumb, so it cooks flat instead of puffing up in the middle.
- Rest for 2 to 3 minutes before serving.
Chicken: Safe, Juicy and Never Dry
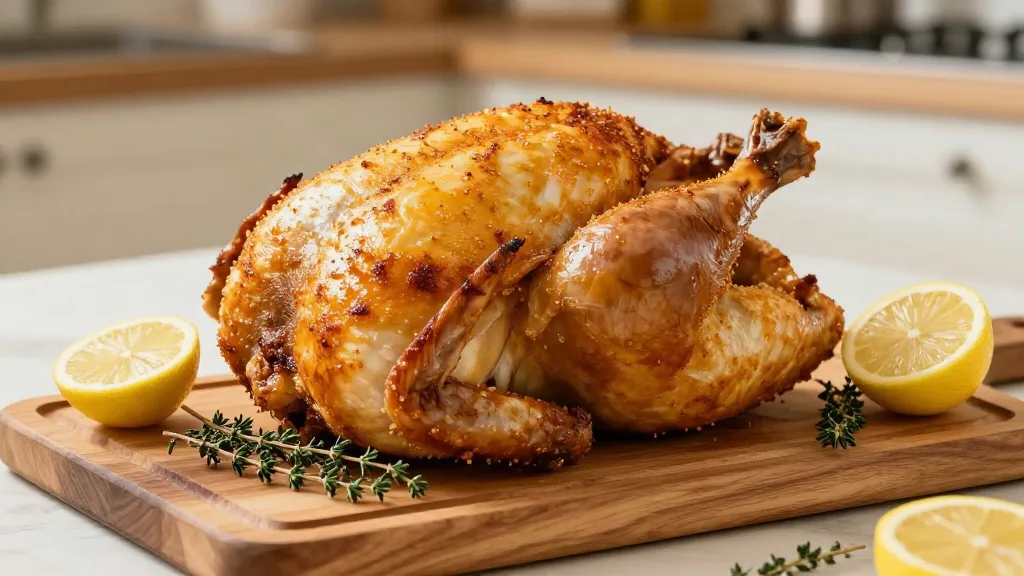
Chicken is where most home cooks overcook, mostly out of fear. The fix isn’t cooking it less. It’s cooking it to exactly the right temperature and no further.
Breasts: 165°F and Not a Degree More
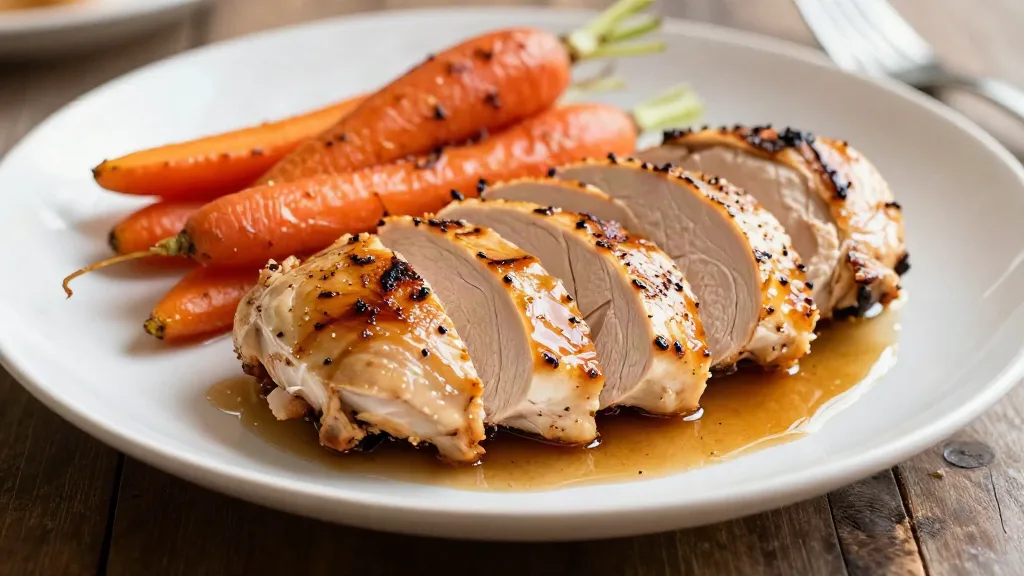
Chicken breast is lean, so it goes from juicy to dry fast. At 165°F it’s safe and still moist. At 175°F it’s noticeably drier. Most “dry chicken” problems come from cooking breasts to the same temperature as thighs, or from not checking at all.
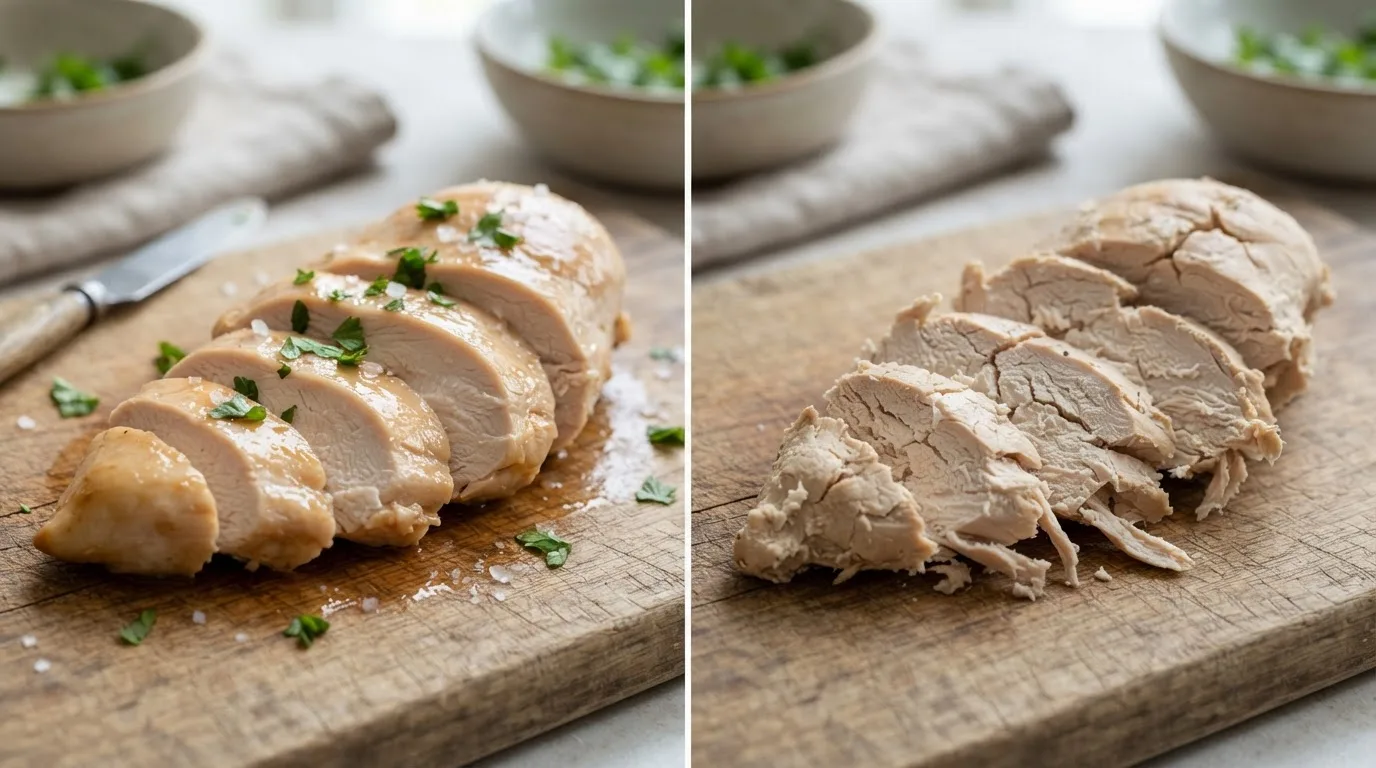
Because breasts are thick at one end and thin at the other, always probe the thickest part from the side. If your breasts are very uneven, pound them to an even thickness first, or cut them in half horizontally. My guide on how to cook chicken covers both methods in detail.
Thighs and Drumsticks: Higher Is Better
Dark meat is safe at 165°F, but it’s at its best around 175–185°F. Thighs and legs have more connective tissue and fat. At higher temperatures, that connective tissue softens, and the meat becomes tender rather than rubbery. Because of the extra fat, it stays juicy even at these higher temperatures.
Whole Chicken
A whole bird is tricky because the breast and thighs want different temperatures. Here’s what works for me:
- Spatchcock it. Removing the backbone and flattening the bird lets the thighs, which need more heat, sit closer to the heat source.
- Check both places. The breast should hit 165°F and the thigh should read 175°F or higher.
- Rest it for 10 to 15 minutes before carving.
AVOID THIS: Don’t wash raw chicken. The CDC advises against it, because rinsing splashes bacteria around your sink and counters. Cooking to 165°F is what makes chicken safe.
Turkey: Getting the Big Bird Right
A whole turkey is the biggest temperature challenge most home cooks face, usually once a year, with the whole family watching.
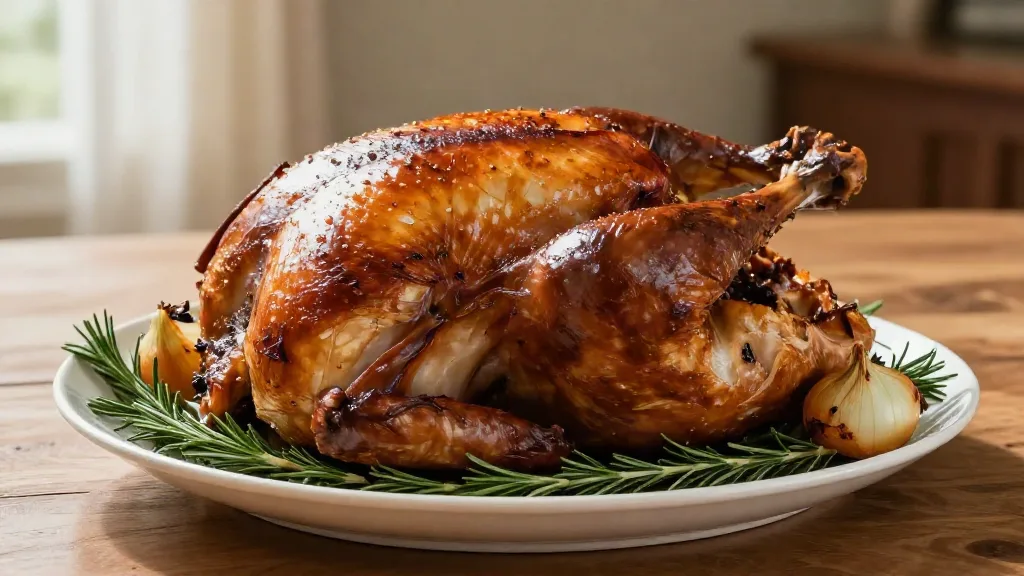
The Target Temperatures
The USDA minimum for turkey is the same as for any poultry: 165°F. Check three places, as the USDA thermometer guidance recommends: the innermost part of the thigh, the innermost part of the wing, and the thickest part of the breast.
Some older references, such as the Minnesota Department of Health’s turkey guide, list higher targets, like 180°F in the thigh and 170°F in the breast. Those numbers make sense for texture in the dark meat, but cooking the breast past 165°F is the main reason turkey breast comes out dry.
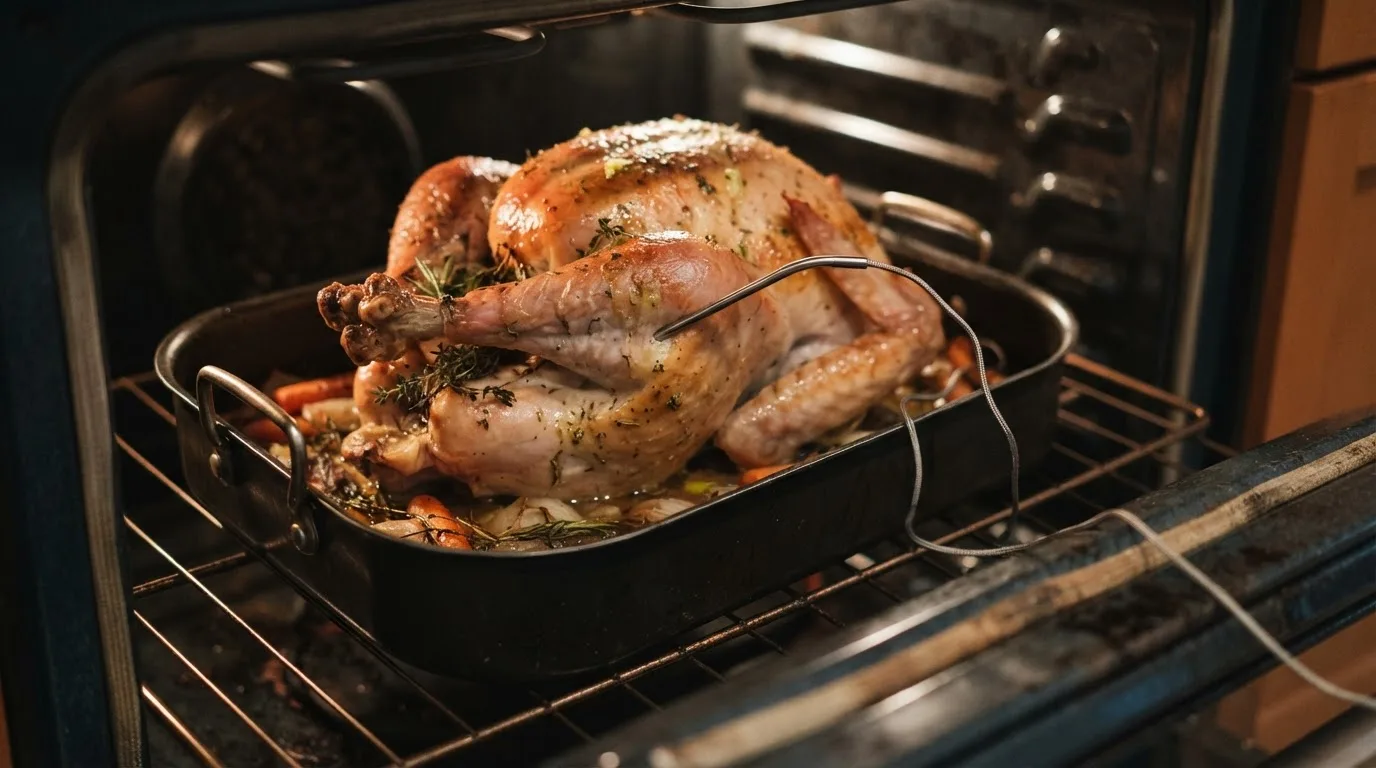
Planning Around the Thaw
The temperature plan starts days before you cook. A frozen turkey thaws in the refrigerator at about 24 hours for every 4 to 5 pounds, according to the Minnesota Department of Health. A 20-pound bird needs about 5 days. A partially frozen turkey cooks unevenly, with the outside done long before the center. For the detailed full method, see my guide on how to thaw a turkey.
Stuffing
Stuffing cooked inside the bird must also reach 165°F at its center. By the time it gets there, the breast is usually overcooked. I bake stuffing in a separate dish, which the Minnesota Department of Health also recommends for more even cooking.
Carving and Resting
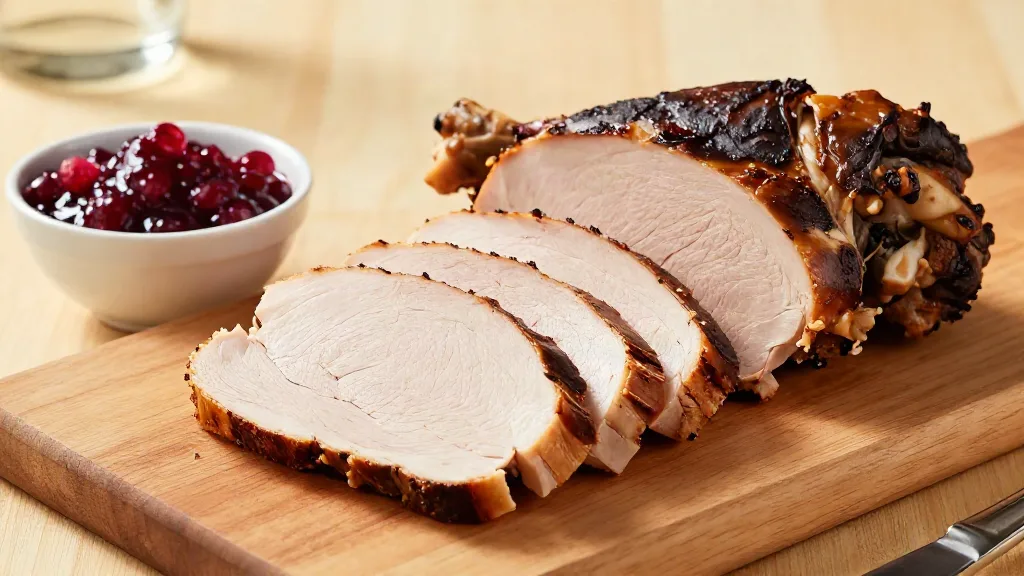
Rest a whole turkey for 20 to 30 minutes, loosely tented with foil. The temperature will climb a few more degrees, the juices settle, and you’ll have time to make the gravy. For the full method, from brining to carving, see my guide on how to cook a turkey.
Troubleshooting Common Temperature Problems
Even with a thermometer, things go wrong. Here are the problems I hear about most, and how to fix them.
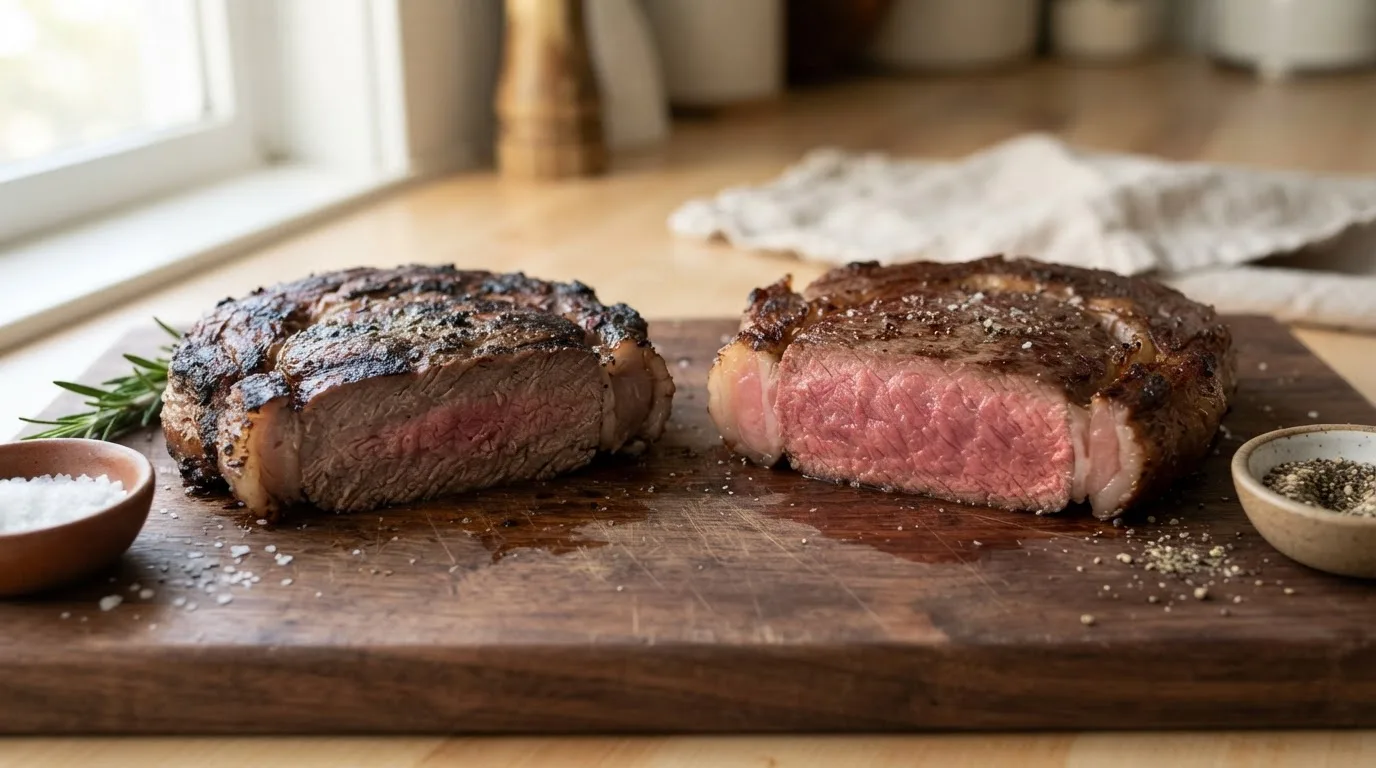
The Steak Has a Thick Gray Band
A thick gray ring under the crust means the outside overcooked while the center was still catching up. It’s caused by cooking a thick steak entirely over very high heat.
Fix it next time:
- Use the reverse sear for anything 1½ inches or thicker.
- Let the steak sit at room temperature for 30 minutes before cooking so the center isn’t ice-cold.
- Flip every minute or so during searing, which cooks the steak more evenly.
The Chicken Is Safe but Dry
This almost always means it went well past 165°F, either because nobody checked or because it cooked on too long after the first check.
Fix it next time:
- Start checking 5 to 10 minutes before the recipe says it’s done.
- Pull breasts as soon as the thickest part reads 165°F.
- Try brining. A simple salt brine helps the meat hold more moisture, giving you a buffer against overcooking.
The Temperature Readings Keep Jumping Around
Readings that change a lot from one spot to the next usually mean the probe is hitting bone, fat, or a thin section.
Fix it next time:
- Probe the thickest part, away from bone.
- Take readings in two or three places and trust the lowest one.
- Calibrate the thermometer. A failing thermometer often gives erratic readings.
The Roast Overshot Its Target
If you pulled a roast at your exact target and it ended up 10 degrees past it, carryover is the culprit.
Fix it next time:
- Pull large roasts 8 to 12 degrees early if they cooked in a hot oven.
- Cook roasts at a lower oven temperature, which reduces carryover.
TROUBLESHOOTING FLOWCHART:
- Gray band under the crust → too much heat, too fast → reverse sear or lower the heat.
- Dry chicken breast → cooked past 165°F → check earlier, pull at 165°F, consider brining.
- Roast overshot its target → carryover → pull 8–12°F early from a hot oven.
- Burger looks done but reads low → premature browning → trust the thermometer and cook to 160°F.
- Readings jump around → probe hitting bone or fat → probe the thickest part, take several readings.
Your Path to Temperature Mastery
Key Takeaways
- Temperature beats time and color. Use time to plan and temperature to finish.
- Know the four safety numbers: 145°F plus a 3-minute rest for whole cuts, 160°F for ground meat, 165°F for all poultry, and 165°F for leftovers.
- Pull meat early. Carryover cooking adds 3 to 12 degrees after the heat is off, depending on size and heat.
- Rest every cut. From 2 minutes for a burger to 30 minutes for a turkey.
- Calibrate your thermometer and probe the thickest part, away from bone.
Your 30-Day Temperature Practice Plan
Week 1: Learn your tools. Calibrate your thermometer in ice water. Cook burgers and chicken breasts, checking temperature every time. Notice how quickly thin cuts rise at the end.
Week 2: Learn carryover. Cook two steaks of the same thickness. Pull one at your target and one 5 degrees early, and leave a probe in each while they rest. Compare where they finish and how they taste.
Week 3: Go bigger. Roast a whole chicken. Check the breast and the thigh separately, and note how far apart they are.
Week 4: Put it together. Reverse-sear a thick steak or cook a small beef roast, using everything you’ve learned about pull temperatures, carryover and resting.
Frequently Asked Questions
What is the safe internal temperature for meat?
It depends on the type of meat. According to the USDA, whole cuts of beef, pork, veal and lamb are safe at 145°F, followed by a 3-minute rest. Ground beef, pork and sausage need to reach 160°F. All poultry, including whole birds, parts and ground chicken or turkey, needs to reach 165°F. Leftovers and casseroles should be reheated to 165°F. These numbers are minimums for safety, not targets for texture. Many cooks take steaks lower for doneness preference and take chicken thighs higher for tenderness. Always measure in the thickest part of the meat, away from bone, using a calibrated thermometer.
Why do I need to pull meat before it reaches the target temperature?
Because meat keeps cooking after you take it off the heat. The outer layers are much hotter than the center, and that heat keeps moving inward during resting. This is called carryover cooking. A thin steak might rise 3 to 5 degrees, while a large roast from a hot oven can rise 10 degrees or more. If you pull at your exact target, you’ll overshoot it. The fix is to pull early by the right amount for the cut and cooking method, then let carryover finish the job. The one exception is poultry, which should already read 165°F when you pull it.
Is it safe to eat a steak cooked medium-rare?
The USDA’s safe minimum for whole cuts of beef is 145°F with a 3-minute rest, which is roughly medium. Medium-rare, at around 130°F, is below that minimum. Many people choose to eat whole-muscle steaks this way, because bacteria on a whole steak are mostly on the surface, and searing kills them. That’s a personal decision, and the risk is not the same as with ground beef, which should always reach 160°F. People at higher risk, including young children, older adults, pregnant women and anyone with a weakened immune system, should follow the USDA minimum.
How long should I rest meat after cooking?
Resting time depends on the size of the cut. Burgers need 2 to 3 minutes, steaks and chops 5 to 10 minutes, chicken breasts about 5 minutes, and a whole chicken 10 to 15 minutes. Beef roasts do best with 15 to 20 minutes, and a whole turkey needs 20 to 30 minutes. For whole cuts of beef, pork, veal and lamb, the USDA’s 3-minute rest is also part of the food-safety recommendation. During resting, the temperature evens out through the meat and the juices settle, so less of the moisture runs out when you slice it.
Where should I put the thermometer in a whole chicken or turkey?
Check three places: the innermost part of the thigh, the innermost part of the wing, and the thickest part of the breast. In each spot, keep the tip of the probe away from bone, because bone conducts heat and gives a falsely high reading. All three readings should reach at least 165°F. In practice, the breast usually gets there first and the thigh last. Many cooks wait until the thigh reaches 175°F or more for better texture, which is why spatchcocking, or flattening the bird, helps the two parts finish closer together.
Can I trust the pop-up timer in a turkey?
Pop-up timers are reasonably accurate when they’re placed correctly. The USDA says they’re reliable to within 1 to 2°F. The problem is that they’re usually placed in the breast, and they only tell you about that one spot. The thigh, which takes longest to cook, may still be under temperature when the timer pops. There’s also no way to know if a particular timer was placed well. The USDA recommends confirming with a conventional food thermometer in the thigh, wing and breast. A pop-up timer is a helpful reminder, not a replacement for a proper reading.
Why is my burger brown inside but the thermometer says it’s not done?
This is called premature browning, and it’s common. The meat’s pigment can oxidize during storage or thawing, so the inside turns brown before it actually reaches a safe temperature. USDA research found that more than a quarter of fresh patties browned early, some at just 131°F. A Kansas State University study found premature browning in nearly half of retail ground beef patties. The opposite can also happen: some patties stay pink above 160°F. Color simply isn’t reliable for ground beef. Trust the thermometer, and cook every burger to 160°F.
How do I know if my meat thermometer is accurate?
Test it in ice water. Fill a tall glass with ice, add water to fill the gaps, stir, and insert the probe at least 2 inches into the center without touching the sides or bottom. After the reading settles, it should show 32°F. If it’s off and has a calibration button or nut, adjust it. If not, note the difference and add or subtract it from every target, for example cooking to 162°F instead of 160°F if it reads 2 degrees high. If it’s off by more than a few degrees, replace it. Test before every big cook.
What temperature should chicken thighs be cooked to?
Chicken thighs are safe at 165°F, the same as all poultry. However, most cooks, including me, prefer to cook them to 175–185°F. Thighs contain more connective tissue and fat than breasts. At higher temperatures, that connective tissue softens, so the meat becomes tender instead of chewy, and the fat keeps it juicy. This is the opposite of chicken breasts, which dry out quickly above 165°F. If you’re cooking mixed pieces, pull the breasts first and let the thighs keep cooking, or cook them separately. Check thighs in the thickest part, away from the bone.
What’s the best type of meat thermometer for home cooks?
For most home cooks, a digital instant-read thermometer is the best single tool. It reads in a few seconds and works for everything from a thin chicken breast to a thick roast. If you cook a lot of roasts, whole birds or thick steaks with the reverse sear, a leave-in probe thermometer is a great second tool, because it lets you watch the temperature without opening the oven. Whatever you choose, look for one that can be calibrated. Dial thermometers work but are slow and need deep insertion, which makes them poor for thin cuts.
Professional Tips for Precision Cooking
THE OVERNIGHT DRY BRINE: Salt steaks, chops and whole chickens a day ahead and leave them uncovered in the fridge. The surface dries out, so it browns faster at the same temperature, and the seasoning reaches deeper into the meat.
THE SCIENCE OF THE STALL: Big cuts like brisket and pork shoulder can sit at the same temperature for hours during a long, low smoke. This “stall” happens because moisture evaporating from the surface cools the meat. It’s normal. Don’t crank up the heat; wait it out, or wrap the meat to push through.
TEMPER THICK CUTS: Let thick steaks sit at room temperature for 30 to 45 minutes before cooking. The center starts warmer, so it reaches your target before the outside overcooks.
WRITE IT DOWN: Keep a simple log of cut, weight, oven temperature, pull temperature and final temperature. After five or six cooks, you’ll know exactly how your own kitchen behaves.
Take Action: Start Cooking by Temperature Today
If you’re just starting: Calibrate your thermometer and cook chicken breasts to exactly 165°F. My guide on how to use a meat thermometer walks you through it step by step.
If you’re ready for more: Master carryover with a thick steak. Start with my complete guide on how to cook steak.
If you’re ready for a challenge: Take on a whole bird with my guide on how to cook a turkey.
📊 Track Your Progress
- Log the pull temperature and final temperature for every cook.
- Note how many degrees each cut carries over in your oven.
- Re-check your thermometer’s calibration once a month.
- Photograph the inside of each steak next to its final temperature, to train your eye to match the numbers.
That gray rib roast was the last expensive cut I ever ruined by guessing. These days, the thermometer comes out before the pan does, and the only surprise at the table is how good everything tastes. Pick one cut this week, cook it by temperature, and see the difference for yourself. Then tell me how it went. I read every message that comes through the contact page.