
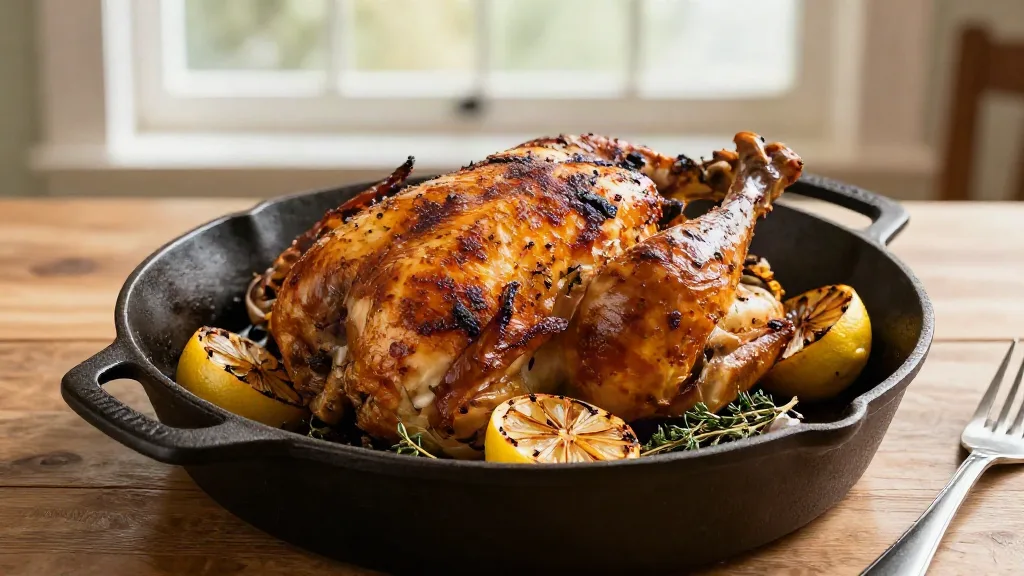
How to Cook Chicken: The Complete Guide to Juicy, Safe Chicken Every Time
The night I cut into a chicken breast and watched it crumble like sawdust, I realized I had been cooking chicken out of fear. I was so worried about undercooking it that I cooked every piece until it was dry, chewy and safe, but not worth eating. That fear was costing me every single chicken dinner.
I’m far from alone. Chicken is America’s favorite meat by a wide margin. According to USDA Economic Research Service figures reported by Feedstuffs, Americans are expected to eat about 102.8 pounds of chicken per person in 2026, more than any other animal protein. Yet the CDC estimates that about 1 in 25 packages of chicken at the grocery store is contaminated with Salmonella, which is exactly why so many of us overcook it.
My own chicken disasters filled years of dinners: rubbery breasts I reheated into leather, thighs with flabby, pale skin, a roast chicken whose breast was dry by the time the legs were done, and one memorable batch of wings that stuck to the pan and tore apart.
If you’ve been cooking chicken “until the juices run clear,” or cutting into it to check for pink, you’re relying on signals that don’t actually tell you if it’s safe or if it’s overcooked. Before we go further, keep my meat internal temperature guide close, because everything in this guide comes back to one number.
Here’s what changed everything for me: safe chicken and juicy chicken are not opposites. The USDA’s 165°F target is a precise point, not a minimum you should blow past. Hit it exactly in the breast, take dark meat a little higher, season early, dry the skin and use the right method for each cut, and you’ll serve chicken that’s both perfectly safe and genuinely delicious. This guide shows you how, cut by cut.
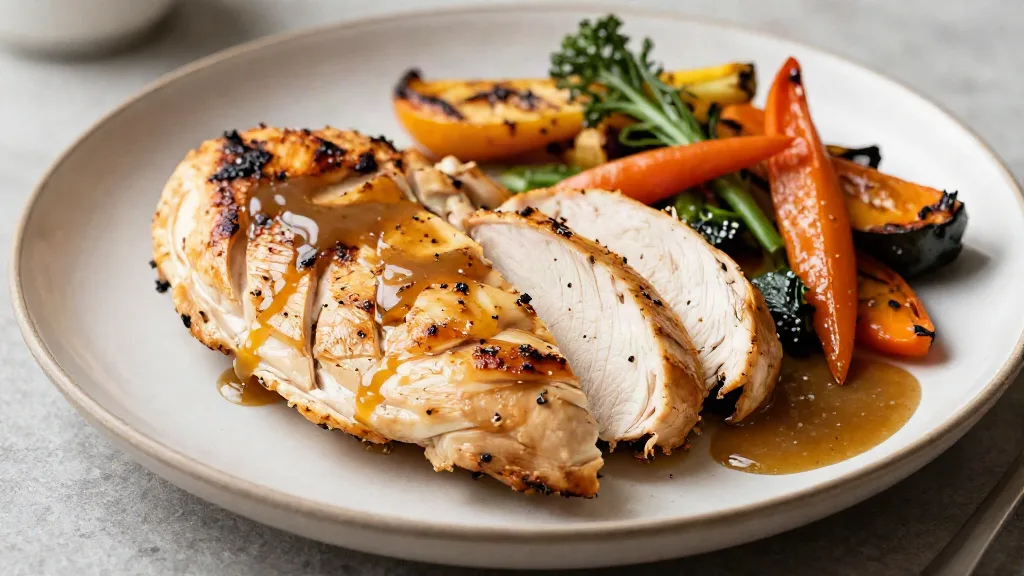
Chicken Quick Reference
Safe Temperature and My Targets
The USDA says all poultry, including whole birds, parts and ground chicken, is safe at 165°F. Here’s how I apply that to each cut:
| Cut | Safe minimum | My target | Why |
|---|---|---|---|
| Boneless breast | 165°F | 165°F | Lean meat dries out quickly above 165°F |
| Bone-in breast | 165°F | 165°F | Same as above |
| Thighs and drumsticks | 165°F | 175–185°F | More connective tissue; much more tender when cooked higher |
| Wings | 165°F | 175–190°F | Renders the fat and crisps the skin |
| Whole chicken | 165°F | Breast 165°F, thigh 175°F+ | Check both separately |
| Ground chicken | 165°F | 165°F | Grinding spreads bacteria through the meat |
Roasting Times at 350°F
These approximate times come from the USDA’s Chicken From Farm to Table guide. Always confirm with a thermometer.
| Cut | Weight | Approximate time |
|---|---|---|
| Whole chicken | 3–4 lb | 1¼–1½ hours |
| Bone-in breast halves | 6–8 oz | 30–40 minutes |
| Boneless breast halves | 4 oz | 20–30 minutes |
| Legs or thighs | 4–8 oz | 40–50 minutes |
| Drumsticks | 4 oz | 35–45 minutes |
| Wings | 2–3 oz | 30–40 minutes |
Storage
- Raw chicken in the fridge: 1 to 2 days.
- Cooked chicken in the fridge: 3 to 4 days.
- Raw chicken in the freezer: about 9 months for parts and 1 year for whole birds, for best quality. Frozen chicken stays safe indefinitely.
Why Chicken Is So Easy to Overcook
Chicken has a reputation for being boring and dry. The problem isn’t the chicken. It’s how we’ve been taught to cook it.
Fear of Undercooking
Because raw chicken can carry Salmonella and Campylobacter, many of us were taught to cook it “until it’s done, and then some.” The result is chicken cooked to 180°F or more. Breast meat at that temperature has lost much of its moisture.
The fix is simple: use a thermometer and stop at the right temperature. A chicken breast at exactly 165°F is safe and juicy. One at 180°F is just as safe, and much drier.
Why “Juices Running Clear” Doesn’t Work
Clear juices and white meat are traditional signs of doneness, but they’re not reliable. Chicken can look done before it reaches a safe temperature, or stay slightly pink after it’s fully cooked, especially near the bone or when it’s grilled or smoked. The USDA’s thermometer guidance is clear: the only way to know food is cooked to a safe temperature is to measure it.
White Meat and Dark Meat Are Different
Chicken breast is lean, with very little fat or connective tissue. It’s at its best at exactly 165°F. Dark meat, from the thighs and legs, has more fat and more connective tissue. At 165°F it’s safe, but it can be slightly chewy and rubbery. Cooked to 175–185°F, the connective tissue softens and the meat becomes tender, while the extra fat keeps it juicy.
That’s why cooking a whole chicken is tricky, and why cooking breasts and thighs separately is often easier.
METHOD TIP: The single biggest upgrade most home cooks can make is buying a $20 instant-read thermometer. Chicken is the meat where it pays for itself fastest.
Choosing Your Chicken
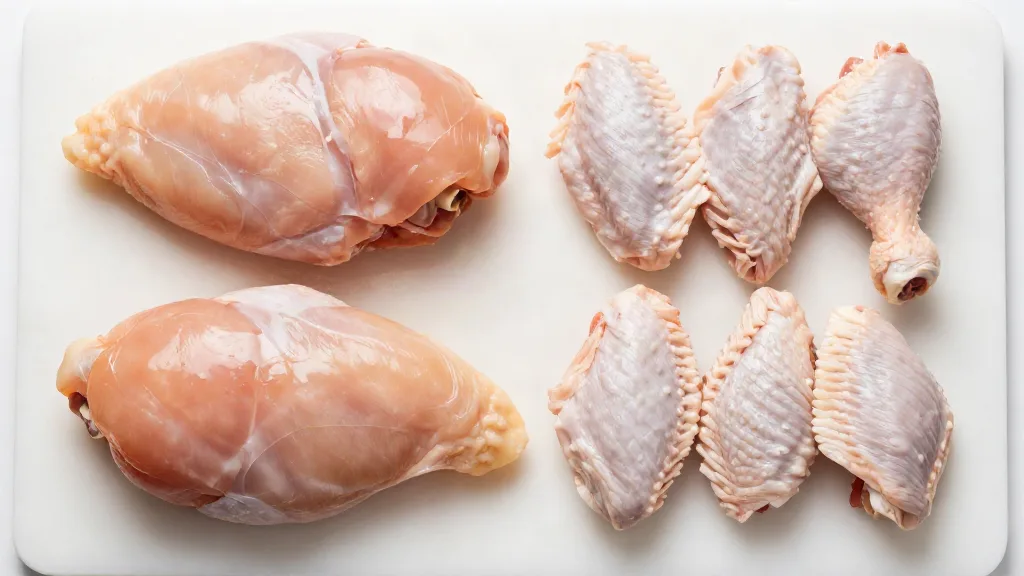
The Main Cuts
- Boneless, skinless breasts: The most popular cut and the easiest to overcook. Lean, mild and quick to cook.
- Bone-in, skin-on breasts: More forgiving than boneless. The bone and skin help protect the meat from drying out.
- Thighs: My favorite cut for weeknights. Full of flavor, hard to overcook, and usually cheaper than breasts. Available boneless and skinless, or bone-in with skin.
- Drumsticks: Inexpensive, flavorful dark meat. Great for roasting and grilling.
- Wings: Mostly skin and fat, which is why they get so crispy when cooked well.
- Whole chicken: The best value per pound, and the most impressive to serve.
Understanding the Labels
Chicken labels can be confusing. Here’s what a few common ones mean, based on the USDA:
- “Fresh”: The chicken has never been held below 26°F.
- “Frozen” or “previously frozen”: The chicken has been held at 0°F or below.
- “No hormones added”: No hormones are used in raising chickens in the U.S. at all, so this applies to every chicken in the store.
- Use-by dates: These are for quality, not safety. Follow the storage times above.
Woody Breast
If you’ve ever bitten into a chicken breast that was tough, hard and stringy even when you didn’t overcook it, you may have met “woody breast,” a muscle condition in fast-growing broiler chickens. It’s common. A 2022 study in PLOS ONE of broilers in Ontario, Canada, found severe woody breast in about 11.8% of birds, and white striping, a related condition, in 96%.
Woody breast is safe to eat, but no cooking method will make it fully tender. Affected breasts usually feel hard and rigid when raw, especially toward the thick end. If you notice it, cut those breasts thin, pound them, or use them in dishes like chicken salad or soup.
How Much to Buy
- Boneless breasts or thighs: about 6 to 8 ounces per person.
- Bone-in pieces: about 8 to 12 ounces per person.
- Whole chicken: a 4-pound chicken serves about 4 people.
Safe Handling: Thawing, Storing and Preparing Raw Chicken
Thawing Chicken Safely
The USDA lists three safe ways to thaw chicken:
- In the refrigerator: The safest method. Boneless breasts, bone-in parts and whole chickens may take 1 to 2 days or more. Chicken thawed this way can be refrozen without cooking.
- In cold water: Keep the chicken in airtight packaging and change the water every 30 minutes. A 1-pound package of boneless breasts thaws in about an hour or less, and a 3- to 4-pound whole chicken in 2 to 3 hours. Cook it right away.
- In the microwave: Cook it immediately after thawing, as parts may start to cook.
Never thaw chicken on the counter.
Cooking Chicken From Frozen
You can cook chicken straight from frozen in the oven or on the stove. The USDA says it takes about 50% longer. Don’t cook frozen chicken in a slow cooker, because it spends too long at temperatures where bacteria can grow.
Don’t Wash Raw Chicken
Washing raw chicken doesn’t make it safer. It spreads bacteria around your kitchen. In the USDA’s study on washing raw poultry, 60% of participants who washed poultry had bacteria in their sink afterward, and 26% transferred bacteria from the poultry to their salad lettuce. Cooking to 165°F is what kills the bacteria.
Instead:
- Pat the chicken dry with paper towels, then throw them away.
- Use a separate cutting board for raw chicken.
- Wash your hands with soap for 20 seconds after handling raw chicken.
- Clean and sanitize anything the raw chicken touched.
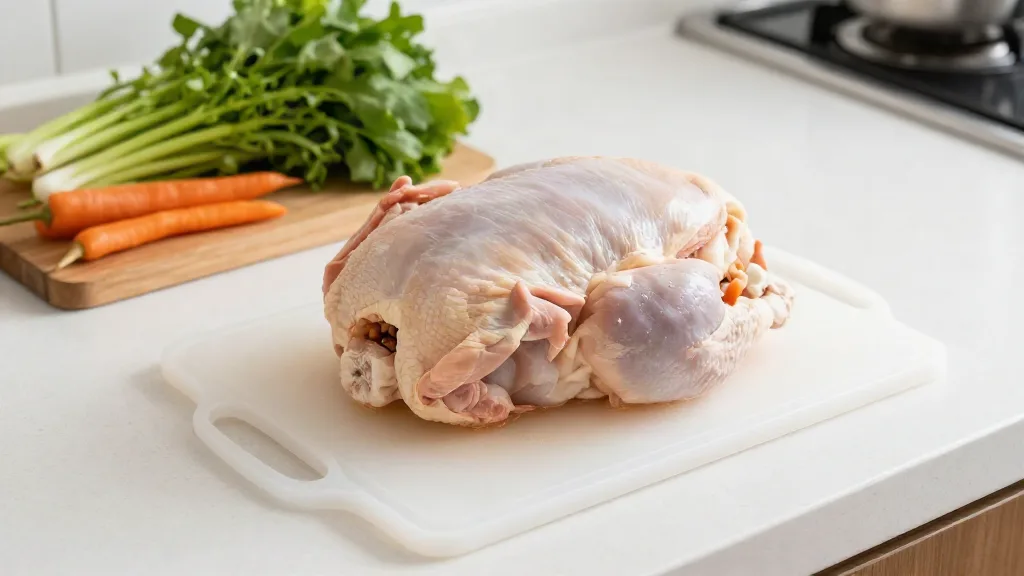
AVOID THIS: Never put cooked chicken back on the plate or board that held the raw chicken. It’s one of the most common ways people make themselves sick at a barbecue.
Preparing Chicken for Cooking
Pat It Dry
Moisture on the surface of chicken is the enemy of browning and crispy skin. Before seasoning, pat every piece completely dry with paper towels. This one step makes a visible difference.
Even Out the Thickness
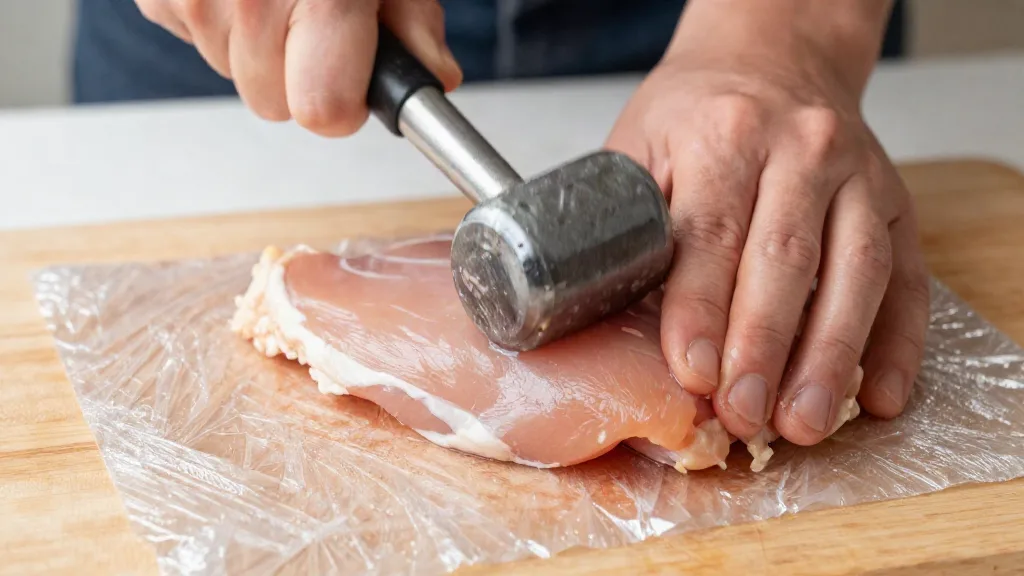
Boneless chicken breasts are thick at one end and thin at the other, so the thin end is overcooked before the thick end is safe. To fix this, place the breast between two sheets of plastic wrap and pound the thick end with a meat mallet or heavy pan until it’s an even ¾ inch thick. You can also slice a thick breast in half horizontally to make two thin cutlets.
Dry Brining
A dry brine is just salt, applied ahead of time. The salt draws moisture from the chicken, dissolves into it, and then is gradually absorbed back into the meat, seasoning it all the way through and helping it stay juicy. For skin-on chicken, it also dries the skin so it crisps beautifully.
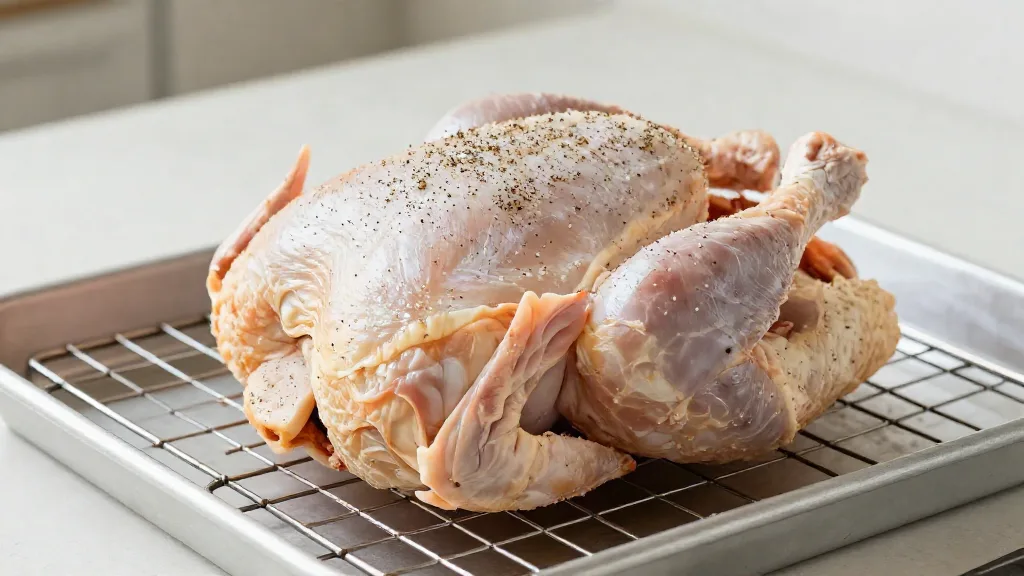
How I dry brine chicken:
- Pat the chicken dry.
- Sprinkle it evenly with kosher salt, about ½ teaspoon per pound. For a whole chicken, season under the skin of the breast and thighs too.
- Place it on a wire rack over a sheet pan.
- Refrigerate it uncovered for at least 1 hour, and up to 24 hours for skin-on pieces and whole birds.
- Don’t rinse it. Cook it straight from the fridge.
Wet Brining
A wet brine means soaking chicken in salted water. It’s a great choice for lean boneless breasts, which benefit most from extra moisture. America’s Test Kitchen compared chicken breasts brined in 6% and 9% salt solutions. The 6% chicken absorbed slightly more brine, but tasters preferred the 9% chicken for its balance of tenderness, juiciness and seasoning.
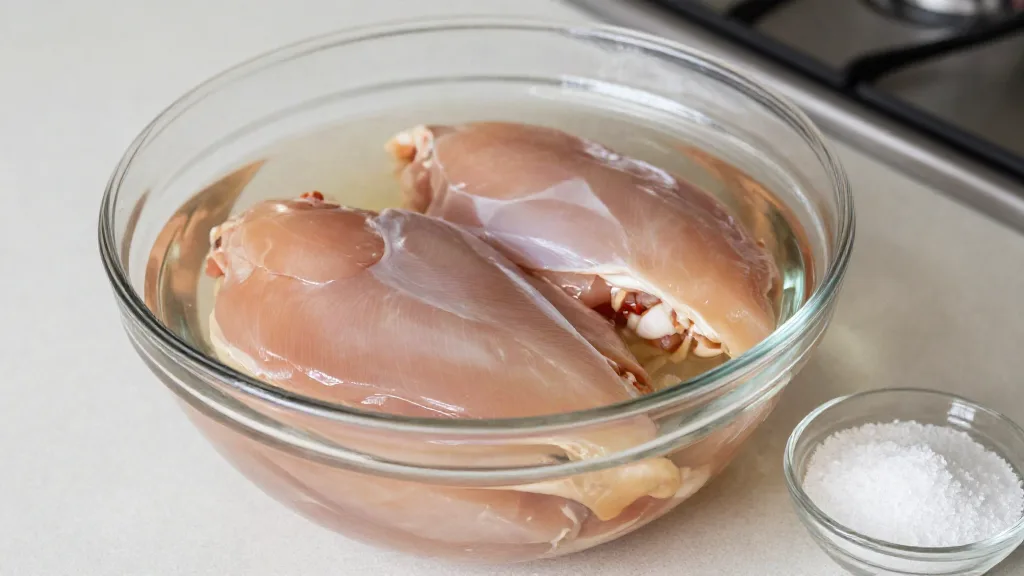
For a simple brine at home, dissolve about ¼ cup of kosher salt in 4 cups of cold water, and brine boneless breasts for 30 minutes to 1 hour in the fridge. Don’t go much longer, or the texture can become spongy. Pat them very dry afterward. My guide to brining chicken covers timing for every cut.
Seasoning
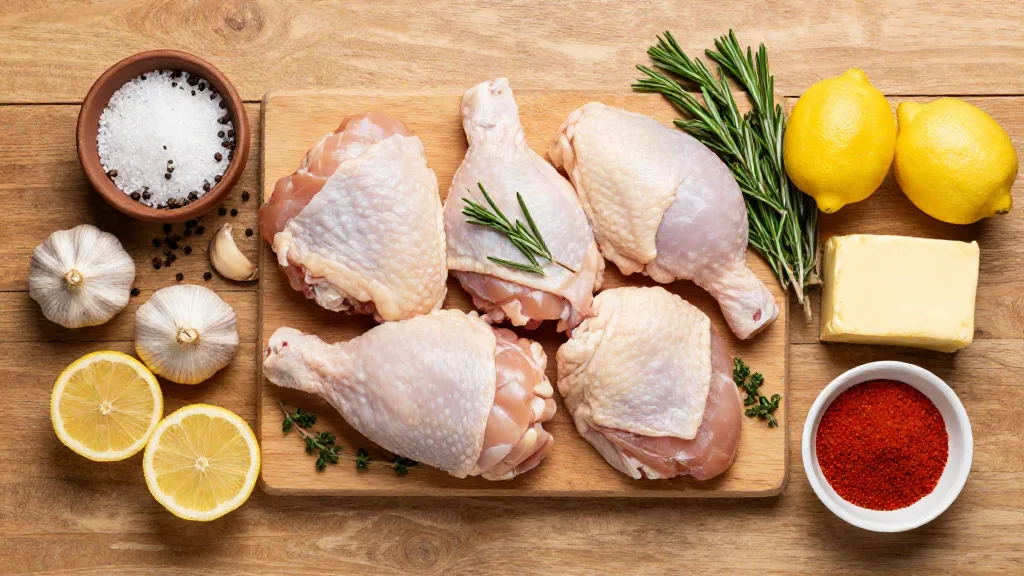
Salt is the essential seasoning. After that, the options are endless. Garlic, lemon, paprika, black pepper and fresh herbs like thyme and rosemary are classics for good reason.
METHOD TIP: Add sugar-based rubs and sauces, like barbecue sauce or honey glazes, only in the last few minutes of cooking. Sugar burns quickly at high heat, long before the chicken is cooked through.
Method 1: Pan-Seared Chicken Breasts
This is my go-to weeknight method. It takes about 15 minutes and gives you a golden crust with a juicy center.
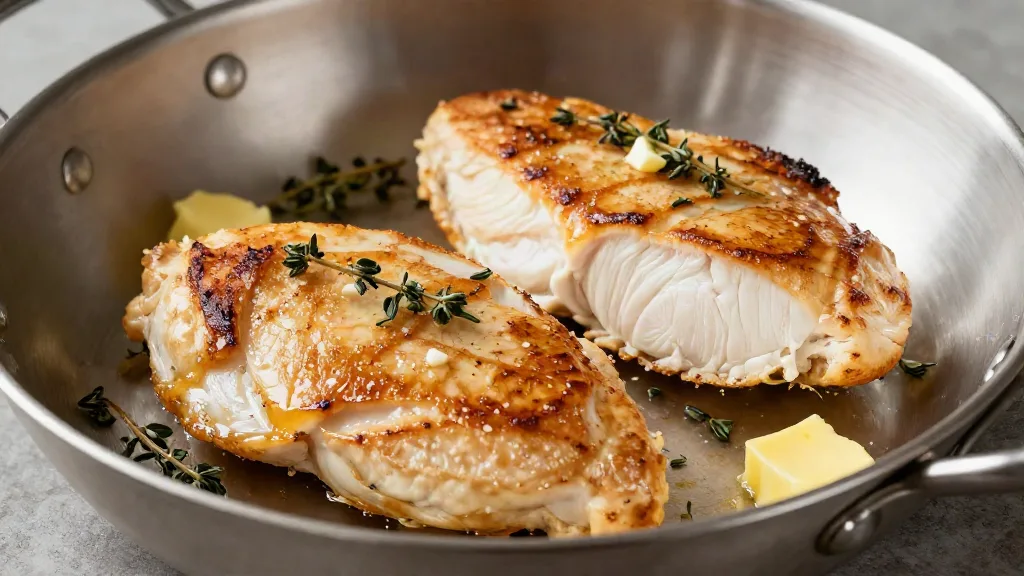
Step by step:
- Prep the breasts. Pound them to an even ¾ inch, pat them dry and season with salt. Dry brine for at least 30 minutes if you have time.
- Heat the pan. Use a heavy skillet, like cast iron or stainless steel, over medium-high heat. Add a tablespoon of oil and heat it until it shimmers.
- Sear without moving. Lay the breasts in the pan and leave them alone for 4 to 5 minutes, until the underside is deeply golden and releases easily.
- Flip and lower the heat. Turn the breasts, reduce the heat to medium, and cook for another 4 to 6 minutes.
- Baste, if you like. In the last 2 minutes, add a tablespoon of butter, a crushed garlic clove and a sprig of thyme, and spoon the foaming butter over the chicken.
- Check the temperature. Insert the thermometer through the side into the thickest part. Pull the chicken at 165°F.
- Rest for 5 minutes before slicing.
Make a quick pan sauce: While the chicken rests, pour off excess fat, add a splash of wine or stock, scrape up the browned bits, and simmer until slightly thickened. Finish with a pat of butter and a squeeze of lemon.
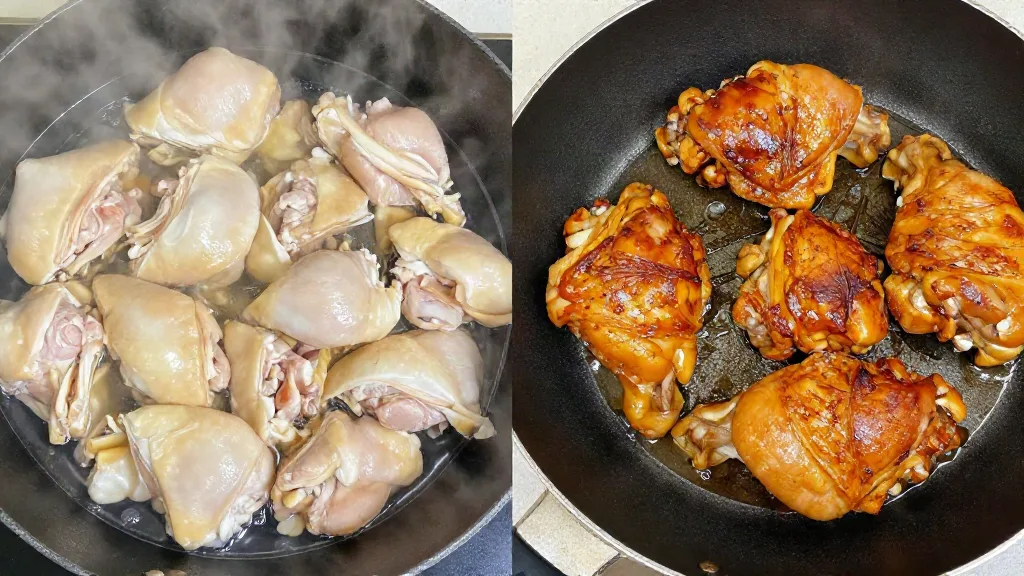
AVOID THIS: Don’t crowd the pan. Too many pieces lower the temperature, and the chicken steams in its own juices instead of browning. Leave space between each piece, and cook in batches if needed.
For more ways to keep breasts moist, see my guide to juicy chicken breast.
Method 2: Crispy Chicken Thighs
Skin-on, bone-in chicken thighs are the most forgiving chicken you can cook, and the skin gets incredibly crisp. This method starts on the stove and finishes in the oven.
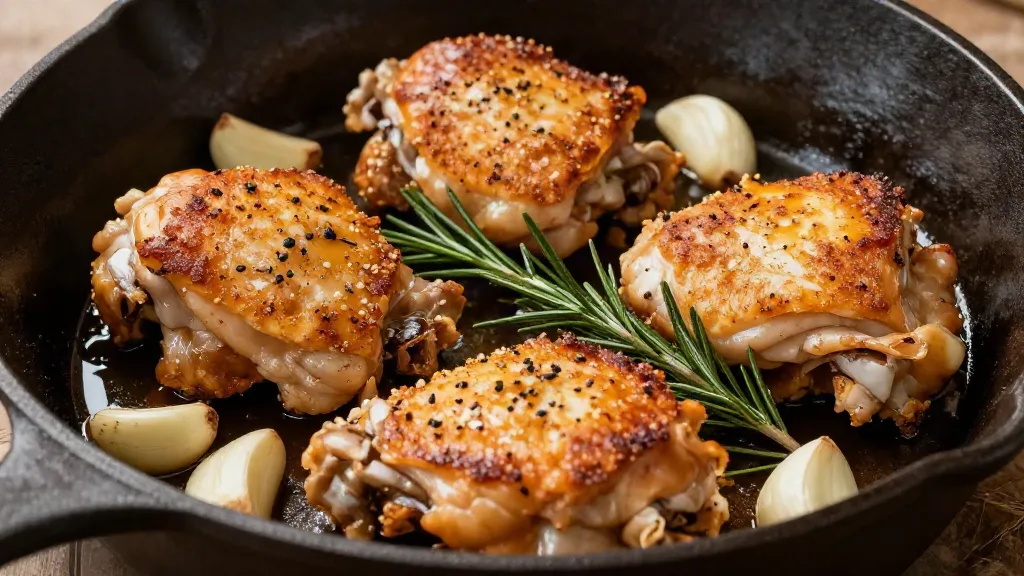
Step by step:
- Heat the oven to 425°F.
- Dry the thighs thoroughly and season them with salt, ideally a few hours ahead, left uncovered in the fridge.
- Start skin-side down in a cold or medium-hot oven-safe skillet with a teaspoon of oil. Cook over medium heat for 10 to 15 minutes without moving them. The fat slowly renders out and the skin turns deep golden and crisp.
- Flip them skin-side up and move the skillet to the oven.
- Roast for 15 to 20 minutes, until the meat near the bone reaches 175–185°F.
- Rest for 5 minutes, skin-side up, so the skin stays crisp.
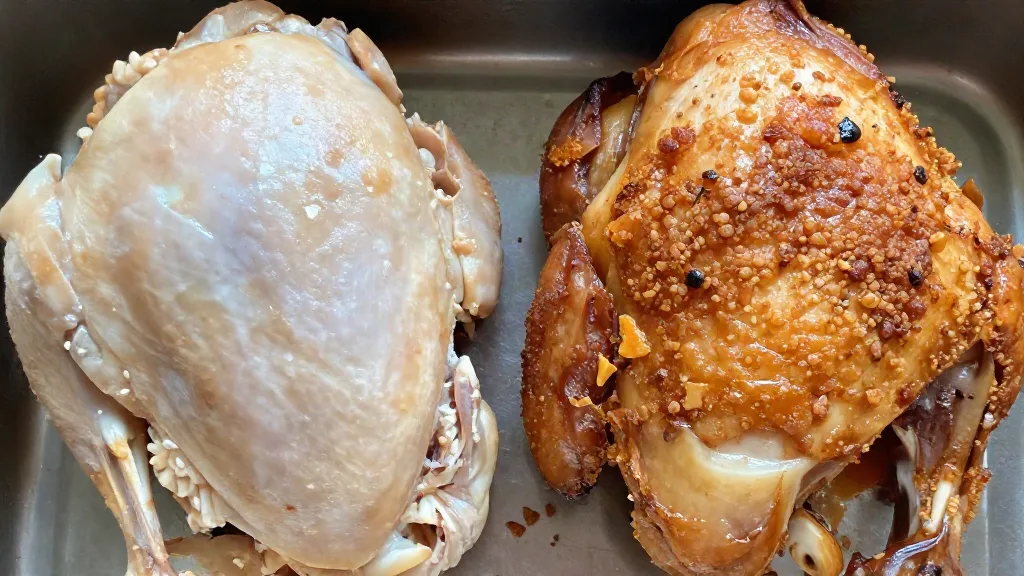
Because thigh meat has more fat and connective tissue, it stays juicy even at 185°F. This is the cut I recommend to anyone who’s nervous about cooking chicken. My guide to crispy chicken thighs covers boneless thighs and more flavor ideas.
Method 3: Roast Whole Chicken
A roast chicken is one of the most satisfying things you can cook, and once you know the method, it’s easy.
Step by step:
- Dry brine the chicken with kosher salt, ideally 12 to 24 hours ahead, uncovered on a rack in the fridge. This seasons the meat and dries the skin.
- Heat the oven to 425°F.
- Prep the bird. Pat it dry, tuck the wing tips behind the back, and tie the legs loosely, or leave them untied so the thighs get more heat. Rub the skin with a little oil or soft butter.
- Roast breast-side up on a rack or in a skillet, for about 50 to 70 minutes for a 3- to 4-pound bird.
- Check both the breast and the thigh. The breast should read 165°F; the thigh, 175°F or higher.
- Rest for 10 to 15 minutes before carving.
The higher oven temperature gives you crispier skin than the 350°F in the USDA’s chart. Expect a shorter cooking time, and rely on the thermometer. For a full recipe with variations, see my guide to the perfect roast chicken.
METHOD TIP: If the breast reaches 165°F before the thighs are done, cover the breast loosely with foil and keep roasting until the thighs catch up.
Method 4: Spatchcock Chicken
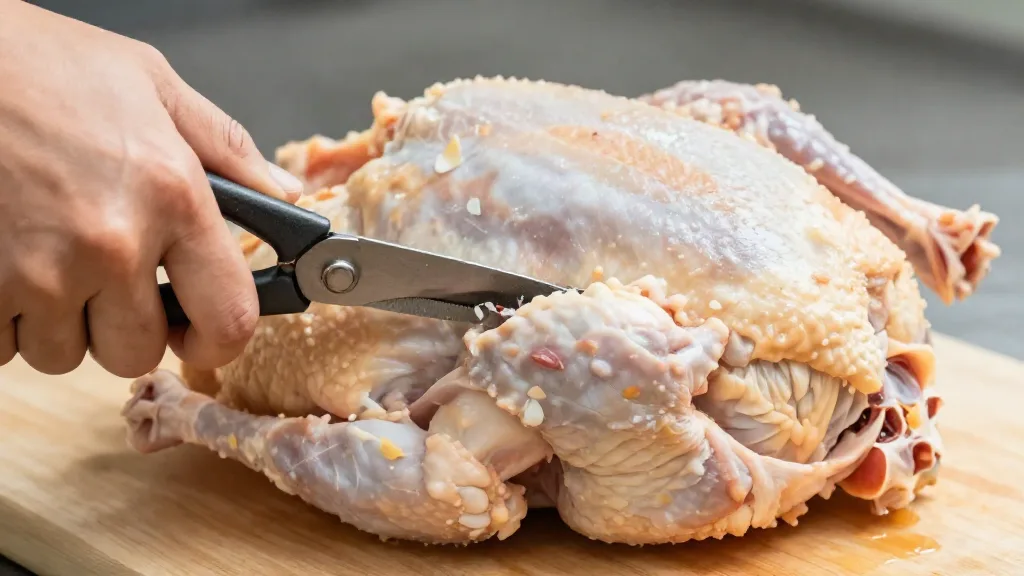
Spatchcocking means cutting out the backbone and flattening the chicken. It’s the fastest, most even way to roast a whole bird, and it solves the breast-versus-thigh problem.
Why it works:
- It cooks faster, often in 35 to 45 minutes at 450°F for a 4-pound bird.
- It cooks more evenly. The thighs are spread out and fully exposed to the heat, so they finish closer to the same time as the breast.
- All the skin faces up, so you get crisp, golden skin over the whole bird.
How to spatchcock a chicken:
- Place the chicken breast-side down on a cutting board.
- Using sturdy poultry shears, cut along both sides of the backbone and remove it. Save it for stock.
- Turn the chicken over and press firmly on the breastbone with the heel of your hand until it cracks and the bird lies flat.
- Tuck the wing tips behind the breast, season, and roast on a sheet pan at 425–450°F.
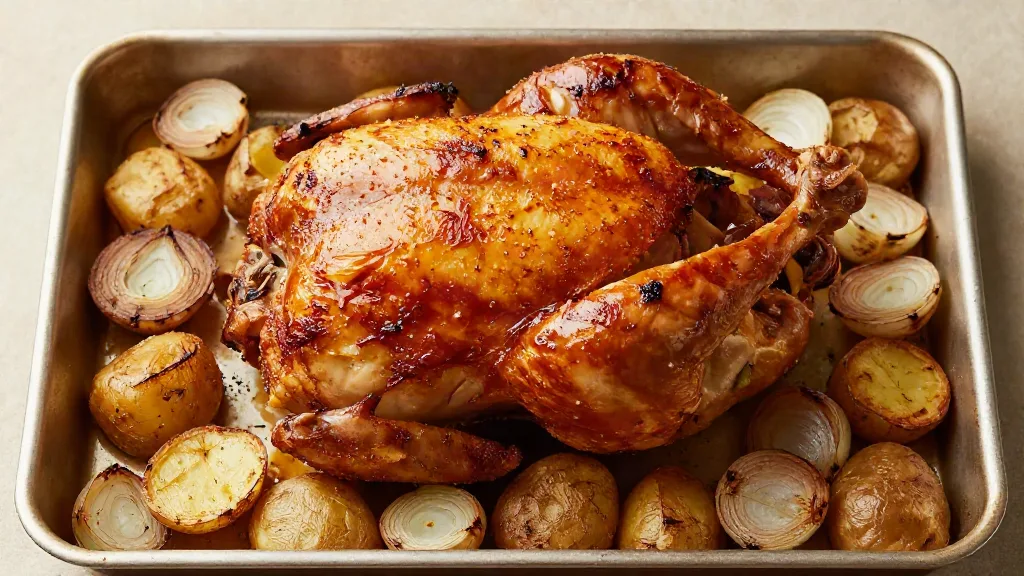
I use the same method for turkey, and you’ll find it in my guide to cooking a turkey. My guide to spatchcock chicken covers it step by step for chicken.
Method 5: Grilled Chicken
Grilled chicken gets a smoky char you can’t get indoors. The key is controlling the heat so the outside doesn’t burn before the inside is done.
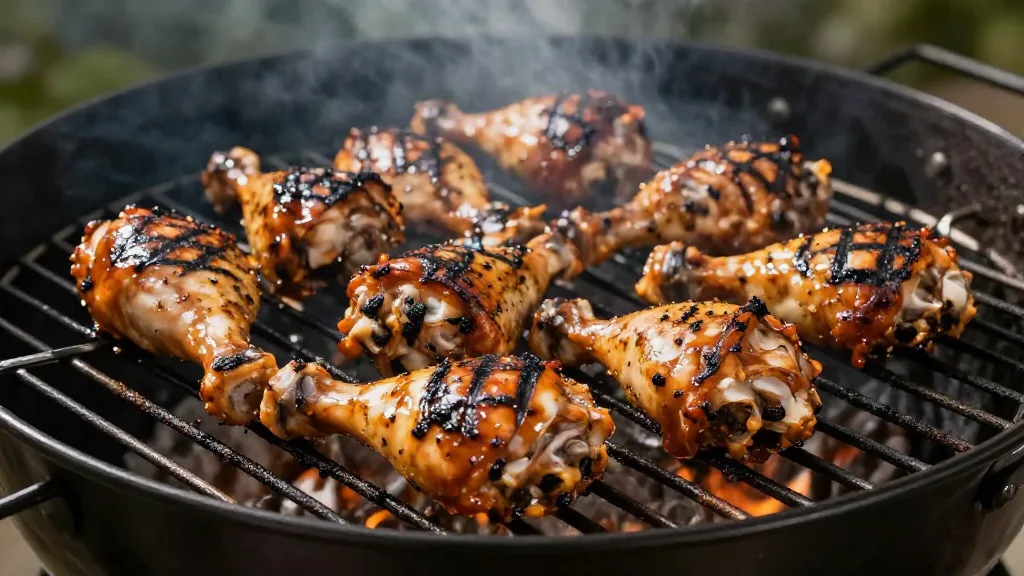
Set up two heat zones. On a charcoal grill, pile the coals on one side. On a gas grill, turn one side to high and leave the other on low or off.
- Boneless breasts and thighs: Pound breasts to an even thickness. Grill over direct medium-high heat for about 5 to 7 minutes per side, until breasts reach 165°F and thighs reach 175°F.
- Bone-in pieces: Start them over the cooler side, skin-side up, with the lid closed. When they’re nearly done, move them over the hot side to crisp and char the skin.
- Sauces: Brush on barbecue sauce or glazes only in the last few minutes, so the sugar doesn’t burn.
AVOID THIS: Flare-ups from dripping fat can char the outside of chicken in seconds. If flames jump up, move the chicken to the cooler side until they die down.
Method 6: Crispy Baked Chicken Wings
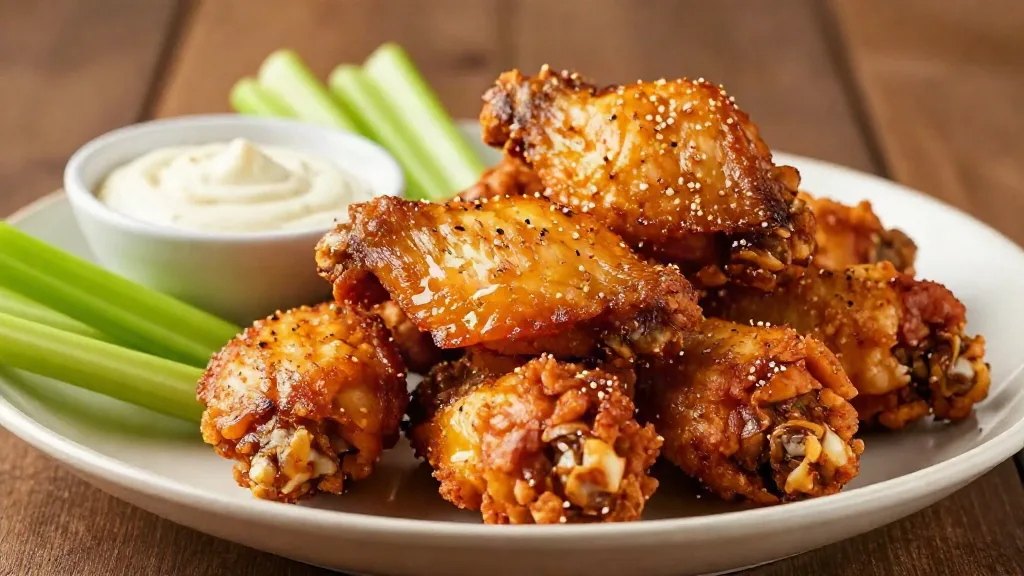
You don’t need a deep fryer for crispy wings. The secret is a dry surface, a little baking powder and a hot oven.
Step by step:
- Pat the wings completely dry.
- Toss them with salt and about 1 teaspoon of baking powder per pound. The baking powder raises the pH of the skin, helping it brown and crisp. Make sure it’s baking powder, not baking soda, and that it’s aluminum-free if you can.
- Arrange them on a wire rack over a foil-lined sheet pan, with space between each wing.
- Bake at 250°F for 30 minutes to start rendering the fat, then raise the heat to 425°F and bake for another 40 to 50 minutes, until deeply golden and crisp.
- Toss them in sauce right before serving.
Wings are safe at 165°F, but they’re at their best between 175°F and 190°F, when the fat has rendered and the skin is crisp. My guide to crispy chicken wings includes sauce ideas.
Method 7: Gently Poached Chicken
Poaching is the most underrated way to cook chicken breasts, and the best way to make tender chicken for salads, sandwiches, soups and meal prep. Because the chicken cooks gently in liquid, it’s very hard to dry out.
Step by step:
- Place boneless breasts in a pot in a single layer and cover them by about an inch with cold water or stock.
- Season the liquid generously with salt, and add aromatics like a bay leaf, a few peppercorns, a smashed garlic clove or a slice of onion.
- Bring it to a bare simmer over medium heat, with just a few small bubbles breaking the surface. Don’t let it boil.
- Turn off the heat, cover the pot and let the chicken sit in the hot liquid for 10 to 15 minutes.
- Check the temperature. Pull the breasts when the thickest part reads 165°F.
- Let them cool slightly in the liquid before slicing or shredding, so they stay moist.
Save the poaching liquid. It makes a light, flavorful broth for soups and sauces.
Knowing When Chicken Is Done
Every method above ends the same way: with a thermometer.
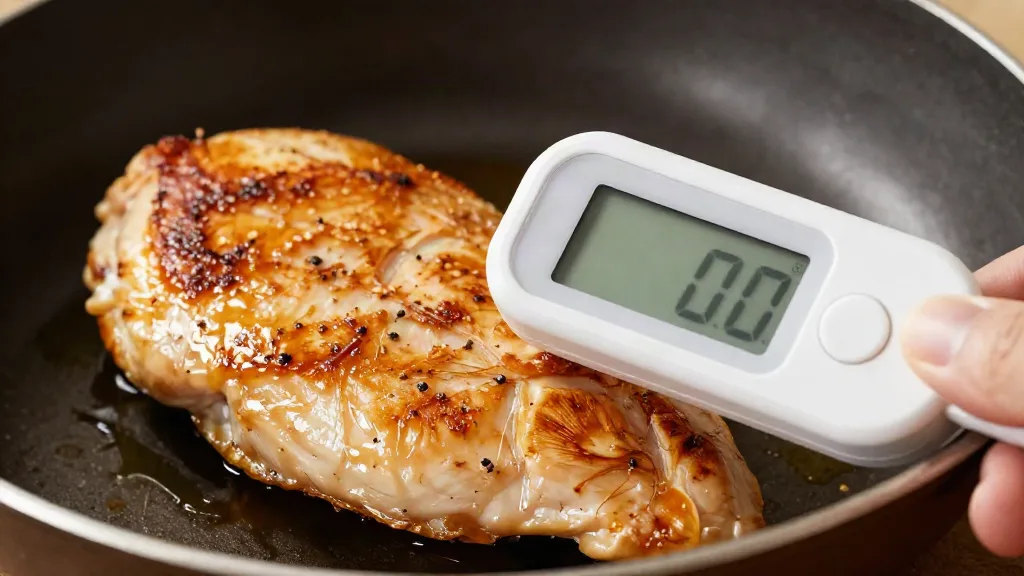
Where to Check
- Boneless breasts: Insert the thermometer through the side into the center of the thickest part.
- Bone-in pieces: Insert it into the thickest part, without touching the bone. Bone conducts heat and gives a falsely high reading.
- Whole chicken: Check the thickest part of the breast and the innermost part of the thigh. The USDA also recommends checking the innermost part of the wing.
Why 165°F Works
Bacteria in chicken are killed by a combination of heat and time. According to USDA time-temperature tables, summarized by RiverStone Health, chicken reaches the target reduction in Salmonella in less than 10 seconds at 165°F. At lower temperatures, it takes longer: about 15 seconds at 160°F, nearly a minute at 155°F, and around 3 minutes at 150°F.
That’s why 165°F is such a practical target. At that temperature, the job is done almost instantly, with no need to hold the chicken at a precise temperature for minutes at a time.
Carryover Cooking
Chicken keeps cooking for a few minutes after it comes off the heat, so its temperature can rise a few more degrees as it rests. I use that carryover for juiciness, not safety. My rule is that chicken should already read 165°F in the thickest part when it comes off the heat. My meat internal temperature guide explains carryover in detail.
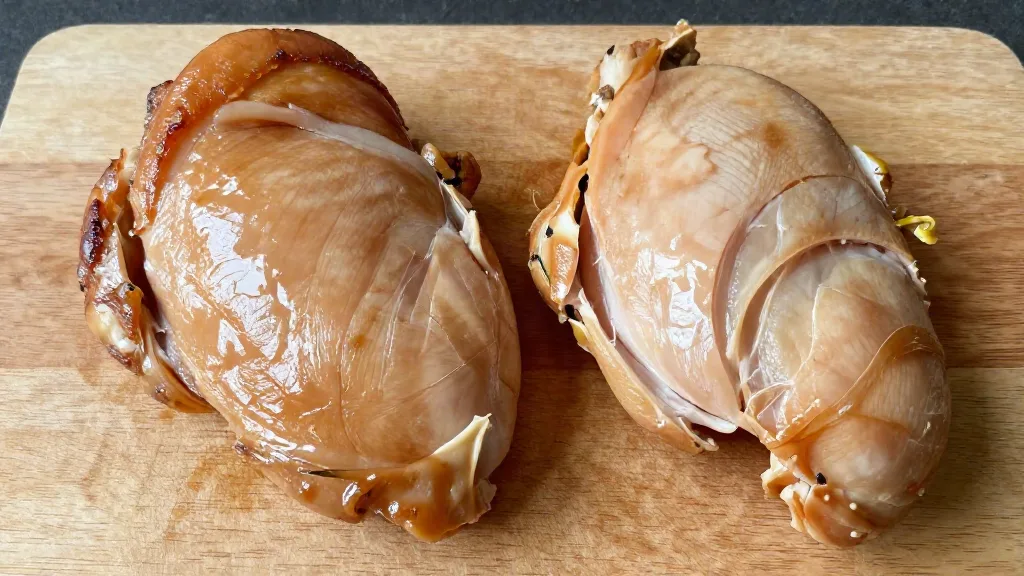
METHOD TIP: Start checking the temperature a few minutes before you expect the chicken to be done. With lean breasts, the difference between perfect and dry is often just 2 or 3 minutes.
Resting, Carving and Serving
Rest Before You Cut
Let chicken rest after cooking:
- Breasts and thighs: about 5 minutes.
- Whole chicken: 10 to 15 minutes.
During the rest, the juices settle back into the meat, so less of the moisture runs onto the board when you cut it.
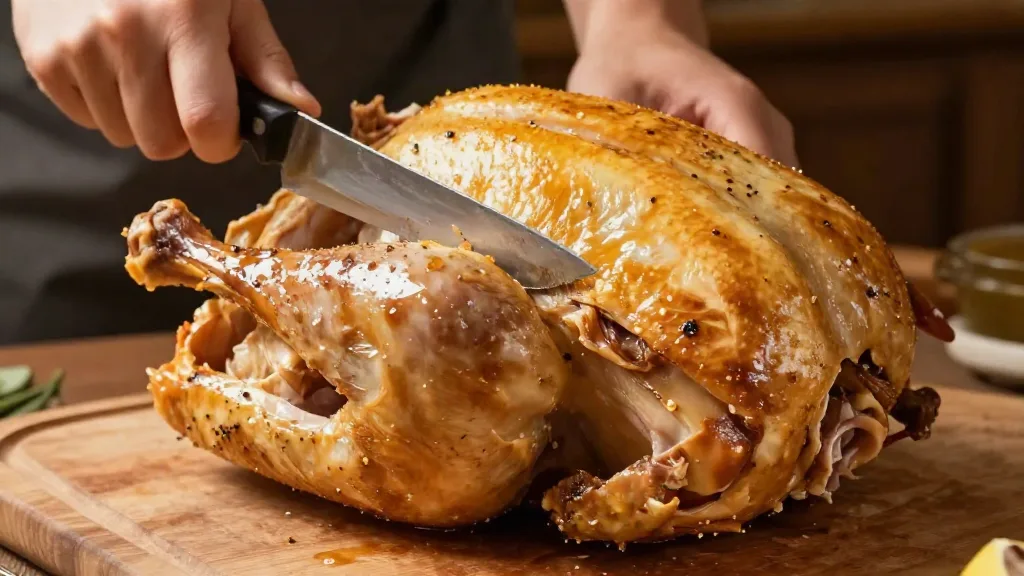
How to Carve a Whole Chicken
- Remove the legs. Pull a leg away from the body and slice through the skin. Bend the leg back until the joint pops, then cut through it.
- Separate the drumstick and thigh by cutting through the joint between them.
- Remove the wings by cutting through the joint where they meet the body.
- Remove each breast by cutting along one side of the breastbone and following the rib cage down with your knife.
- Slice the breasts across the grain.
Storing and Reheating Leftovers
According to the USDA, cooked chicken keeps for 3 to 4 days in the refrigerator, or about 4 months in the freezer. Refrigerate leftovers within 2 hours of cooking, and reheat them to 165°F. Rotisserie chicken from the store should also be refrigerated within 2 hours of purchase and used within 3 to 4 days.
Troubleshooting Common Chicken Problems
Dry Chicken Breast
Likely cause: It was cooked past 165°F, or the thin end overcooked while the thick end caught up.
Fix it next time:
- Pound breasts to an even thickness.
- Brine or dry brine them ahead of time.
- Check the temperature early and pull them at exactly 165°F.
Rubbery Thighs
Likely cause: They were cooked only to 165°F. Thigh meat needs more heat to become tender.
Fix it next time: Cook thighs to 175–185°F. They’ll be more tender and still juicy.
Pale, Flabby Skin
Likely cause: Moisture on the skin, too low a temperature, or the chicken was covered while resting.
Fix it next time:
- Dry brine the chicken uncovered in the fridge.
- Pat the skin completely dry before cooking.
- Cook at 425°F or higher, and rest skin-side up, uncovered.
Chicken Sticks to the Pan
Likely cause: The pan wasn’t hot enough, or the chicken was moved too soon.
Fix it next time: Preheat the pan until the oil shimmers, and leave the chicken alone until it releases on its own, usually after 4 to 5 minutes.
Pink Near the Bone, but the Thermometer Says It’s Done
Chicken, especially young chicken, can stay pink near the bone even when it’s fully cooked. Grilling and smoking can also turn the meat pink. If the thermometer reads at least 165°F in the thickest part, away from the bone, it’s safe.
Burnt Outside, Raw Inside
Likely cause: The heat was too high for the thickness of the chicken, or a sugary sauce was added too early.
Fix it next time: Start bone-in pieces over lower or indirect heat and finish them hot. Add sauces only at the end.
TROUBLESHOOTING FLOWCHART:
- Dry breast → cooked past 165°F or uneven thickness → pound, brine, pull at 165°F.
- Rubbery thighs → undercooked for texture → take thighs to 175–185°F.
- Pale skin → wet surface or low heat → dry brine uncovered, cook hotter.
- Sticking → pan too cool or moved too soon → preheat, then wait for it to release.
- Burnt outside, raw inside → heat too high or sauce added early → indirect heat first, sauce last.
Your Path to Chicken Mastery
Key Takeaways
- 165°F is the target, not a minimum to pass. Pull breasts at exactly 165°F.
- Take dark meat higher, to 175–185°F, for the best texture.
- Salt early and dry the skin for juicy meat and crisp skin.
- Don’t wash raw chicken. Pat it dry and clean up carefully instead.
- Match the method to the cut: sear breasts, roast thighs, spatchcock whole birds.
Your 30-Day Chicken Plan
Week 1: Master the breast. Pound, dry brine and pan-sear chicken breasts. Use a thermometer and pull them at exactly 165°F. Make a pan sauce.
Week 2: Embrace the thigh. Cook crispy skin-on thighs to 180°F. Compare the texture with a thigh pulled at 165°F.
Week 3: Roast a whole bird. Dry brine and roast a whole chicken. Check the breast and thigh separately, and practice carving.
Week 4: Go further. Spatchcock a chicken, grill bone-in pieces with two heat zones, or make baked wings for game night.
Frequently Asked Questions
What temperature should chicken be cooked to?
The USDA’s safe minimum internal temperature for all chicken, including breasts, thighs, wings, ground chicken and whole birds, is 165°F. Measure it with a food thermometer in the thickest part of the meat, away from the bone. For the best results, pull chicken breasts at exactly 165°F, since they dry out quickly above that. Dark meat, like thighs and drumsticks, is safe at 165°F but becomes more tender at 175–185°F, because its connective tissue softens. At 165°F, bacteria such as Salmonella are destroyed almost instantly, which is why it’s such a practical target.
How long does it take to cook chicken breast?
It depends on the thickness and the method. A boneless breast pounded to ¾ inch takes about 10 to 12 minutes in a skillet over medium-high heat, flipping once. At 350°F in the oven, the USDA estimates 20 to 30 minutes for 4-ounce boneless breasts and 30 to 40 minutes for 6- to 8-ounce bone-in breasts. At 425°F, boneless breasts usually take 18 to 22 minutes. Because breasts vary so much in size, always check with a thermometer. Start checking a few minutes early, and pull them at 165°F.
Why is my chicken always dry?
The most common reason is overcooking. Many people cook chicken well past 165°F to be safe, but every degree above that makes lean breast meat drier. Uneven thickness is another cause: the thin end overcooks while the thick end reaches a safe temperature. To fix it, pound breasts to an even thickness, brine or dry brine them, cook them over medium-high heat, and use a thermometer to pull them at exactly 165°F. Resting for 5 minutes before slicing also helps the meat hold onto its juices.
Should I wash raw chicken before cooking?
No. Washing raw chicken doesn’t remove bacteria; it spreads them around your kitchen. In a USDA study, 60% of people who washed raw poultry had bacteria in their sink afterward, and 26% transferred bacteria to the salad they made next. The CDC also advises against washing chicken. Cooking chicken to 165°F is what kills harmful bacteria. Instead of washing, pat the chicken dry with paper towels, throw them away, and wash your hands and any surfaces the raw chicken touched with hot, soapy water.
Is it safe to eat chicken that’s still pink?
It can be. Color isn’t a reliable sign of doneness for chicken. Fully cooked chicken can stay pink, especially near the bone, in young birds, or when it’s been grilled or smoked. On the other hand, chicken can look white before it reaches a safe temperature. The only way to know is to check the internal temperature with a thermometer. If the thickest part of the meat reads at least 165°F, it’s safe to eat, even if it looks slightly pink. If it hasn’t reached 165°F, keep cooking it, whatever its color.
How long can raw chicken stay in the fridge?
According to the USDA, raw chicken, whether whole or in parts, should be cooked or frozen within 1 to 2 days of buying it. Keep it in the coldest part of your refrigerator, at 40°F or below, on the bottom shelf in a container or on a plate so its juices can’t drip onto other food. If you won’t cook it within 2 days, freeze it. Frozen chicken stays safe indefinitely, though for the best quality the USDA suggests using chicken parts within about 9 months and whole chickens within a year.
Can I cook chicken from frozen?
Yes. The USDA says chicken can be safely cooked from frozen in the oven or on the stovetop, though it will take about 50% longer than thawed chicken. Don’t cook frozen chicken in a slow cooker, because it stays too long at temperatures where bacteria can multiply. Separate frozen pieces as soon as you can, so they cook evenly, and always check that the thickest part reaches 165°F. For the best texture and browning, though, I recommend thawing chicken in the refrigerator first.
What’s the difference between chicken breast and thigh?
Breast is white meat: very lean, mild in flavor and quick to cook, but easy to dry out. It’s best cooked to exactly 165°F. Thigh is dark meat: it has more fat, more connective tissue and a richer flavor. Thighs are safe at 165°F, but they become much more tender at 175–185°F, and they stay juicy at those temperatures thanks to their fat. Thighs are also usually less expensive and more forgiving to cook. If you often end up with dry chicken, switching to thighs is one of the easiest fixes.
Should I brine chicken?
Brining helps, especially for lean cuts like boneless breasts. A wet brine, soaking the chicken in salt water, helps the meat hold on to more moisture as it cooks. America’s Test Kitchen found that a 9% salt brine gave the best balance of juiciness and seasoning. A dry brine, salting the chicken ahead and leaving it uncovered in the fridge, seasons the meat and also dries the skin, so it’s my choice for skin-on pieces and whole birds. Either way, don’t brine chicken that’s labeled “enhanced,” because it already contains a salt solution.
What’s the best way to reheat chicken?
The goal is to reheat chicken to 165°F without drying it out. For pieces, reheat them in a covered dish in a 325–350°F oven with a splash of stock, until heated through. For crispy skin, finish them uncovered or in an air fryer for a few minutes. Sliced chicken breast reheats well gently in a covered pan with a little broth or sauce. The microwave works for small portions; cover the chicken and use medium power, stirring or turning halfway through. Always check that it reaches 165°F, and eat leftovers within 3 to 4 days.
Professional Tips for Better Chicken
SALT THE NIGHT BEFORE: For skin-on chicken, salt it and leave it uncovered in the fridge overnight. You’ll get seasoned meat and crisp, golden skin.
COOK BREASTS AND THIGHS SEPARATELY: They want different temperatures. Cook them in separate pans, or put the thighs in first.
USE BONE-IN, SKIN-ON FOR FORGIVENESS: The bone and skin slow the cooking and protect the meat, giving you a wider window for juicy results.
BUY WHOLE AND BREAK IT DOWN: A whole chicken costs less per pound than parts. Cut it into pieces yourself, and use the backbone for stock.
Take Action: Cook Your Best Chicken Yet
If you’re just starting: Learn how to use a meat thermometer, then pan-sear chicken breasts and pull them at exactly 165°F.
If you’re ready for more: Make crispy chicken thighs and take them to 180°F, or try a dry brine.
If you’re ready for a challenge: Spatchcock a whole chicken, then try the same method on a turkey with my how to cook a turkey guide.
Track Your Progress
- Write down the cut, weight, method and final temperature every time you cook chicken.
- Compare breasts pulled at 165°F with ones pulled at 170°F, and note the difference in texture.
- Keep a note of how long each cut takes on your stove and in your oven.
- Photograph the inside of your chicken next to its final temperature.
That sawdust-dry chicken breast taught me that being afraid of chicken was making it worse. Chicken doesn’t need to be cooked into submission. It needs to be cooked to exactly the right temperature. Grab a thermometer, salt your chicken a little earlier, and pull it at 165°F. Then send me a message through the contact page and tell me how it went.