
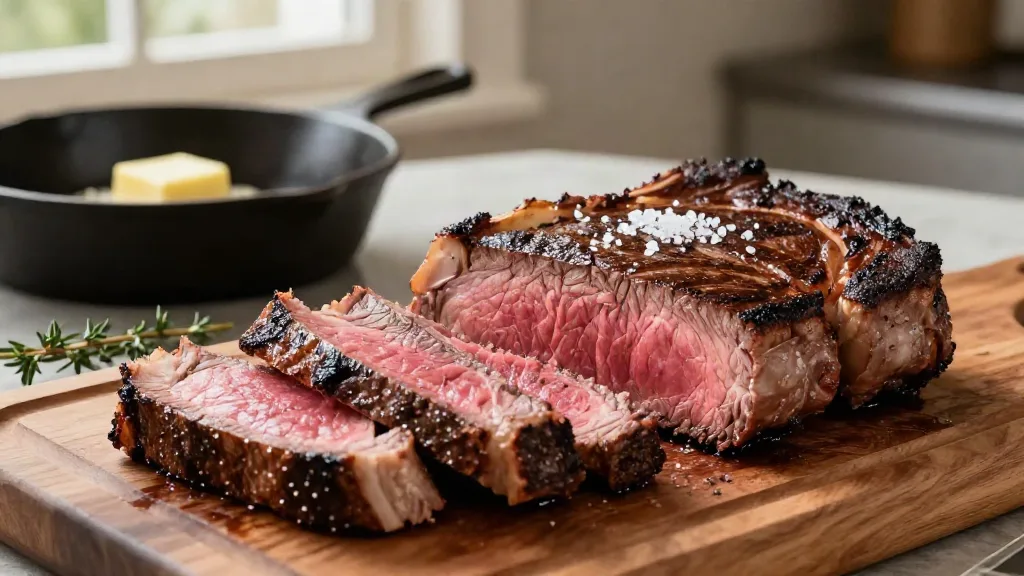
How to Cook Steak: The Complete Guide to a Perfect Steak Every Time
I still remember the first really good steak I ruined. It was a thick, beautifully marbled ribeye, the kind you buy for a birthday. I put it in a pan that wasn’t hot enough, poked at it, flipped it, poked it again, and served something gray, chewy and tough at the edges with a cold center. That steak taught me that a great cut doesn’t guarantee a great dinner. Technique does.
The stakes are higher than ever. According to the U.S. Bureau of Labor Statistics data published through the Federal Reserve Bank of St. Louis, the average price of uncooked beef steaks in U.S. cities reached about $12.81 per pound in August 2026. A pair of thick ribeyes can easily cost more than a restaurant meal.
Over the years I’ve turned plenty of those expensive steaks into disappointments: a strip steak that steamed gray in a crowded pan, a filet that went from rare to well-done while I set the table, and a flank steak that was tender on the grill and leathery on the plate because I sliced it the wrong way.
If you’ve been cooking steak by the clock or pressing it with your finger to guess doneness, you’re working without the most important information you have. Before going further, bookmark my meat internal temperature guide, because every method in this guide finishes with a thermometer.
Here’s what changed everything for me: a perfect steak is the result of four decisions, made in order. Choose the right cut and thickness. Season it early and dry the surface. Pick the cooking method that fits the thickness. Pull it at the right temperature and slice it correctly. This guide walks you through each one, with the numbers you need to get the same result every time.
Steak Quick Reference
Doneness Temperatures
These pull temperatures assume a 1- to 1½-inch steak cooked over high heat. Thinner steaks and the reverse sear need less allowance for carryover. The ranges follow America’s Test Kitchen’s doneness chart; ThermoWorks recommends pulling beef 3 to 10°F below your target, depending on the cut’s size and how hot it’s cooking.
| Doneness | Pull from heat | Final temperature after resting |
|---|---|---|
| Rare | 115–120°F | 120–125°F |
| Medium-rare | 120–125°F | 125–130°F |
| Medium | 130–135°F | 135–140°F |
| Medium-well | 140–145°F | 145–150°F |
| Well-done | 150–155°F | 155–160°F |
SAFETY NOTE: The USDA’s safe minimum for whole cuts of beef is 145°F followed by a 3-minute rest. Steaks cooked to rare or medium-rare are below that minimum. That’s a common choice for whole-muscle steaks, but people at higher risk, including young children, older adults, pregnant women and anyone with a weakened immune system, should follow the USDA minimum.
Which Method for Which Steak
| Steak thickness | Best method |
|---|---|
| Under 1 inch | Hot pan or very hot grill, flipped often |
| 1 to 1½ inches | Pan-sear, or grill with two heat zones |
| 1½ inches and thicker | Reverse sear |
Resting
Rest steaks for about 5 minutes before slicing, uncovered on a wire rack. For reverse-seared steaks, a minute or two is enough.
Choosing the Right Steak
Every good steak starts at the butcher counter. The cut you choose decides how tender the steak can be, how much flavor it has, and which cooking method suits it best.
Tender Cuts From the Rib and Loin
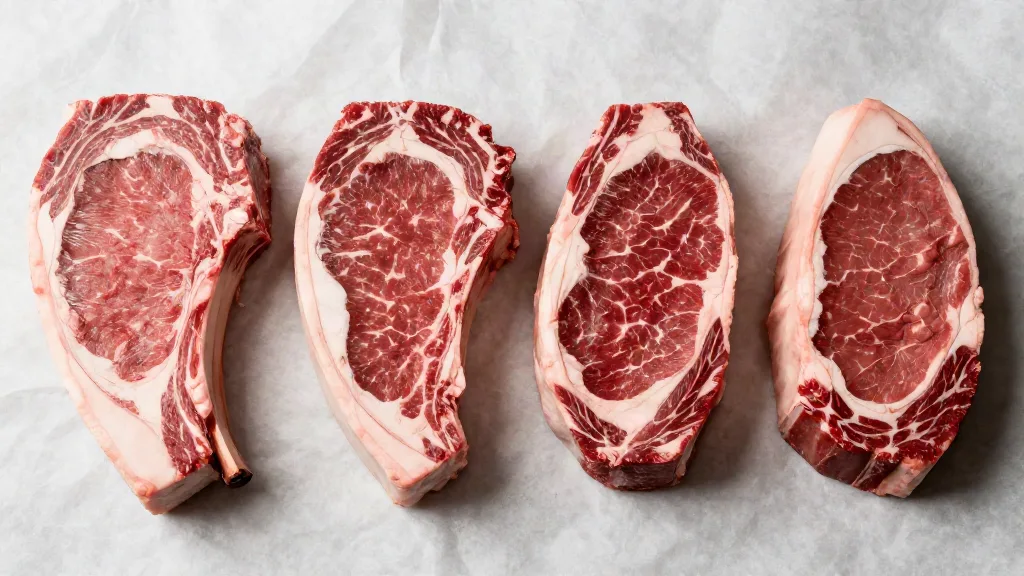
The most tender steaks come from the rib and loin, the muscles along the middle of the back that do the least work. The Auguste Escoffier School of Culinary Arts describes these as the most tender and most expensive primal cuts, best suited to high-heat cooking.
- Ribeye: Rich, well-marbled and full of flavor. The fat bastes the meat as it cooks, which makes it forgiving. My first choice for pan-searing.
- New York strip: Leaner than ribeye, with a firmer bite and a strong beefy flavor. Easy to cook evenly because of its uniform shape.
- Tenderloin (filet mignon): The most tender steak of all, but also the mildest. It’s very lean, so it’s easy to overcook. Often served with a sauce or butter.
- T-bone and porterhouse: A strip and a piece of tenderloin on either side of a bone. The tenderloin side cooks faster, so position it away from the hottest heat.
- Top sirloin: Leaner and more affordable than the cuts above, with good flavor. A great everyday steak.
Flavorful, Budget-Friendly Cuts
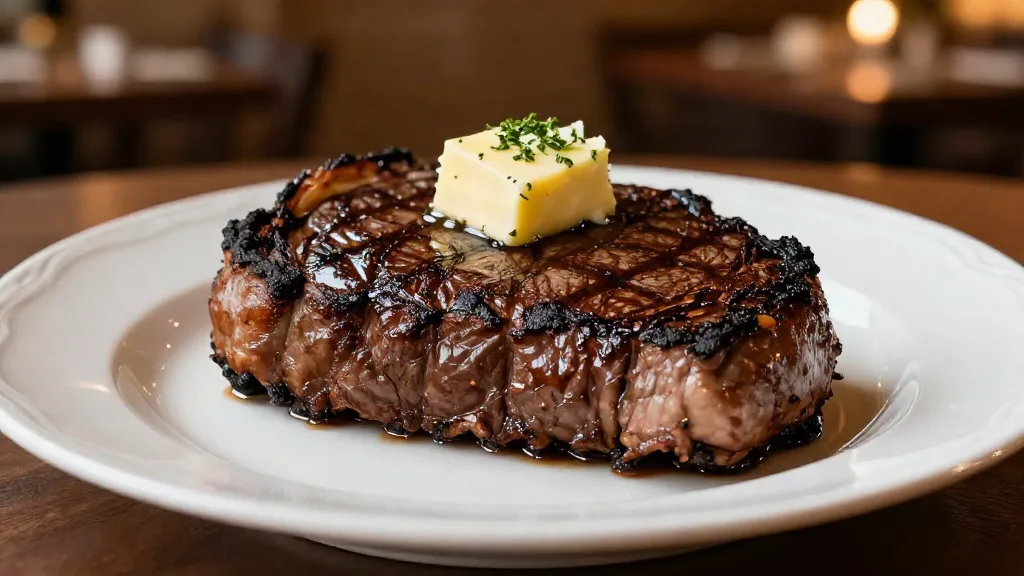
These steaks come from harder-working muscles. They’re chewier and have a coarser grain, but they’re full of flavor and often half the price of a ribeye.
- Flank steak: Lean, with long, visible muscle fibers. Best marinated, cooked hot and fast to medium-rare, and sliced thinly across the grain.
- Skirt steak: Thin, loose-grained and very flavorful. Cook it over the highest heat you have, for just a few minutes per side.
- Flat iron: Cut from the shoulder, it’s surprisingly tender and well-marbled for the price.
- Hanger steak: Rich and beefy, with a loose texture. Cook it to medium-rare at most.
For a deeper look at every cut and where it comes from, see my complete guide to beef cuts.
Understanding USDA Beef Grades
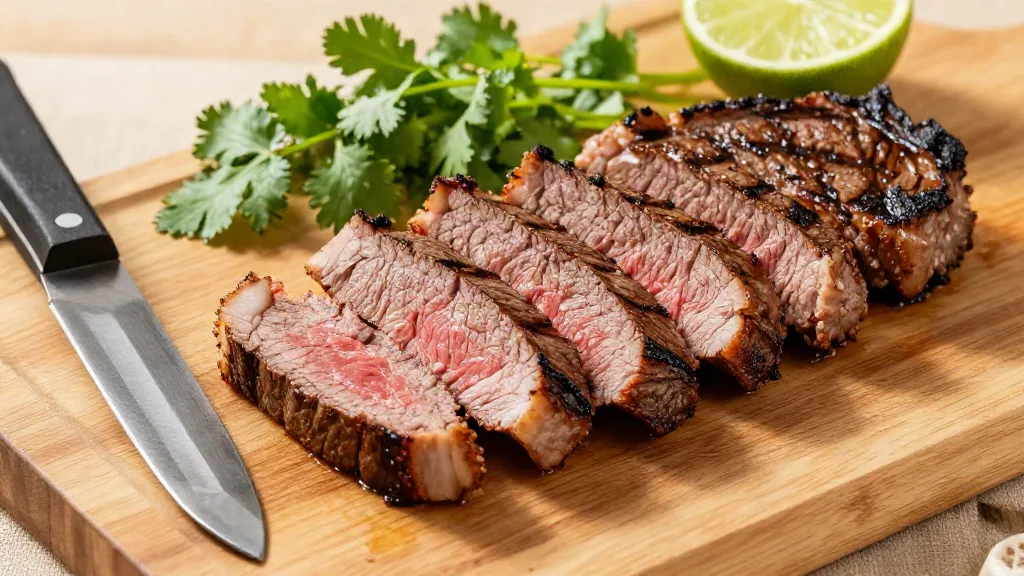
The USDA grades beef mainly by marbling, the fine streaks of fat inside the muscle. According to the USDA Agricultural Marketing Service, more marbling generally means more flavor, moisture and tenderness.
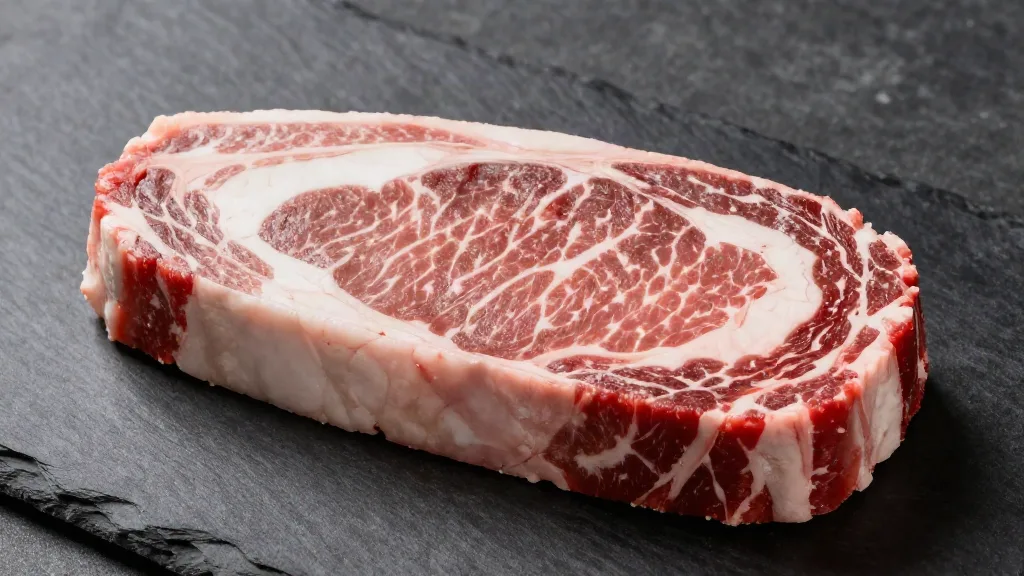
- Prime: Abundant marbling. Mostly sold to restaurants. Excellent for grilling, broiling and searing.
- Choice: Moderate marbling. The most common grade in supermarkets, and a great choice for steaks from the rib and loin.
- Select: Slight marbling. Leaner and less juicy. Select steaks benefit from a marinade, and from being cooked a little less.
How Thick Should a Steak Be?
Thickness matters as much as the cut. For pan-searing and grilling, I look for steaks 1 to 1½ inches thick. That’s thick enough to build a deep crust before the center overcooks, but thin enough to cook through on the stovetop.
Thin steaks, under ¾ inch, are hard to get right. By the time the outside browns, the center is often well past medium. If thin steaks are all you can find, cook them over the highest possible heat for the shortest possible time. Steaks thicker than 1½ inches are best cooked with the reverse sear, covered later in this guide.
METHOD TIP: Ask the butcher to cut steaks to your preferred thickness. One 2-inch ribeye shared between two people often cooks better than two thin ones.
Preparing the Steak
What you do before the steak hits the heat makes as much difference as the cooking itself.
Salt Early: Dry Brining
Salting a steak well before cooking is the single best thing you can do for flavor and texture. When you salt raw meat, the salt first draws moisture to the surface. Then it dissolves into that moisture and is gradually reabsorbed into the meat, carrying the seasoning with it.
The barbecue science site AmazingRibs recommends about ½ teaspoon of kosher salt per pound of meat, or about ¼ teaspoon of fine table salt. For steaks under an inch thick, salt them at least 1 to 2 hours ahead. For thicker steaks, I salt them the night before.
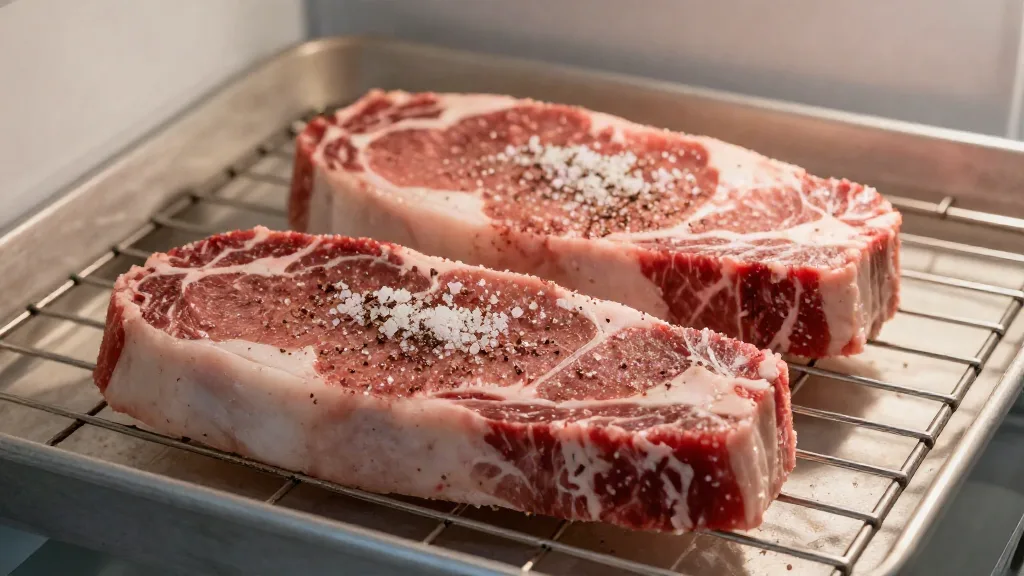
How I dry brine a steak:
- Pat the steak dry with paper towels.
- Sprinkle it evenly with kosher salt on all sides, including the edges.
- Set it on a wire rack over a plate or sheet pan.
- Refrigerate it uncovered for at least an hour and up to 24 hours.
- Cook it straight from the rack. No need to rinse.
Chef Jess Pryles, who holds a graduate certificate in meat science from Iowa State University, also recommends salting steaks and leaving them uncovered in the fridge for up to 24 hours, as she explained to Garden & Gun.
The uncovered rest does a second job: it dries the surface. A dry surface browns quickly and deeply, while a wet one has to steam off its moisture first. I explain timing for every cut in my guide to dry brining steak.
AVOID THIS: Don’t salt a steak just a few minutes before cooking and then leave it sitting. In my experience, after about 5 to 10 minutes the salt has pulled moisture to the surface but hasn’t been reabsorbed yet, so the steak is wet and won’t sear well. Either salt immediately before it goes in the pan, or salt at least 40 minutes to an hour ahead.
Pat It Dry
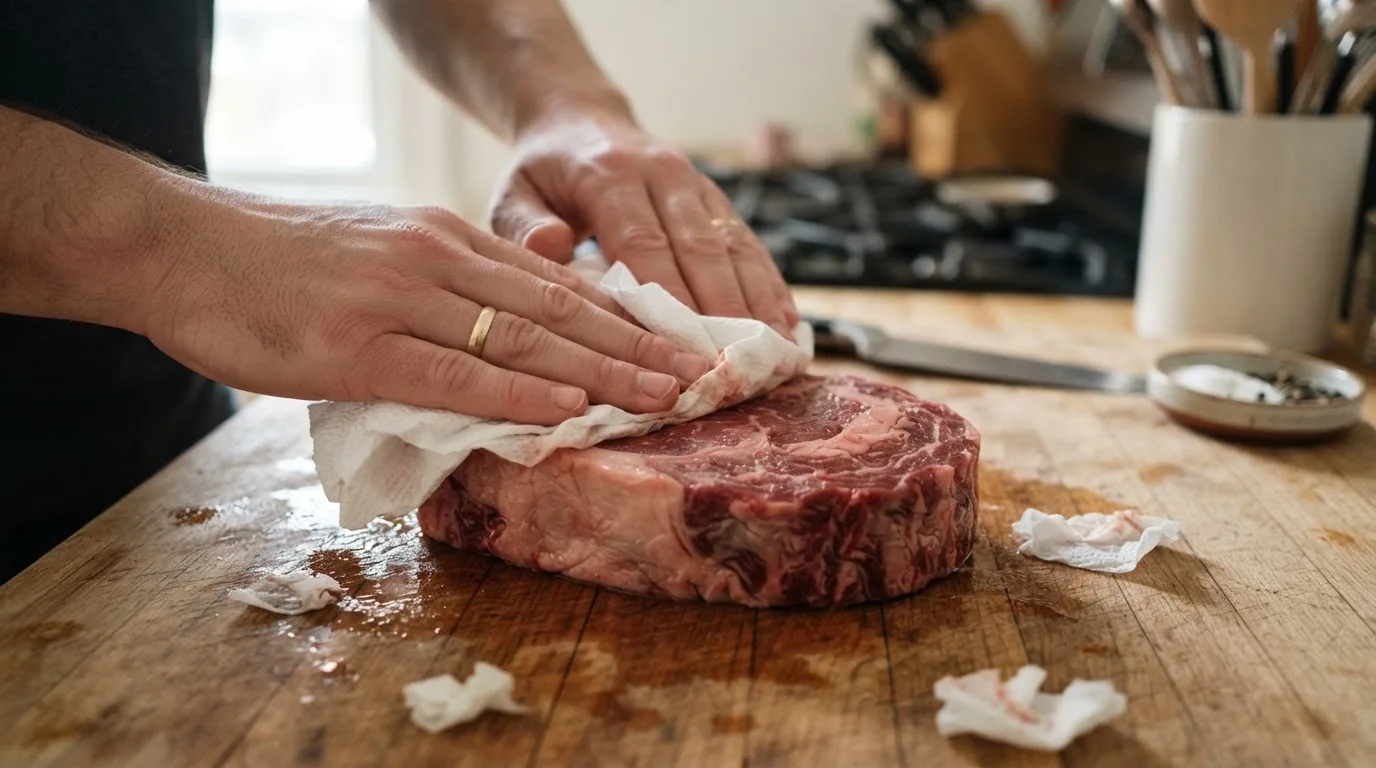
Whether or not you dry brine, pat the steak completely dry with paper towels right before cooking. It takes 10 seconds and makes a visible difference to the crust.
Should the Steak Come to Room Temperature?
You’ll often read that you should let a steak sit out for an hour before cooking. In my experience, 30 to 45 minutes helps thick steaks cook a little more evenly, but it won’t bring the center anywhere near room temperature. It’s helpful, not essential. What matters far more is a dry surface and an accurate thermometer.
Pepper, Herbs and Oil
- Black pepper can burn and turn bitter over very high heat. I add it either just before searing or right after.
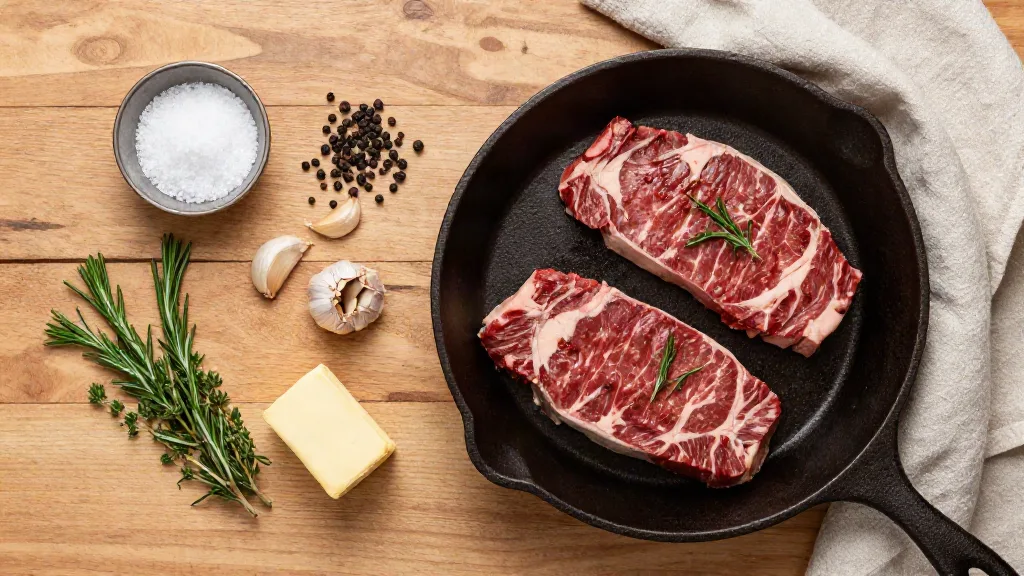
- Garlic and herbs like thyme and rosemary go in at the end, with butter, so they don’t burn.
- Oil the pan, not the steak, when searing in a skillet. Use an oil with a high smoke point, like avocado, canola or refined peanut oil.
The Science of a Great Crust
The deep brown crust on a great steak isn’t just about looks. It’s where most of the flavor lives.
The Maillard Reaction
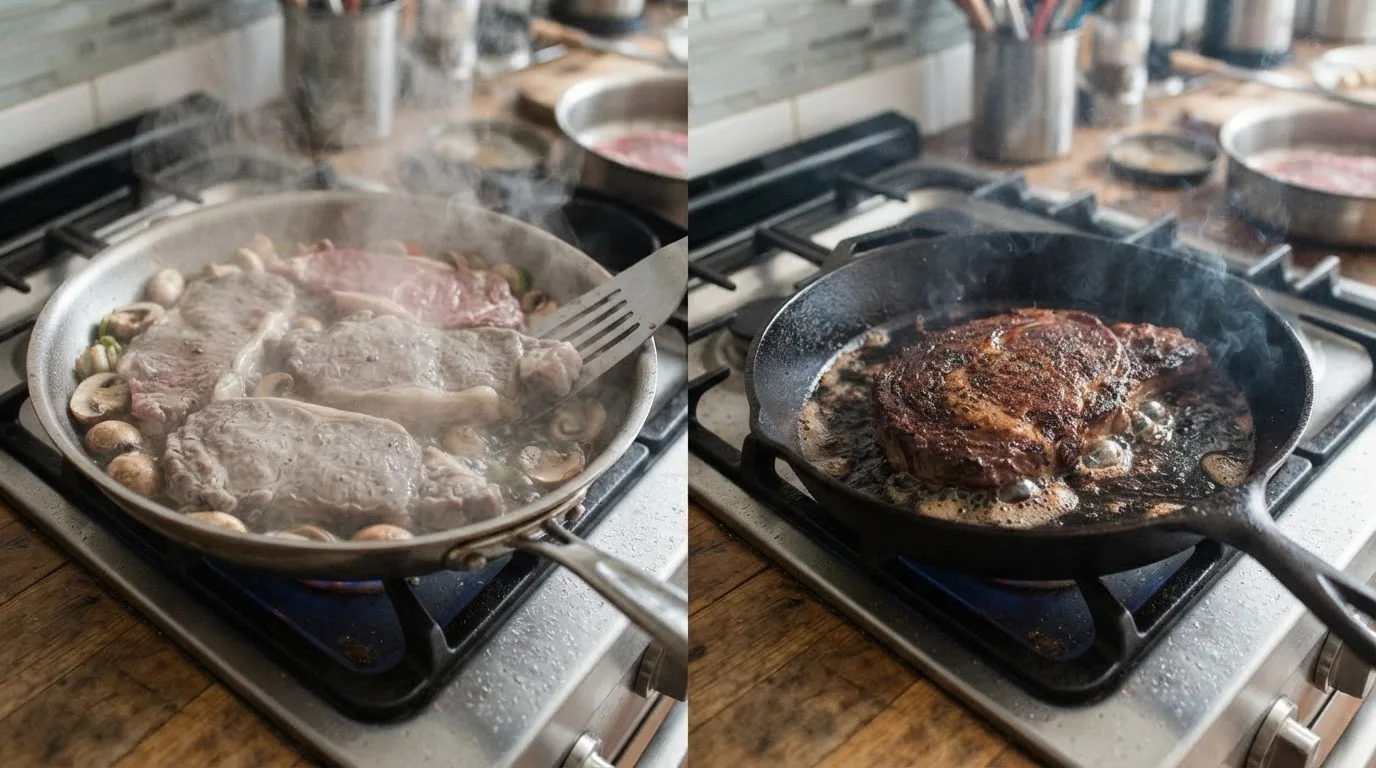
That browning comes from the Maillard reaction, a chemical reaction between proteins and sugars that creates hundreds of flavor compounds. As NC State University food science professor Gabriel Keith Harris explains in NC State’s article on the science of steak, water in the meat keeps the surface cool at first. Only once that surface moisture evaporates does the temperature climb to about 350°F or higher, where browning happens quickly and efficiently.
This explains almost every searing tip you’ve ever heard:
- A dry surface browns faster, because there’s less water to evaporate first.
- A very hot pan gets the surface past the boiling point of water quickly.
- Not crowding the pan stops the steaks from releasing so much moisture that they steam.
Browning Versus Burning
There’s a line between a dark, flavorful crust and a burnt, bitter one. Harris notes in the same article that grill marks can char past browning into black. A deep mahogany brown is the goal. If the crust goes black before the center reaches temperature, the heat is too high for that thickness, or the steak needs to finish more gently.
METHOD TIP: Listen to the pan. A steak should sizzle loudly the moment it touches the surface. If it hisses quietly or bubbles, the pan isn’t hot enough or the steak is too wet.
Method 1: Pan-Seared Steak
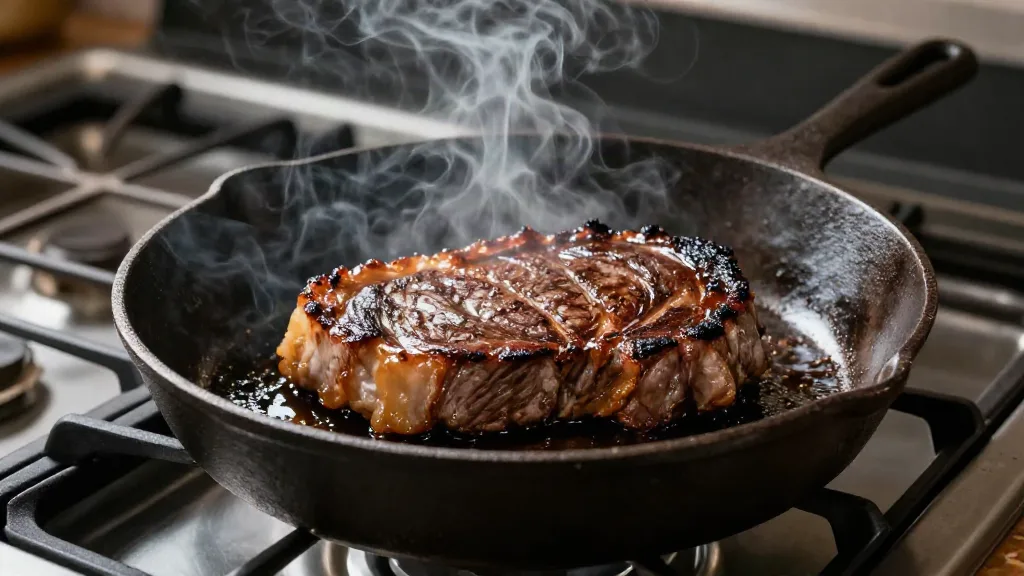
Pan-searing is the method I use most. It works for any steak about 1 to 1½ inches thick, and all you need is a heavy skillet and a stove.
Choosing the Pan
- Cast iron holds a huge amount of heat, so the temperature doesn’t crash when the cold steak goes in. It’s my first choice for a deep, even crust.
- Carbon steel behaves much like cast iron but heats up faster.
- Heavy stainless steel works well and makes excellent pan sauces, but it has less heat storage, so preheat it thoroughly and don’t crowd it.
- Nonstick pans aren’t designed for the very high heat a good sear needs. Save them for eggs.
Whatever pan you use, it needs to be large enough that the steaks don’t touch. For more on choosing and caring for a skillet, see my guide to cooking steak in cast iron.
Step by Step
- Preheat the pan over medium-high heat for 4 to 5 minutes, until it’s very hot. A drop of water should skitter and evaporate instantly.
- Add a thin layer of oil, about 1 tablespoon. When it shimmers and just starts to smoke, the pan is ready.
- Lay the steak in the pan, away from you so the oil doesn’t splash toward you.
- Sear, flipping every minute or so. Frequent flipping cooks the steak more evenly and reduces the gray band under the crust. Use tongs, and sear the fat cap and edges too.
- Start checking the temperature early, after about 4 minutes for a 1-inch steak. Probe from the side into the center.
- Baste with butter for the last 1 to 2 minutes (see below).
- Pull the steak when it reaches your pull temperature, then rest it on a wire rack.
AVOID THIS: Searing at high heat produces smoke. Turn on your range hood or open a window before you start, and keep the handle of a cast iron pan covered with a dry towel or mitt. It stays dangerously hot for a long time.
Butter Basting
Butter basting adds a nutty, rich flavor and helps the crust brown evenly. Butter burns at high heat, so add it only at the end.
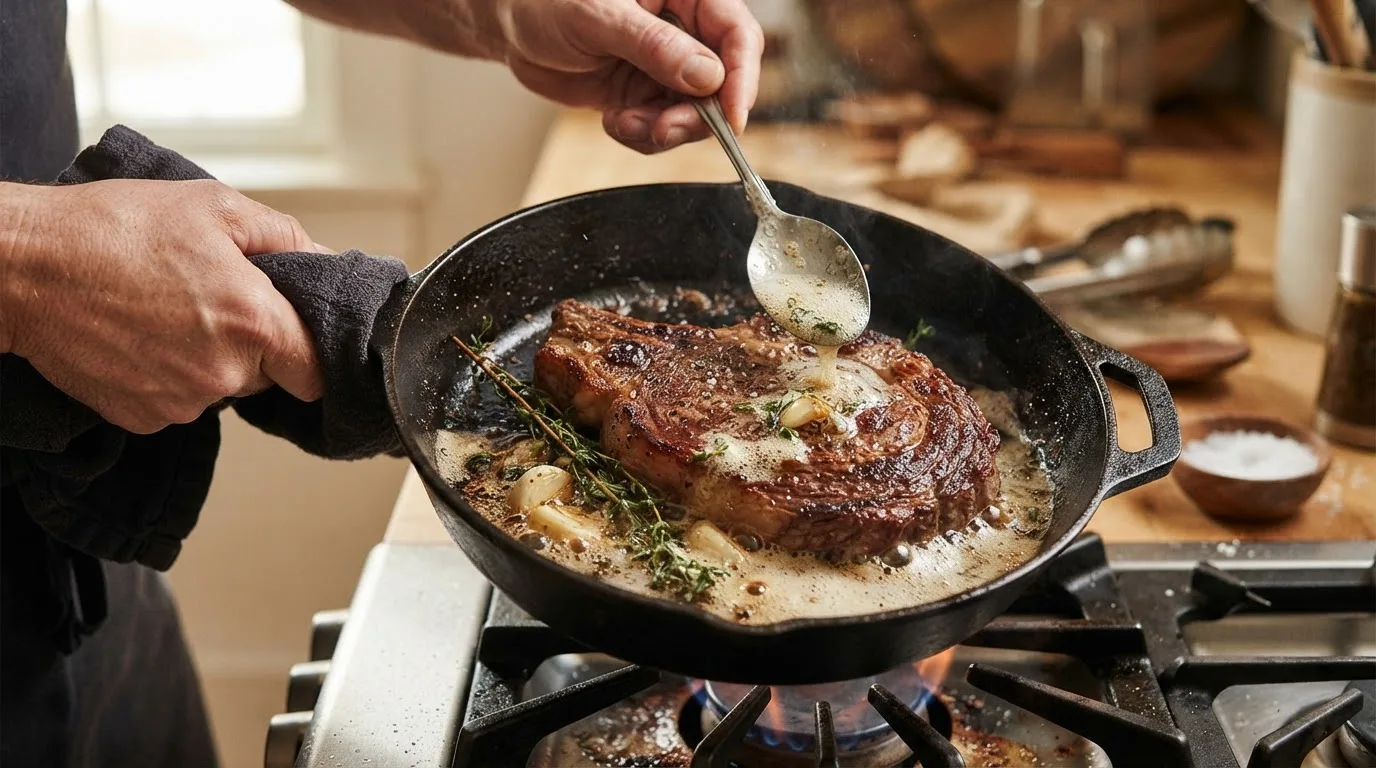
- Lower the heat to medium.
- Add 2 to 3 tablespoons of butter, 2 or 3 crushed garlic cloves and a few sprigs of thyme or rosemary.
- When the butter foams, tilt the pan toward you so the butter pools.
- Use a large spoon to pour the foaming butter over the steak, again and again, for about a minute.
- Check the temperature and remove the steak.
Method 2: The Reverse Sear (for Thick Steaks)
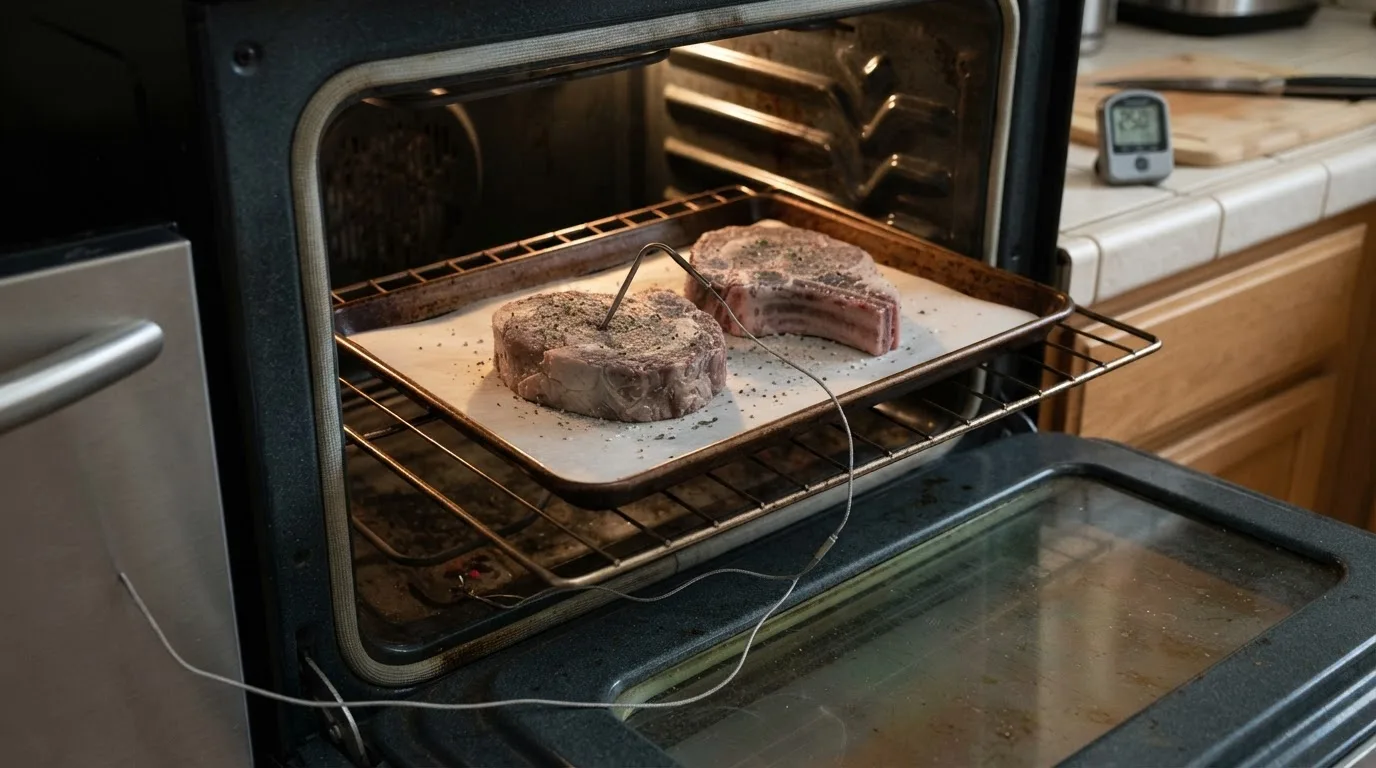
For steaks 1½ inches or thicker, the reverse sear is the most reliable method I know. It flips the usual order: cook the steak gently first, then sear it hard at the end.
Why It Works
When you sear a thick steak first, the outside is blasted with heat for the whole cooking time. By the time the center is done, the outer half-inch is overcooked and gray.
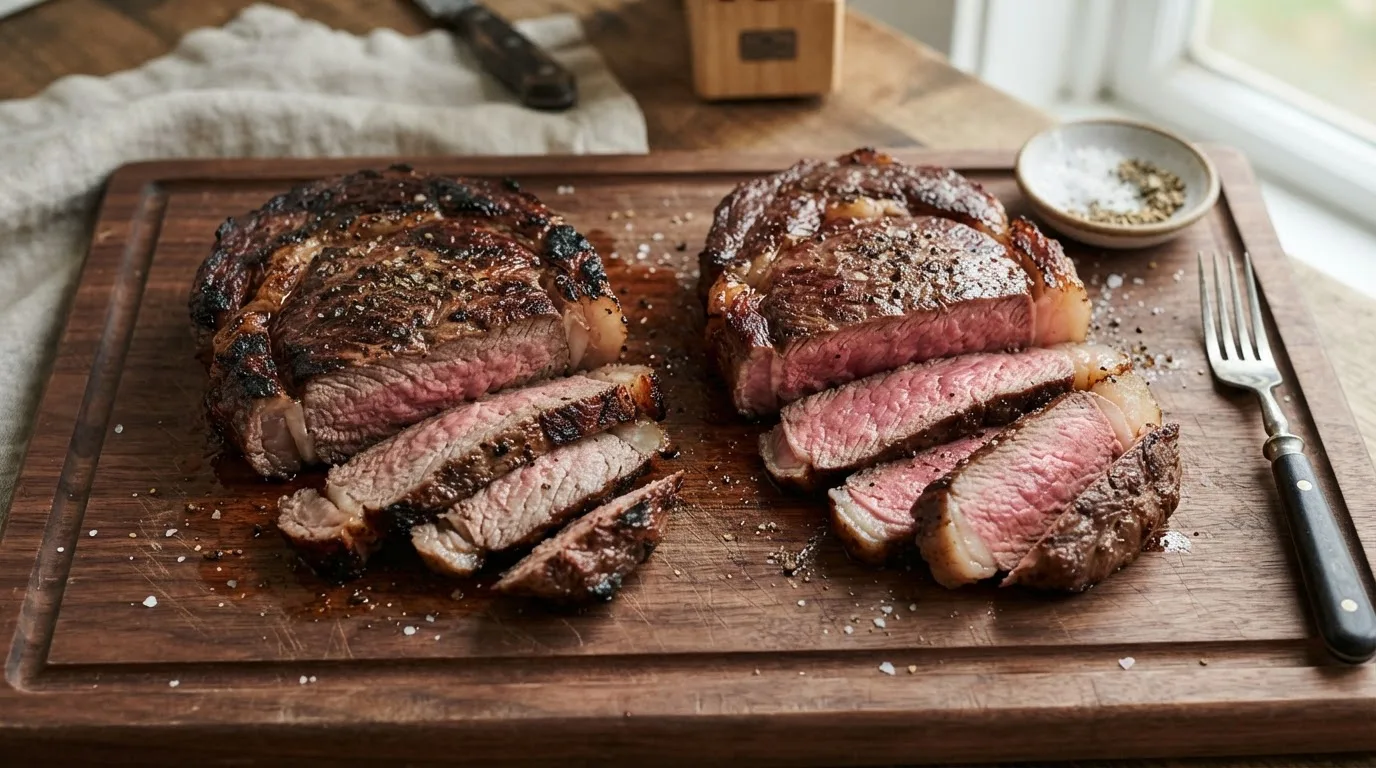
The reverse sear solves this. The steak warms slowly and evenly in a low oven, so it’s the same doneness almost from edge to edge. The low heat also dries the surface, so the final sear builds a crust in a minute or two. And because the steak comes out of the oven well below its target, there’s very little carryover cooking to guess at.
Step by Step
- Season the steak, ideally a day ahead, and set it on a wire rack over a sheet pan.
- Heat the oven to 250°F. A lower temperature cooks more evenly but takes longer.
- Roast until the center is 10 to 15 degrees below your final target. For medium-rare, that’s about 115°F. A leave-in probe with an alarm makes this easy. Expect about 30 to 50 minutes for a 1½- to 2-inch steak, depending on your oven.
- Heat a cast iron skillet until it’s smoking hot while the steak finishes.
- Sear for about 1 minute per side, plus the edges, until deeply browned. Add butter for the last 30 seconds if you like.
- Check the temperature, then rest for a minute or two. Because the steak has been cooking gently, it doesn’t need a long rest.
For the full method, including timings by thickness, see my guide to the reverse sear.
METHOD TIP: The reverse sear also works on the grill. Cook the steak over indirect heat with the lid closed, then move it over the hottest coals to sear at the end.
Method 3: Grilling Steak
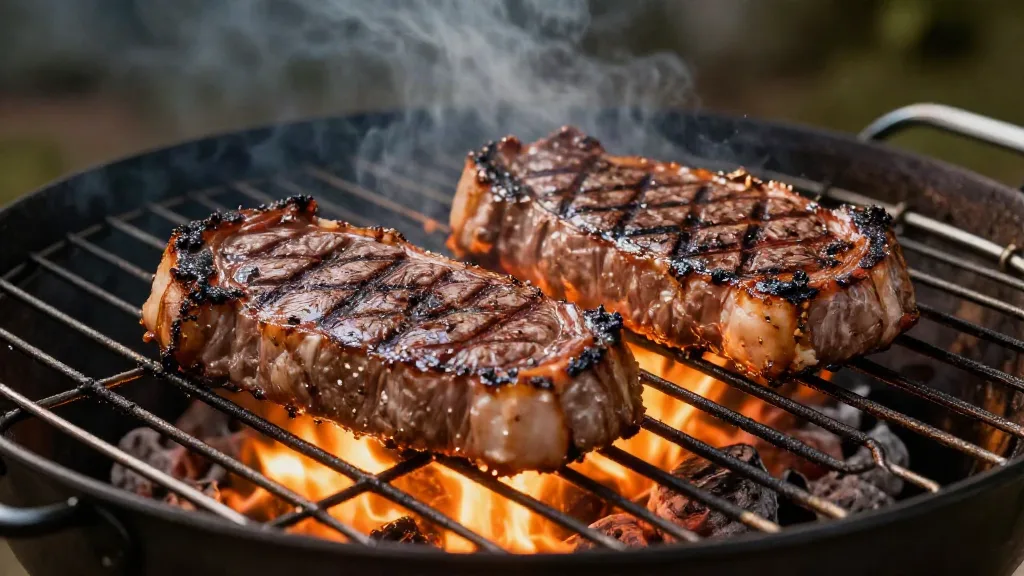
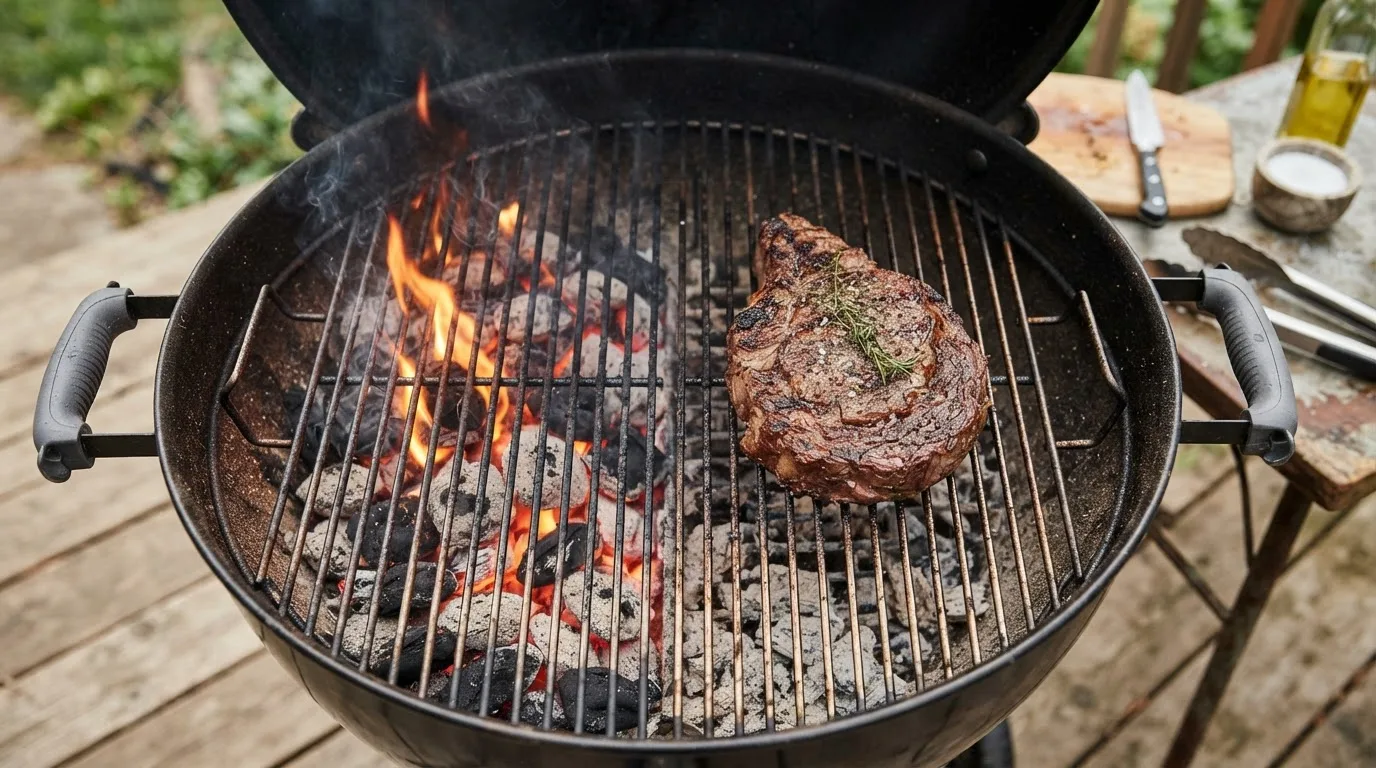
A charcoal or gas grill gives steak a smoky char you can’t get indoors. The key to grilling is control, and that means setting up two heat zones.
Set Up Two Zones
- On a charcoal grill, pile all the hot coals on one side and leave the other side empty.
- On a gas grill, turn one or two burners to high and leave the others off or on low.
The hot side is for searing. The cool side is a safe zone where a steak can finish cooking gently, wait out a flare-up, or rest while you sear another.
Step by Step
- Preheat the grill with the lid closed for 10 to 15 minutes, then clean the grates with a grill brush.
- Pat the steak dry and lightly oil it.
- Sear over the hot side, flipping every minute or so, until both sides are well browned.
- Check the temperature. If the outside is browned but the center needs more time, move the steak to the cool side and close the lid.
- Pull it at your target pull temperature, and rest it for about 5 minutes.
Handling Flare-Ups
Fat dripping onto the coals causes flare-ups, which coat the steak in soot. When one happens, move the steak to the cool side until the flames die down. Never spray water on a grease fire. My guide on how to grill steak covers both gas and charcoal grills in detail.
Knowing When the Steak Is Done
Every method in this guide ends the same way: with a thermometer.
Why the Finger Test Fails
The “finger test,” comparing a steak’s firmness to the flesh of your palm, is a popular shortcut. The problem is that firmness varies with the cut, the grade, the thickness and even your own hand. A lean filet and a marbled ribeye at the same temperature feel completely different. Even now, I still check with a thermometer, because it’s the only method that’s right every time.
How to Check a Steak
Insert an instant-read thermometer through the side of the steak, horizontally, so the tip sits in the center of the thickest part. Going in from the top is less accurate on thinner steaks, because it’s easy to push the tip right through to the pan. For bone-in steaks, keep the probe away from the bone.
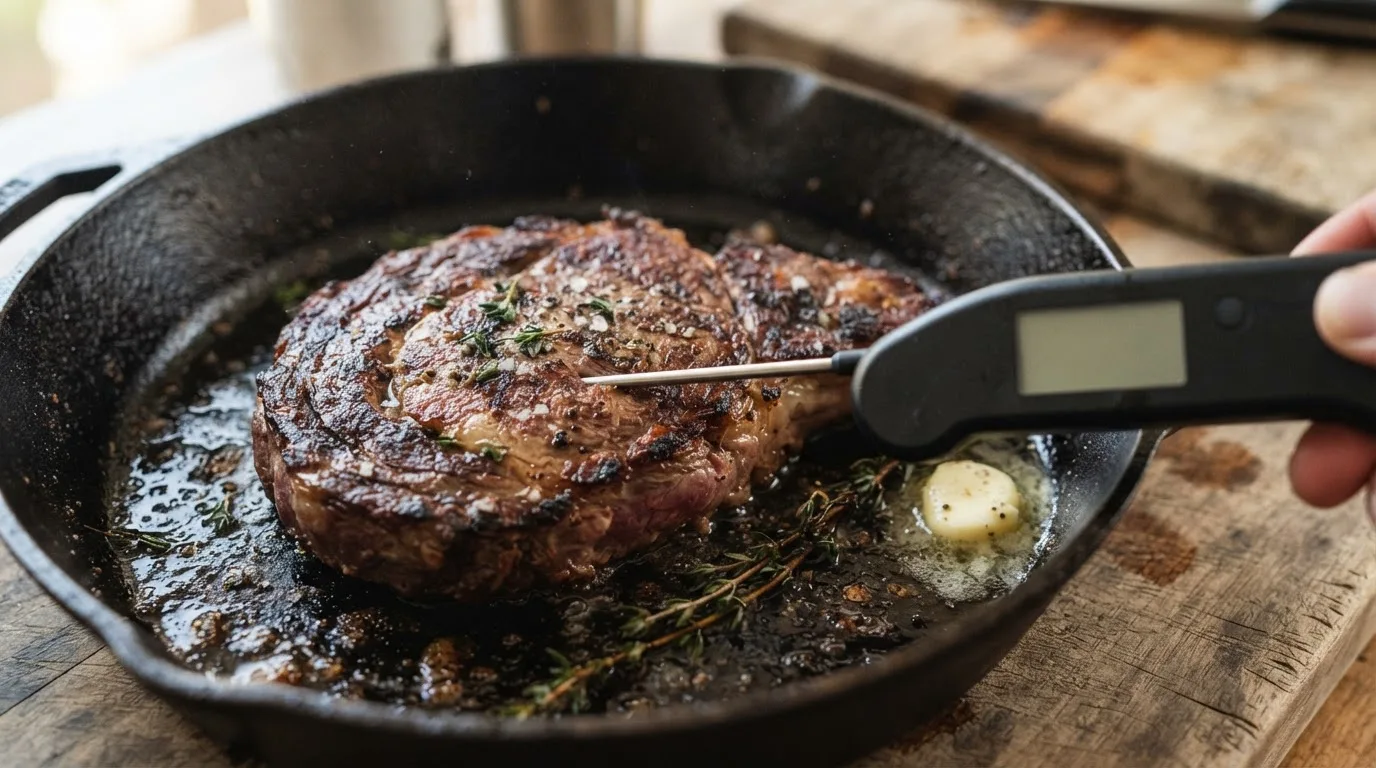
Make sure your thermometer is accurate. Test it in ice water, where it should read 32°F. My meat internal temperature guide explains how to calibrate it and where to place the probe in every cut.
Choosing Your Doneness
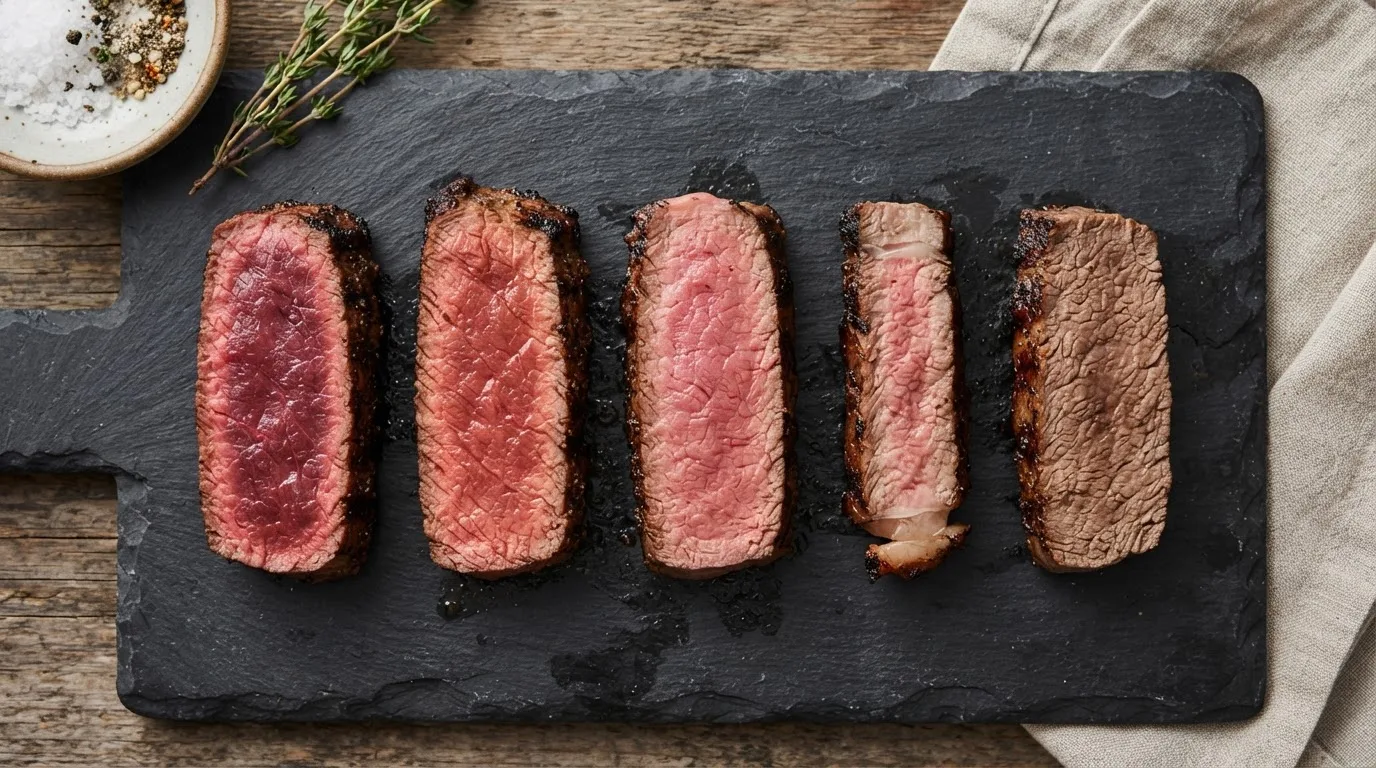
- Rare (120–125°F): Deep red and cool in the center. Soft and very juicy, but the fat in well-marbled cuts doesn’t fully render.
- Medium-rare (125–130°F): Warm and red-pink. The most popular choice for tender cuts like ribeye and strip, with juicy meat and softened fat.
- Medium (135–140°F): Pink in the center, firmer and still juicy. A good choice for well-marbled ribeye, where the extra heat renders more of the fat.
- Medium-well (145–150°F): Just a hint of pink. Meets the USDA minimum for whole cuts after resting.
- Well-done (155°F and up): No pink. Lean cuts get dry at this point. If you prefer well-done, choose a well-marbled ribeye and cook it more gently.
Carryover Cooking
A steak keeps cooking after it leaves the heat, because the hot outer layer keeps pushing heat toward the center. That’s why every chart pulls steaks before their target. The bigger the steak and the hotter the heat, the more it carries over. Reverse-seared steaks carry over the least. My temperature guide explains carryover in detail, with a chart for different cuts and methods.
Resting and Slicing
You’ve hit the perfect temperature. These last two steps decide whether you keep it.
Resting
Let the steak rest for about 5 minutes after cooking, on a wire rack rather than a plate. During the rest, the temperature evens out from edge to center, and the meat firms up slightly so it holds onto more of its juice when you slice it.
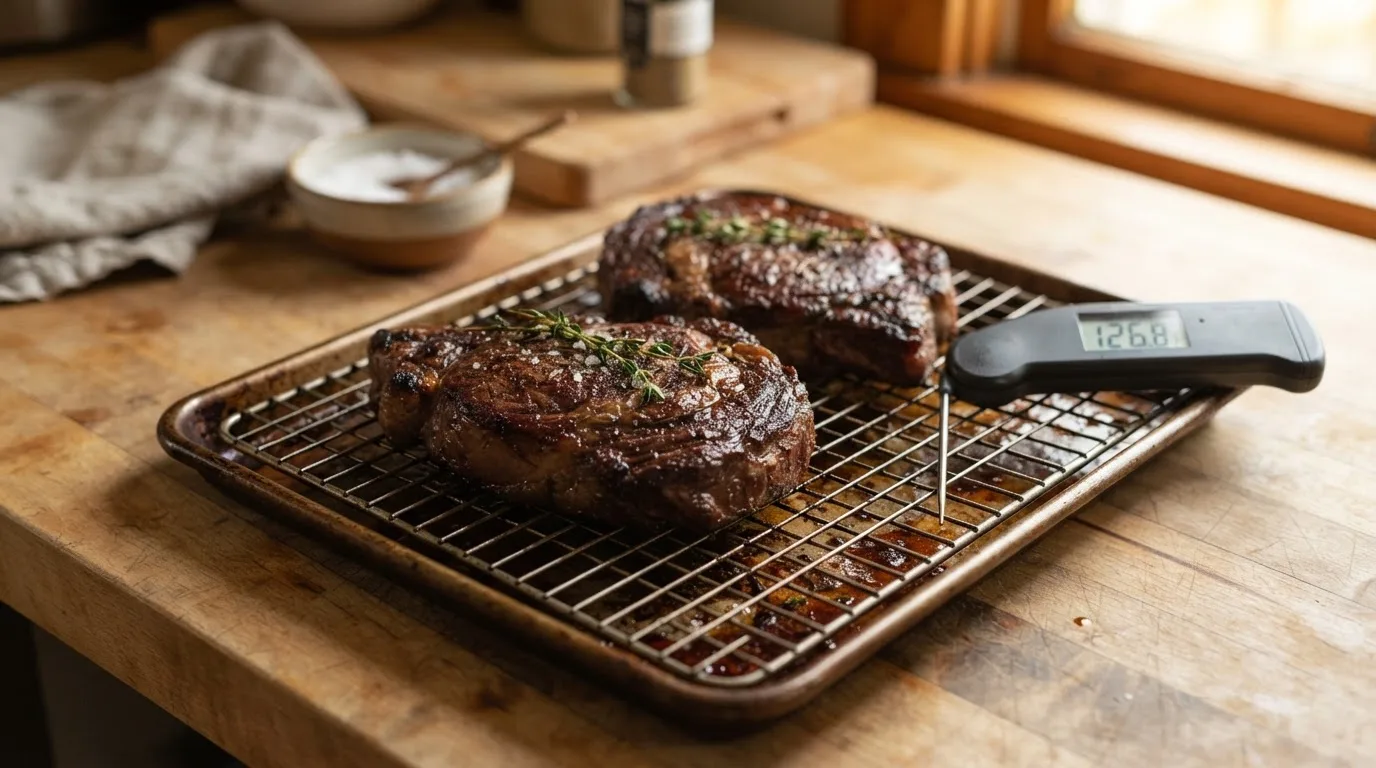
A few things to keep in mind:
- Don’t tent a steak with foil. The trapped steam softens the crust.
- Don’t rest it on a flat plate. The juices pool underneath and make the bottom soggy.
- Reverse-seared steaks need only a minute or two, since they’re already evenly cooked.
Jess Pryles told Garden & Gun that she rests steaks for up to five minutes, depending on whether she wants them hotter or juicier. That’s a good way to think about it: a short rest keeps the steak hot, a longer one keeps more juice in the meat. I explain the timing for every cut in my guide to resting steak.
Slicing Against the Grain
The “grain” is the direction the muscle fibers run through the meat. On steaks like flank and skirt, you can see the fibers clearly as long, parallel lines. Slicing across them, rather than along them, cuts the fibers into short pieces that are much easier to chew.
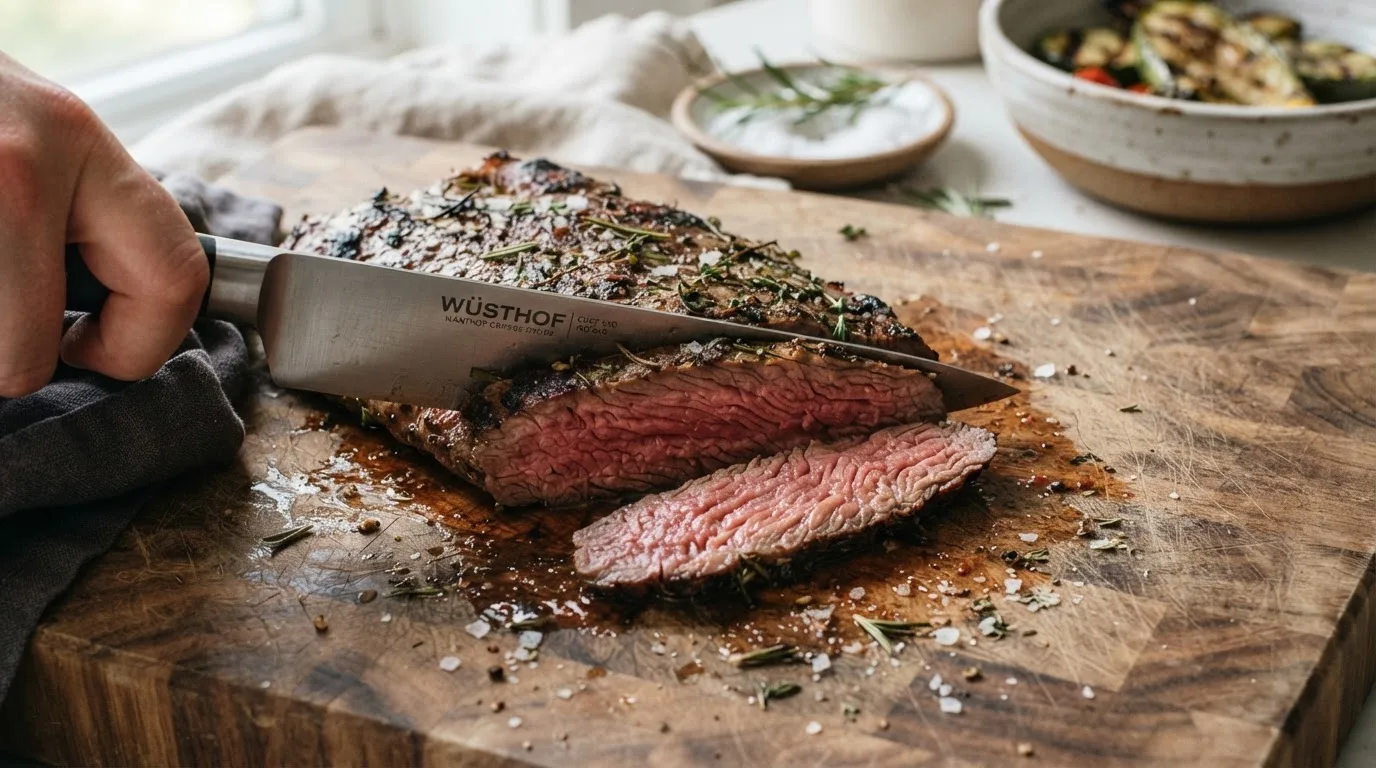
The difference is bigger than most people expect. America’s Test Kitchen measured the force needed to bite into steak slices with a texture analyzer:
| Steak | Sliced against the grain | Sliced with the grain |
|---|---|---|
| Flank steak | 383 grams of force | 1,729 grams of force |
| Strip steak | 329 grams of force | 590 grams of force |
Sliced with the grain, flank steak needed more than four times the force of the same steak sliced against it. Slicing against the grain matters most for flank, skirt, hanger and flat iron steaks, as the Institute of Culinary Education notes, but it improves every steak.
How to slice a steak:
- Look at the surface of the steak and find the direction the fibers run.
- Turn the steak so the fibers run left to right in front of you.
- Slice straight down, across the fibers, with a sharp knife.
- For flank and skirt, cut thin slices, about ¼ inch. For tender cuts like ribeye and strip, ½-inch slices are fine.
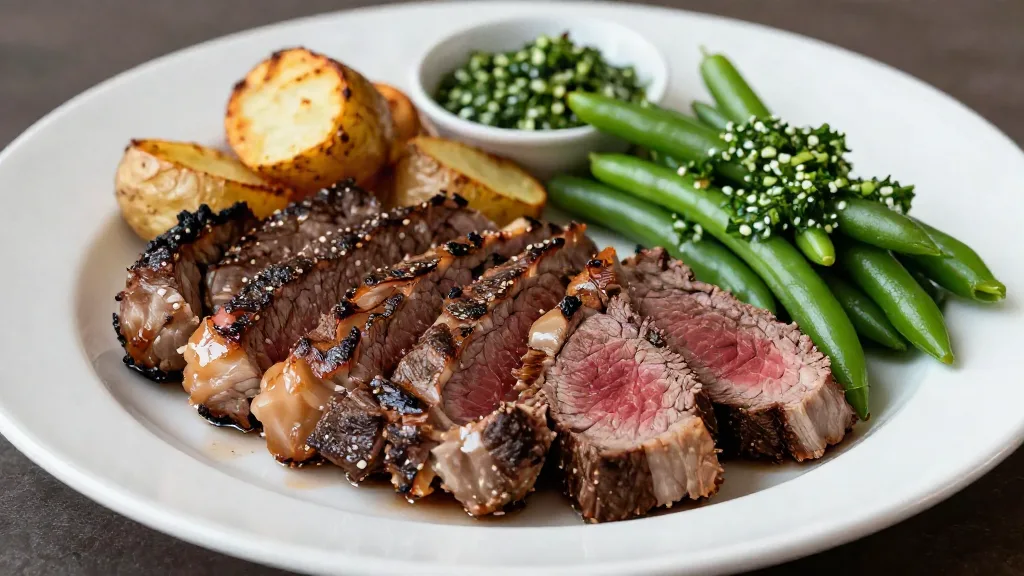
METHOD TIP: Skirt steak’s grain runs across the width of the steak. Cut the long steak into 4- to 5-inch sections first, then turn each section and slice it across the grain.
Troubleshooting Common Steak Problems
Even with good technique, things go wrong. Here’s how to diagnose and fix the most common problems.
No Crust, Gray Surface
The steak steamed instead of seared. The cause is almost always moisture or a pan that isn’t hot enough.
Fix it next time:
- Dry brine the steak uncovered in the fridge, and pat it dry before cooking.
- Preheat the pan for at least 4 to 5 minutes, until the oil shimmers.
- Cook one or two steaks at a time, so the pan doesn’t cool down.
Thick Gray Band Under the Crust
The outside overcooked while the center caught up. This happens when a thick steak cooks entirely over very high heat.
Fix it next time:
- Use the reverse sear for steaks 1½ inches or thicker.
- Flip the steak every minute or so instead of once.
- On the grill, finish the steak on the cool side.
Burnt Outside, Raw Inside
The heat was too high for the thickness of the steak.
Fix it now: Move the steak to a 275°F oven, or the cool side of the grill, until it reaches temperature.
Fix it next time: Lower the heat slightly, or use the reverse sear.
Tough and Chewy
There are three common causes:
- The steak was overcooked. Lean cuts like flank, sirloin and filet get tough quickly past medium.
- It was sliced with the grain. Check the direction of the fibers before slicing.
- The cut needs a different method. Cuts from the chuck and round, like chuck steak, are better braised than seared.
Smoke Alarm Going Off
Searing produces smoke. Use an oil with a high smoke point, wipe out excess oil, turn on the range hood before you start, and open a window. On especially smoky days, sear outside on the grill.
TROUBLESHOOTING FLOWCHART:
- Gray, no crust → wet surface or cool pan → dry the steak, preheat longer, don’t crowd.
- Thick gray band → too much heat on a thick steak → reverse sear or flip more often.
- Burnt outside, raw inside → heat too high for the thickness → finish in a low oven.
- Tough slices → overcooked or sliced with the grain → pull earlier, slice across the fibers.
- Doneness keeps overshooting → carryover → pull a few degrees earlier.
Your Path to Steak Mastery
Key Takeaways
- Choose a 1- to 1½-inch steak from the rib or loin for the most forgiving results.
- Salt it early and dry it well. Dry brining gives you more flavor and a better crust.
- Match the method to the thickness: pan-sear or grill for 1 to 1½ inches, reverse sear for anything thicker.
- Cook to temperature, not time, and pull a few degrees before your target.
- Rest briefly on a rack, then slice against the grain.
Your 30-Day Steak Plan
Week 1: Learn your heat. Pan-sear a 1-inch strip steak. Focus on preheating the pan properly and getting a deep crust. Check the temperature every minute near the end.
Week 2: Learn your timing. Cook two identical steaks. Pull one at your target temperature and one 5 degrees early. Rest both and compare the final temperatures.
Week 3: Go thick. Reverse-sear a 1½- to 2-inch ribeye. Note how long it took in the oven and how even the color is from edge to edge.
Week 4: Take it outside. Grill a steak using a two-zone setup, and try a budget cut like flank steak. Marinate it, cook it hot and fast, and slice it thin against the grain.
Professional Tips for Better Steak
THE OVERNIGHT DRY BRINE: Salt thick steaks the night before and leave them uncovered on a rack in the fridge. You’ll get deeper seasoning and a drier surface that browns faster.
FLIP OFTEN: Flipping every 30 seconds to a minute exposes each side to heat in short bursts, so the steak cooks more evenly and the gray band under the crust stays thin.
SEAR THE EDGES: Use tongs to hold thick steaks on their sides for 30 seconds to render the fat cap and brown the edges. It adds flavor and makes the steak look finished.
KNOW YOUR OFFSET: Keep notes on how many degrees your steaks rise after you pull them. After a few cooks, you’ll know exactly when to take them off the heat in your own kitchen.
Take Action: Cook Your Best Steak Yet
If you’re just starting: Learn how to use a meat thermometer, then pan-sear a 1-inch strip steak using the method above.
If you’re ready for more: Try a dry brine and butter basting. My guide to dry brining steak explains the timing by cut.
If you’re ready for a challenge: Reverse-sear a 2-inch ribeye. Start with my guide to the reverse sear.
📊 Track Your Progress
- Write down the cut, thickness, pull temperature and final temperature for every steak.
- Photograph each sliced steak next to its final temperature, to train your eye.
- Note how long your pan takes to preheat on your stove.
- Rate the crust, the tenderness and the doneness, and change one thing at a time.
That gray, chewy birthday ribeye was the most expensive lesson I ever learned in the kitchen. A great steak isn’t luck, and it isn’t a talent some people have and others don’t. It’s a dry surface, a hot pan, the right method for the thickness, and a thermometer. Get those right, and you’ll serve a steak you’re proud of every time. When you do, send me a message through the contact page and tell me how it went.